
Seeking a beginner-friendly Python Flask RESTful API tutorial? Look no further, you're in the right place!
Python Flask RESTful API Tutorial - Introduction
In this guide, I will show you exactly how to create Flask RESTful APIs with an easy-to-understand example.
The example RESTful API you will create in this tutorial will allow you to add text messages to a file using an HTTP POST request, and display them with a GET request.
What is Flask?
Flask is a Python web framework that allows you to create web applications and RESTful APIs using the Python language.
What is a RESTful API?
A RESTful API (Representational State Transfer) is a set of rules that developers follow when they create their API. It's based on the idea of making requests to resources on a server, where each resource is uniquely identified by a URL (Uniform Resource Locator).
In simple terms, think of it as ordering food from a menu in a restaurant. You choose what you want from the menu (the resource), place an order (send a request), and then you receive your food (get a response).
Python Flask RESTful API Tutorial - Prerequisites
To follow this tutorial you need:
- Basic knowledge of the Linux command line.
- An Ubuntu 22.04 server with a non-root user with
sudoprivileges. You can get affordable, and powerful Ubuntu servers from our website, and you can check out our How to access your server using SSH guide to learn how to access your server and create asudouser. - Basic knowledge of the Python programming language.
Step 1 - Update The Package Cache
To get the latest packages, start by updating the packages in the package manager cache to the latest available versions using the following command:
sudo apt updateOutput
Step 2 - Installing Core Dependencies
Before you start coding your Flask RESTful API, you need to install some core dependencies for your Python programming environment. To do this, use the following command:
sudo apt install python3-pip python3-dev build-essential libssl-dev libffi-dev python3-setuptools python3-venvOutput
With this, you can now create a Python virtual environment for your project.
Step 3 - Isolating your Flask RESTful API in a Virtual Environment
Before you install Flask, you will first create a project folder and then create a Python virtual environment inside it to isolate your project code and dependencies from the rest of the system.
Python virtual environments allow you to have multiple isolated Python environments on one computer. This is useful for projects that require different versions of Python, or for projects that you don't want to contaminate with code from other projects. This ensures that each Python project is isolated from your other projects, so that conflict between dependencies does not occur.
First, create the project folder, we'll call it myapp:
mkdir myappNavigate to it:
cd myappCreate a Python virtual environment inside your myapp project folder:
python3 -m venv envActivate it:
source env/bin/activateYour command line should now have an (env) prefix indicating that your virtual environment is activated.
Install Flask:
pip install flaskOutput

With Flask now installed, you can now create a small application.
Step 4 - Building a Small Flask Application to Test Our Installation
First, we'll create a small Flask application that displays a Hello World! web page using a single Python file to test that everything works.
In your myapp folder, open a file called app.py:
nano app.pyAdd the following code to it:
from flask import Flask
app = Flask(__name__)

@app.route('/')
def hello():
    return '<h1>Hello World! This is my Flask Application!</h1>'

if __name__ == "__main__":
    app.run(host='0.0.0.0')
This code uses the Flask class to display an H1 heading on the main route (/).
Save and close the file.
If you've set up a firewall using UFW, you need to allow access to port 5000, which is the port Flask uses:
sudo ufw allow 5000Next, run your application using the following command:
python app.pyYou will get the following output, which gives information on your application and warns you not to use this simple Flask server on a production environment:
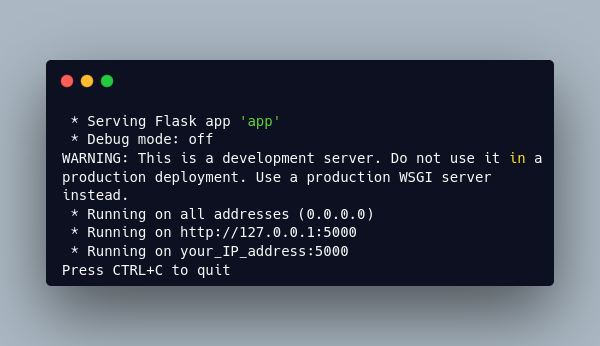
You can now visit your application's web page using your server's IP address and the 5000 port. Use your browser and navigate to the following URL:
http://your_server_ip:5000You'll see the Hello World! This is my Flask Application! header on your browser.
To terminate the flask application, tap CTRL-C in your terminal to stop the Flask development server.
Step 5 - Creating a Flask POST Endpoint for the RESTful API
The first part of our Flask RESTful API involves creating a new Flask POST endpoint that accepts POST requests and adds a new message to a text database.
First, open your app.py file for modification:
nano app.pyAdd the following highlighted parts:
import json
from flask import Flask, request, jsonify
app = Flask(__name__)

@app.route('/')
def hello():
    return '<h1>Hello World! This is my Flask Application!</h1>'


@app.post('/api/')
def add_message():
    message = json.loads(request.data)
    with open('data.json', 'r') as f:
        data = f.read()

    # If no data is in the text file, create a new list
    if not data:
        messages = [message]
    # If data exists in the text file, load it into a list
    # then append the new message to it
    else:
        messages = json.loads(data)
        messages.append(message)

    with open('data.json', 'w') as f:
        f.write(json.dumps(messages, indent=2))

    # return the added message
    return jsonify(message), 201

if __name__ == "__main__":
    app.run(host='0.0.0.0')
Save and close the file.
Here, you imported the json Python module, and the request and jsonify helpers from the Flask package.
You added the route @app.post('/api/') which accepts POST requests, hence why you use the @app.post decorator instead of the standard @app.route().
In the add_message() view function, you use json.loads() to load the POST request data as JSON into a variable called message, then you open a file called data.json and read it and save its contents in the data variable. For now, the data.json file does not exist yet, but you will create it later. If data.json is empty, you create a messages list with the POST request data that's in the message variable.
If there is already a list of JSON messages in the data.json file, you load it into the messages variable, and then append the new message in the POST request to it.
Next, you open the data.json file for writing, and then you write the messages into it.
Finally, you return the submitted message in a JSON format as a response with the 201 HTTP status which indicates that the request succeeded, and a new resource was created as a result.
Create the data file:
touch data.jsonThen run the server:
python app.pyNow, send a POST request with a message and a name using curl:
curl -X POST -d '{"name":"mike", "message": "Hello there!"}' http://your_IP:5000/api/ -H "Content-Type: application/json"Remember to change your_IP to your server's IP address.
You should receive the following response:
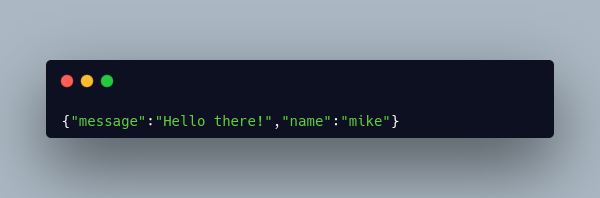
You can use the same command to add more messages:
curl -X POST -d '{"name":"john", "message": "Hello Everyone! My name is John!"}' http://your_IP:5000/api/ -H "Content-Type: application/json"Now that you've added a few messages using a POST request, you will create a route to display all the messages in your database using a GET request next.
Step 6 - Creating a Flask GET Endpoint for the RESTful API
Now that you have a method for adding new messages, the second part of our Flask RESTful API involves creating a new Flask GET endpoint that accepts GET requests and displays messages in a JSON format.
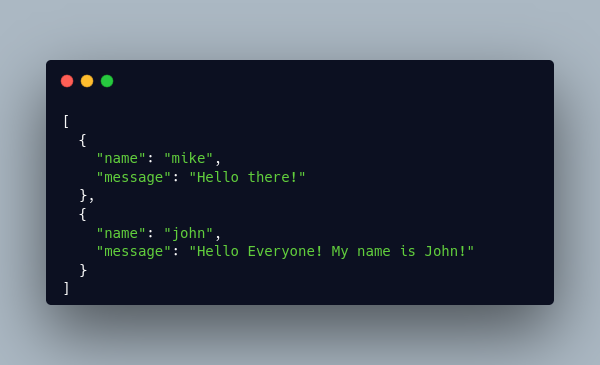
To display the messages in the data.json file, you can simply use cat to read the file:
cat data.jsonYou should see the following output:
Now, you can create a new route in your app.py file that returns the contents of your data.json database file as a JSON response.
First, open app.py for modification:
nano app.pyAdd the following route before the if __name__ == "__main__": line of your app.py file:
@app.get('/api/')
def display_messages():
    with open('data.json', 'r') as f:
        data = f.read()
        if not data:
                return jsonify({'error': 'data not found'}), 404
        messages = json.loads(data)

    return jsonify(messages)
Save and close the file.
Here, you use the @app.get() decorator to respond to GET requests that are sent to the /api/ route. In the display_messages() view function, you open the data.json and read it, if it's empty, you return an error message as a JSON response indicating that the data was not found along with a 404 HTTP status code. Otherwise you load the data into the messages variable and return it as a response.
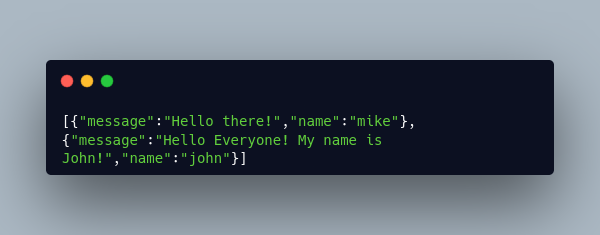
Now, you can test this new route using curl by sending a GET request to the /api/ route:
curl http://your_IP:5000/api/You should receive the messages you previously added to your database as a JSON response:
With this, you now have a small RESTful API that can be used to add and retrieve messages.
Note
This was a simple demonstration of how to create a RESTful API with Flask, in which you used a simple JSON file as a database. However, using a JSON file as a database in the real world is extremely inefficient and cumbersome. Therefore, you need to use an SQL or NoSQL database instead such as SQLite, PostgreSQL, or MongoDB.
Conclusion
In this tutorial, you've learned how to create a simple RESTful API with Flask in Python. You built a RESTful API that receives data via POST requests, and gets data using GET requests.
FAQ: Questions on Python Flask RESTful APIs
What are some best practices for designing and developing Flask RESTful APIs?
Here are some best practices for developing RESTful APIs in Flask:
- Ensure meaningful resource URIs.
- Adhere to RESTful principles like using proper HTTP methods.
- Document API endpoints comprehensively.
- Implement security measures such as authentication and authorization to protect against unauthorized access.
How does Flask differ from other frameworks for building RESTful APIs?
Flask offers simplicity and flexibility, allowing developers to build lightweight APIs quickly, whereas other frameworks might be more opinionated or complex.
Is Flask suitable for building large-scale production-ready RESTful APIs?
Yes, Flask can be used to build large-scale, production-ready RESTful APIs when combined with best practices such as modular code organization, efficient database management, and robust testing. By following industry standards and leveraging Flask's extensibility, you can create scalable and reliable APIs that meet the demands of your application's users.
A note about tutorials: We encourage our users to try out tutorials, but they aren't fully supported by our team—we can't always provide support when things go wrong. Be sure to check which OS and version it was tested with before you proceed.
If you want a fully managed experience, with dedicated support for any application you might want to run, contact us for more information.