
Are you looking for a simple tutorial for how to use Nginx as a reverse proxy with SSL? This guide will walk you through exactly that!
Nginx is a powerful tool. It allows you to serve multiple apps, websites, load-balance applications and much more. All that flexibility is powered by a relatively simple configuration system that uses nearly-human-readable configuration files.
How To Use Nginx as a Reverse Proxy With SSL?
To use Nginx as a reverse proxy with SSL, configure Nginx to listen on the appropriate ports, set up SSL certificates, define proxy_pass directives to forward requests to backend servers, and adjust firewall settings as necessary.
Why Use Nginx as a Reverse Proxy With SSL?
It may not be directly obvious why you might need an Nginx reverse proxy with SSL, but Nginx is a great option for serving your web apps-- take, for example, a NodeJS app.
By default, it runs locally on a machine and listens on a custom-defined port. Usually, this is port 3000 by default and is accessed by typing something like http://YOUR-DOMAIN:3000
But Nginx lets you serve your app that is running on a non-standard port without needing to attach the port number to the URL. It even lets you run different apps on each subdomain, or even in different sub-folders!
Cool, right?
This guide will demonstrate how to utilize Nginx to serve a web app, such as a NodeJS App, using SSL Encryption.
Nginx as a Reverse Proxy With SSL - Prerequisites
This guide will assume a general understanding of using a Linux-based system via command line, and will further assume the following prerequisites:
- Ubuntu 22.04
- Non-Root User
- App Running on Custom Port (this guide assumes port 3000)
- DNS A Name Record for Domain Used
- SSL Certificate For the Domain
Nginx Configuration
To get the default configuration for Nginx on Ubuntu 22.04, when installed using the Nginx-full package option, look for available sites at the following location:
/etc/nginx/sites-available/
This location will have a default file with an example Nginx virtual host configuration. Instead, we will be creating a new site using an empty file that we can utilize. Once logged in as your non-root user, run the following command to create the new configuration file:
sudo touch /etc/nginx/sites-available/YOUR-DOMAIN
Be sure to replace YOUR-DOMAIN with your domain you plan to associate with your app.
Next, we will modify the file so that it does what we need it to. I will be using vim in this guide, but feel free to use whatever text editor you're most comfortable with:
sudo vim /etc/nginx/sites-available/YOUR-DOMAIN
The next few steps include adjusting the sites-available/YOUR-DOMAIN file you created just before, so be sure to adjust where indicated so that it functions as desired:
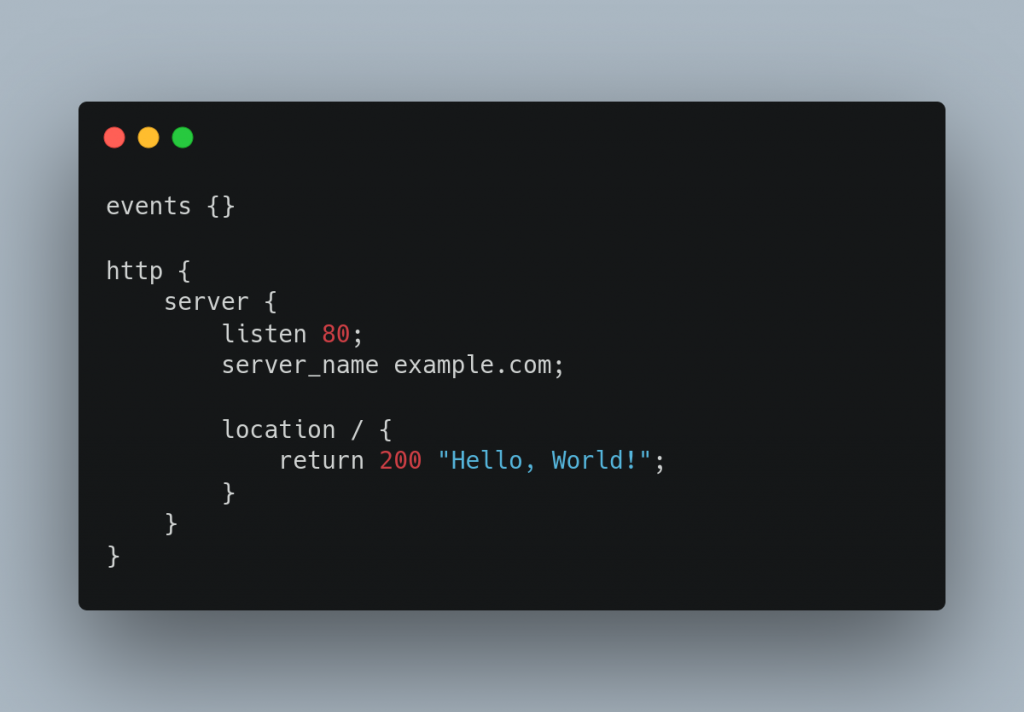
This Section tells Nginx to listen on port 80 for your domain and rewrites the request to HTTPS for us
server {
listen 80;
server_name YOUR-DOMAIN www.YOUR-DOMAIN; # Edit this to your domain name
rewrite ^ https://$host$request_uri permanent;
}
This is all the configuration declarations that help SSL Function.
server {
listen 443 ssl;

server_name YOUR-DOMAIN;
# Edit the above _YOUR-DOMAIN_ to your domain name

ssl_certificate /etc/letsencrypt/live/YOUR-DOMAIN/fullchain.pem;
# If you use Lets Encrypt, you should just need to change the domain.
# Otherwise, change this to the path to full path to your domains public certificate file.

ssl_certificate_key /etc/letsencrypt/live/YOUR-DOMAIN/privkey.pem;
# If you use Let's Encrypt, you should just need to change the domain.
# Otherwise, change this to the direct path to your domains private key certificate file.

ssl_session_cache builtin:1000 shared:SSL:10m;
# Defining option to share SSL Connection with Passed Proxy

ssl_protocols TLSv1 TLSv1.1 TLSv1.2;
# Defining used protocol versions.

ssl_ciphers HIGH:!aNULL:!eNULL:!EXPORT:!CAMELLIA:!DES:!MD5:!PSK:!RC4;
# Defining ciphers to use.

ssl_prefer_server_ciphers on;
# Enabling ciphers

access_log /var/log/nginx/access.log;
# Log Location. the Nginx User must have R/W permissions. Usually by ownership.
This is the juicy part of the config file, handing off relevant data to our back-end app running on port 3000
Nothing should need to be changed here unless port 3000 is not the port you're using.
Furthermore, if you're using a socket to serve your app (PHP comes to mind), you can define a UNIX:.sock location here as well
location / {
proxy_set_header Host $host;
proxy_set_header X-Real-IP $remote_addr;
proxy_set_header X-Forwarded-For $proxy_add_x_forwarded_for;
proxy_set_header X-Forwarded-Proto $scheme;
proxy_pass http://localhost:3000;
#proxy_pass unix:/path/to/php7.3.sock # This is an example of how to define a unix socket.
proxy_read_timeout 90;
}

} # Don't leave this out! It "closes" the server block we started this file with.
Save and exit the YOUR-DOMAIN file. If you're using vim, hit Esc to exit INSERT mode, then type :wq and hit enter to save and exit the file.
To make the file active, we will need to link the file in the sites-available folder to a location within the sites-enabled folder. Again, change YOUR-DOMAIN here with the actual name of the file you created earlier.
ln -s /etc/nginx/sites-avaialable/YOUR-DOMAIN /etc/nginx/sites-enabled/YOUR-DOMAIN.conf
Let's now test the configuration file.
sudo nginx -t
If the test is successful, you'll see this output:
nginx: the configuration file /etc/nginx/nginx.conf syntax is ok
nginx: configuration file /etc/nginx/nginx.conf test is successful
Now that we know it's going to work as expected, issue the command to restart the Nginx service
sudo systemctl restart nginx

# OR #

sudo service nginx restart
Both commands perform the same task, simply preference decides your method here. I can safely say I use both and in no specific priority.
You should now be able to launch your app (if it wasn't running already) and visit YOUR-DOMAIN in a browser, assuming the DNS is correct.
Congratulations-- you've now set up a reverse proxy using Nginx. And your app will now be showing to the world with HTTPS enabled!
A note about tutorials: We encourage our users to try out tutorials, but they aren't fully supported by our team—we can't always provide support when things go wrong. Be sure to check which OS and version it was tested with before you proceed.
If you want a fully managed experience, with dedicated support for any application you might want to run, contact us for more information.


One Response to How To Use Nginx As A Reverse Proxy With SSL
jerry
Good nginx reverse proxy guide. when testing the external view of my setup, i sometimes use an proxyorb.com check how it looks from outside.