
DirectAdmin is one of the fastest web control panels for Linux servers that’s currently among the most popular cPanel alternatives. It comes with all the basic functions you’d expect from a web control panel, as well as extensive documentation.
In this tutorial, we'll take you through the entire DirectAdmin installation and deployment process on your Linux VPS, with a special focus on servers hosted here at SSD Nodes.
So, without further ado – let's jump right in:
Requirements
To install DirectAdmin, your server needs to have a clean installation of one of the following Linux operating systems:
- CloudLinux versions 6.x 32/64-bit, 7.x 64-bit, and 8.x 64-bit;
- RedHat Enterprise / CentOS versions 6.x 32/64-bit, 7.x 64-bit, and 8.x 64-bit;
- Debian 8.x 64-bit, 9.x 64-bit, 10.x 64-bit, and 11.x 64-bit ALPHA – You can also install it on a Ubuntu server if you use “Linux 64-bit static” OS selection for Ubuntu installs, and there’s ongoing Alpha testing for Debian 11 (Bullseye) support;
- FreeBSD 11.x 64-bit and 12.x 64-bit.
For more details on what’s required to use DirectAdmin on your server, check the install guide page on their official website.
Installation
At the very beginning, verify your license information in DirectAdmin’s clients verifier. Here, you can check if your OS and server IP are correct, and also whether your license is active and verified.
To start the installation, you will need to install some basic packages, such as gcc, g++, OpenSSL-devel, and SSH. Go through the pre-install commands for all the software you need before starting the installation. The commands you need to run vary depending on the OS you’re using.
After you have run these commands, it’s time to start installing DirectAdmin. Begin by logging in as root, and then proceed by downloading the setup.sh file:
- wget -O setup.sh https://www.directadmin.com/setup.sh
If you’re using a FreeBSD Linux distribution, use fetch instead of wget when typing the above line.
Next up, you need to change the permissions of the setup.sh file:
- chmod 755 setup.sh
Then, run the following script:
- ./setup.sh auto
After that, the system will prompt you for a client ID number, license ID number, and hostname. You should keep in mind that your hostname should not be your primary domain name, because if these two are the same thing, issues with FTP and mails will arise. For instance, if your primary domain name is domain.com, don’t also use that for a hostname, but go for server.domain.com instead.
The hostname should also resolve when you’ll have your DNS set up.
With that, your installation will be complete.
Post-Installation Steps
After you’ve installed DirectAdmin on your SSD Nodes server, there are still some steps remaining in order for it to function properly on a VPS. Read on to find out more about them.
1. Entering Device Name from Ifconfig
First, access the DirectAdmin control panel at http://serveripaddress:2222. Here, you need to replace serveripaddress with the IP address of your server. To log in, use the Admin username and password you can find in the setup.txt file in the scripts directory.
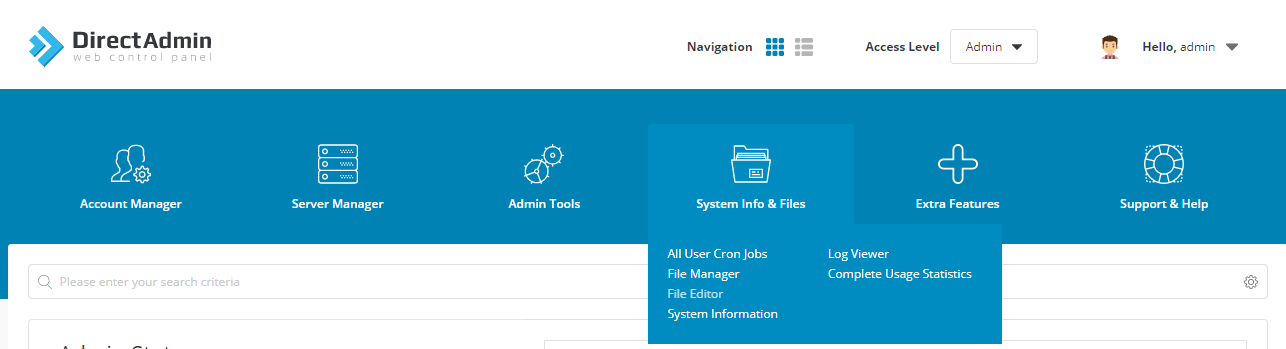
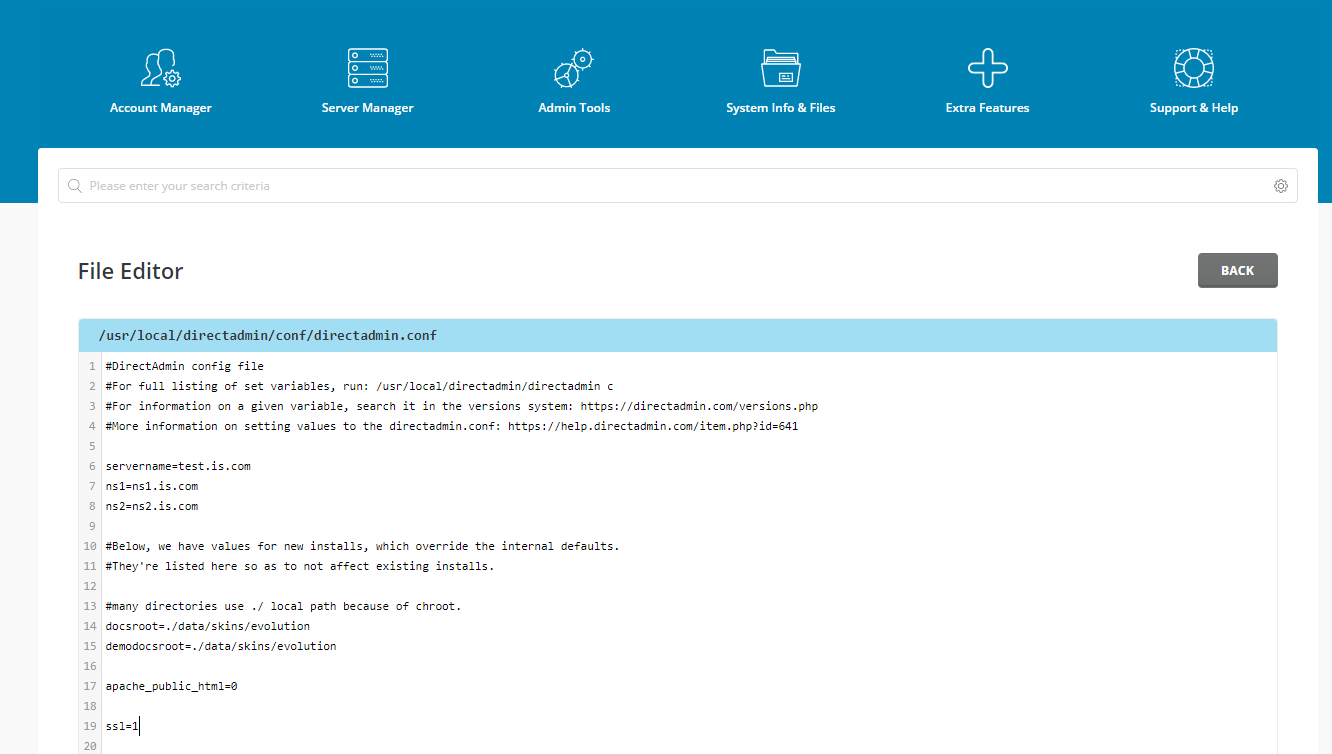
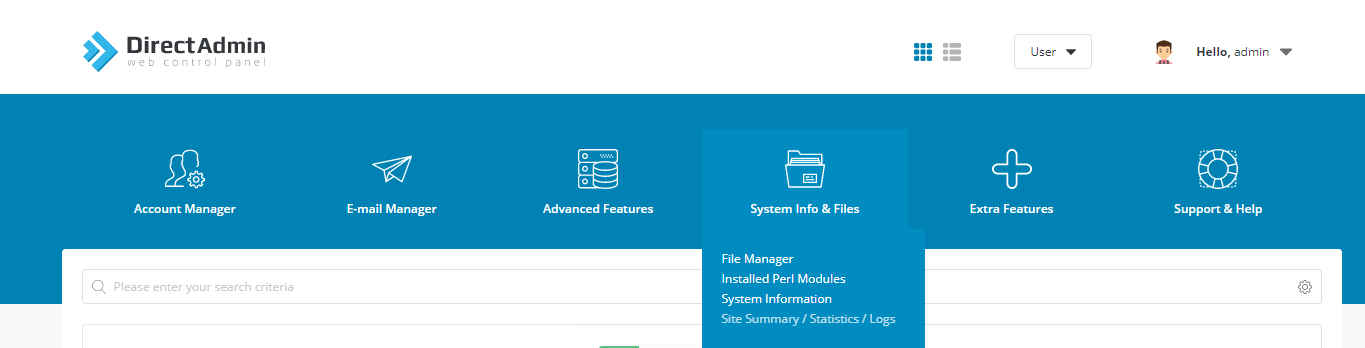
After you log in, go to the System Info & Files section of the DirectAdmin dashboard and choose File Editor.
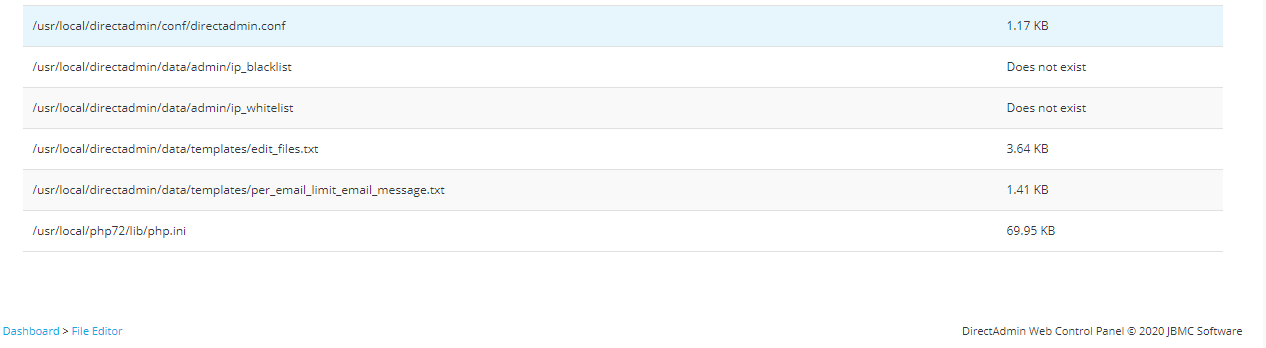
Once you’re in, open the /usr/local/directadmin/conf/directadmin.conf file and write this line in it:
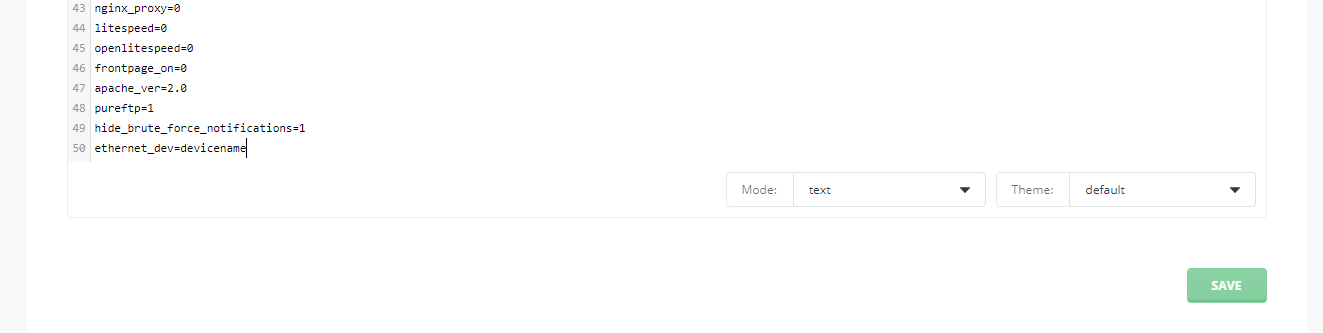
- ethernet_dev=devicename
Here, devicename stands for the full device name you should replace it with. To find out what it is, run the following command:
- /sbin/ifconfig
After writing the device name line, save the file.
2. Setting Up SSL Certificates
In case you want to use DirectAdmin with SSL, you should change set SSL=1 in the directadmin.conf file, and follow their instructions here.
3. Creating Your Main Domain Name
Next, you should set a main domain name, as no site is assigned to your server yet. To do so, access your control panel by going to http://serveripaddress:2222. You will need the admin user and password which you can find in the setup.txt file in the scripts directory.
Once inside, choose the User Panel from the link you will see in the top right.

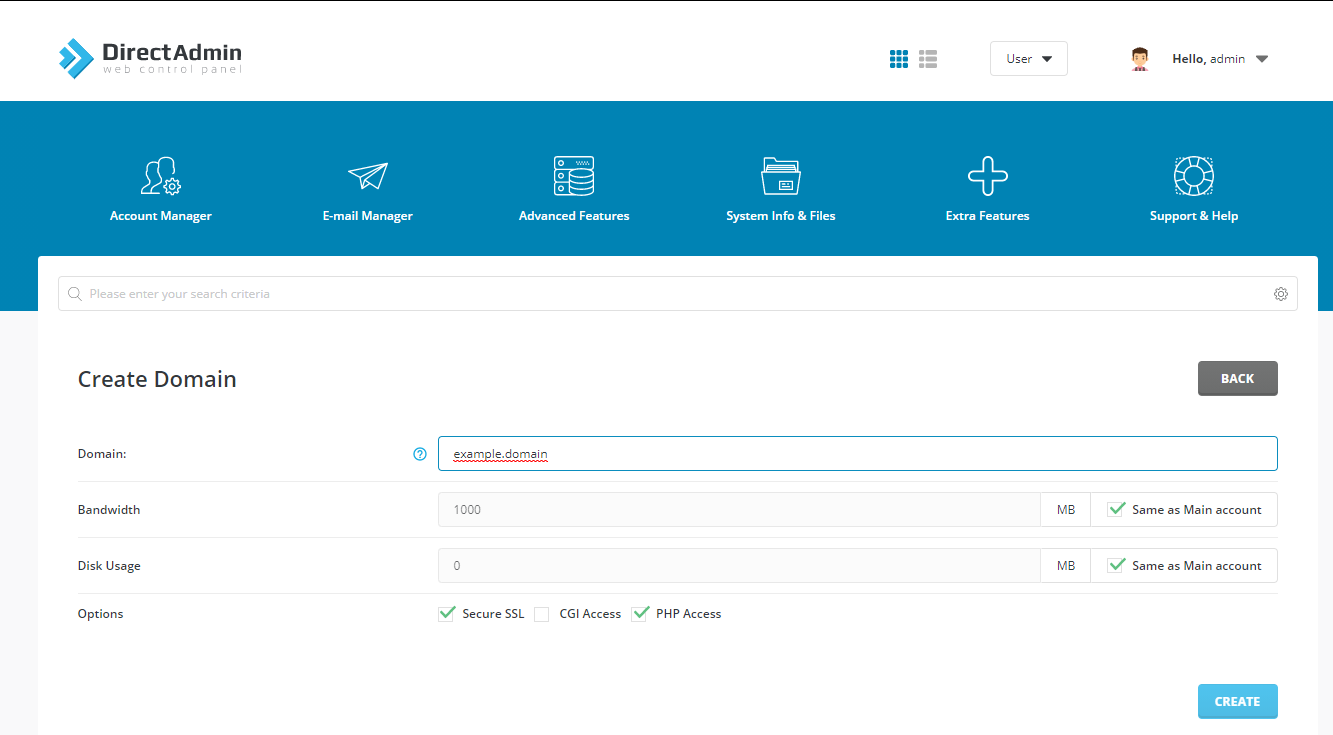
Then, click on the Add New button.
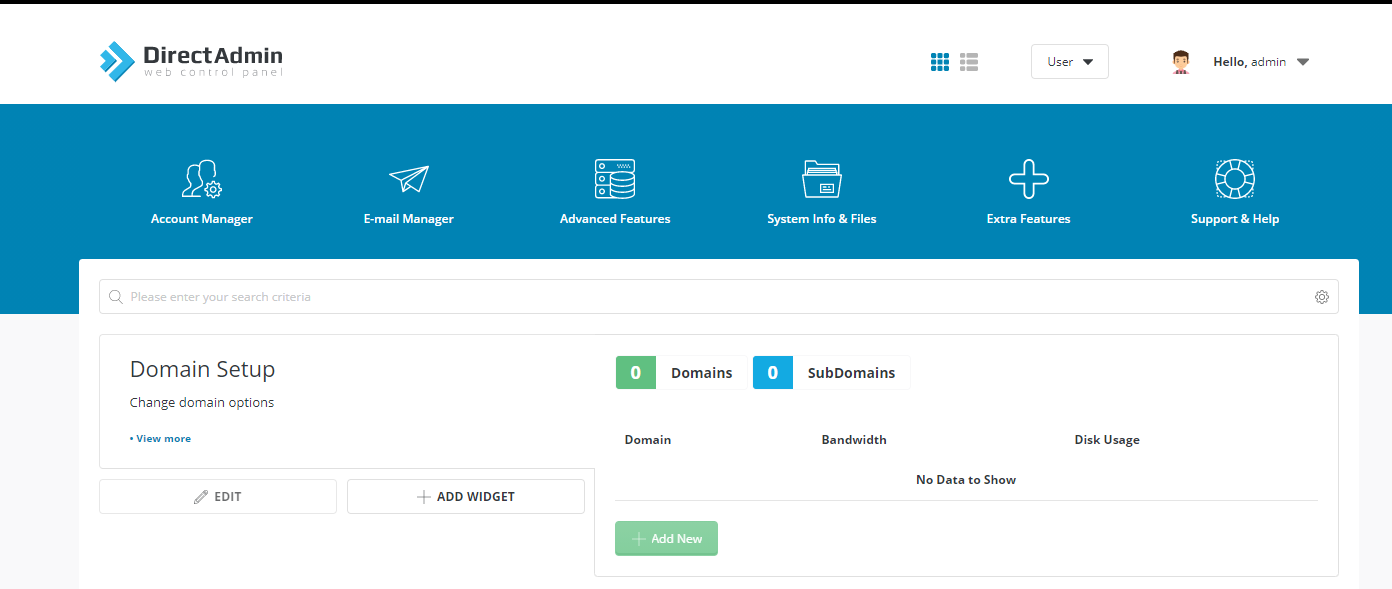
In it, write your domain name and go to Create.
4. Optional Step: Setting Nameservers
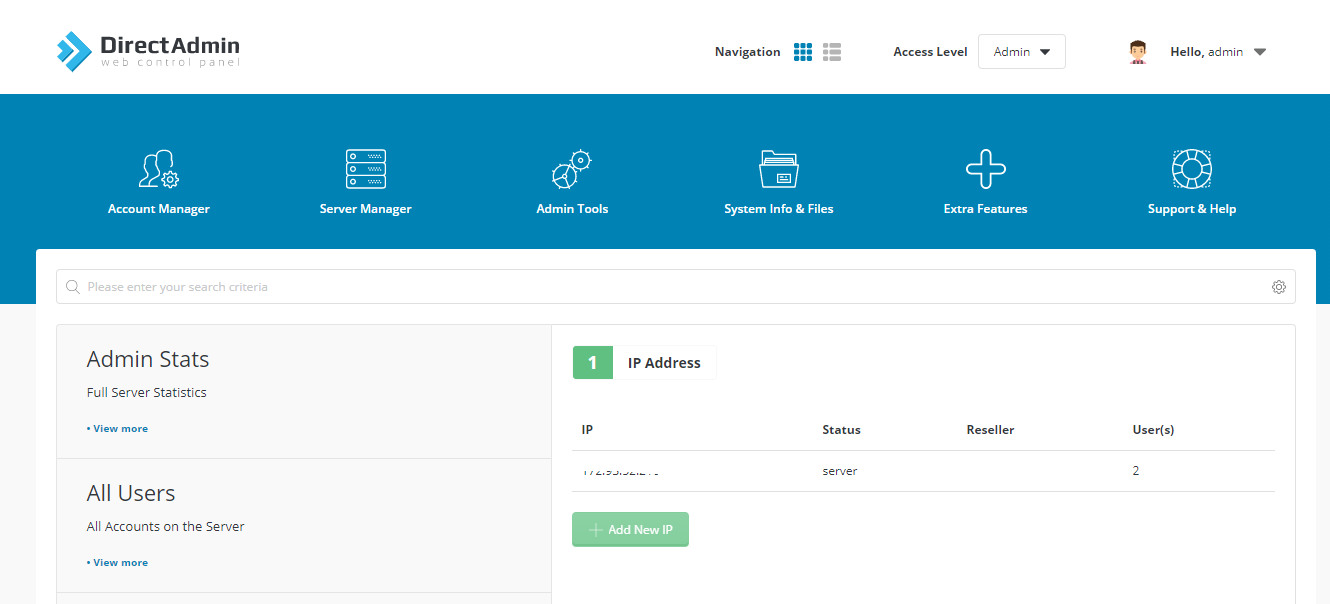
To set nameservers, you should start by adding another IP address to your server. Start by logging into DirectAdmin with the admin user and password. Once inside, go to IP Manager in the lower left.
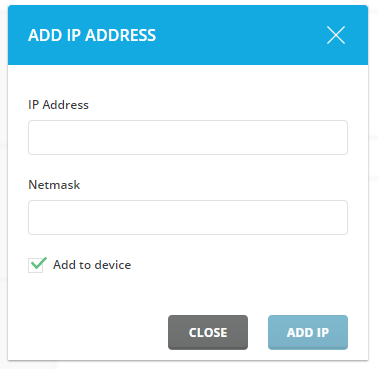
Once inside, add your second IP address by clicking on the Add New IP button.
To verify, click on Add IP.
After that, you will need to check all the IP address boxes, and then go to Assign to username in the bottom section. Here, username should be replaced by your admin user from the dropdown menu.
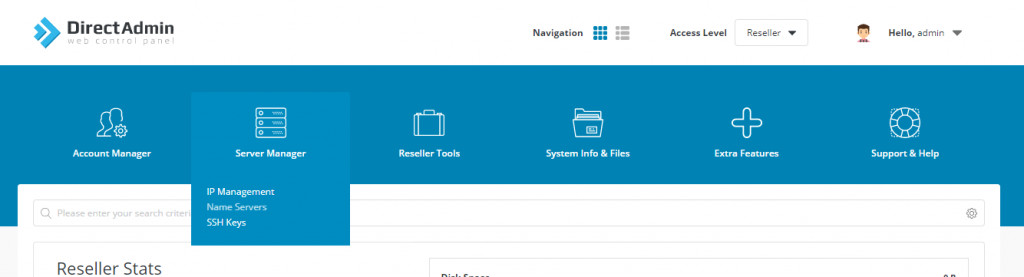
The next step is creating the nameservers. To do so, first go to the Reseller Panel in the top right of the screen.

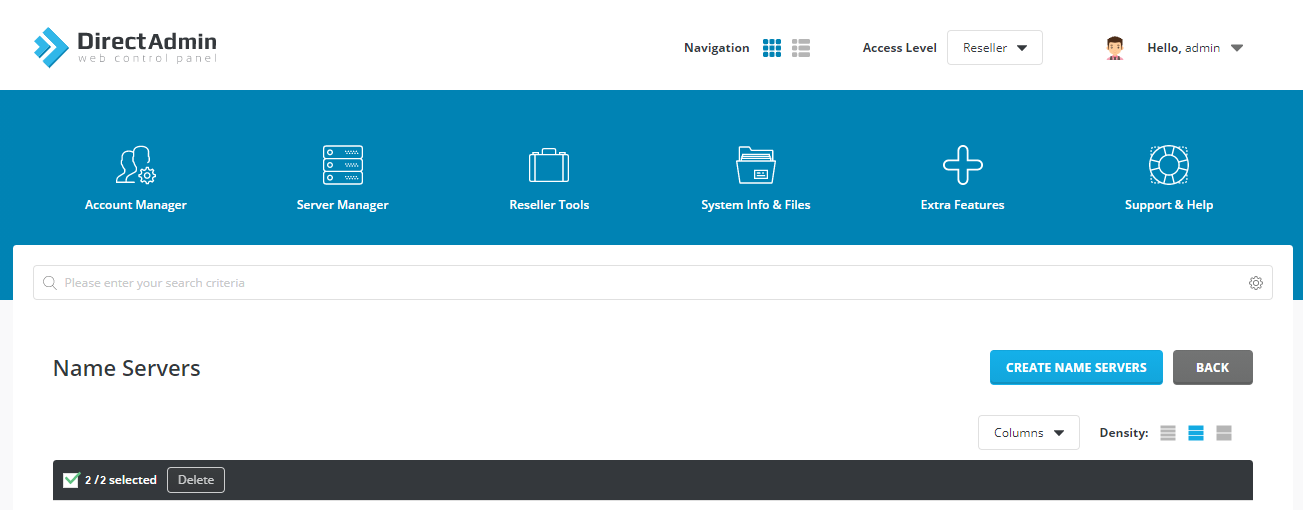
From there, go to Name Servers under Server Manager.
In case you already see nameservers in this section, remove them by ticking all their boxes and clicking on Delete. After that, check any two IP addresses, click on Create Nameservers, and choose the domain for nameservers.
Finish setting up the nameservers by letting DirectAdmin know that these are going to be your primary nameservers. To do so, go back to the Admin Panel, and then to Administrator Settings under Server Manager.
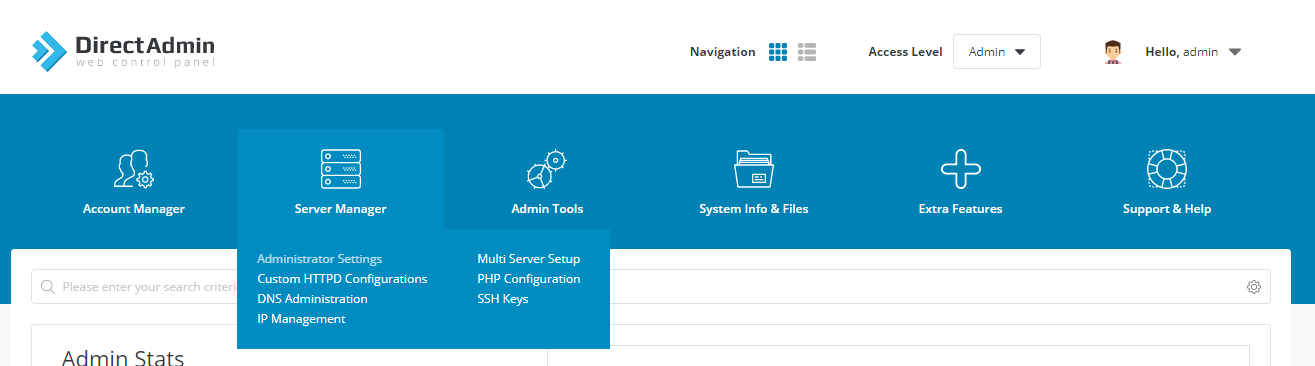
From there, navigate to Server Settings.
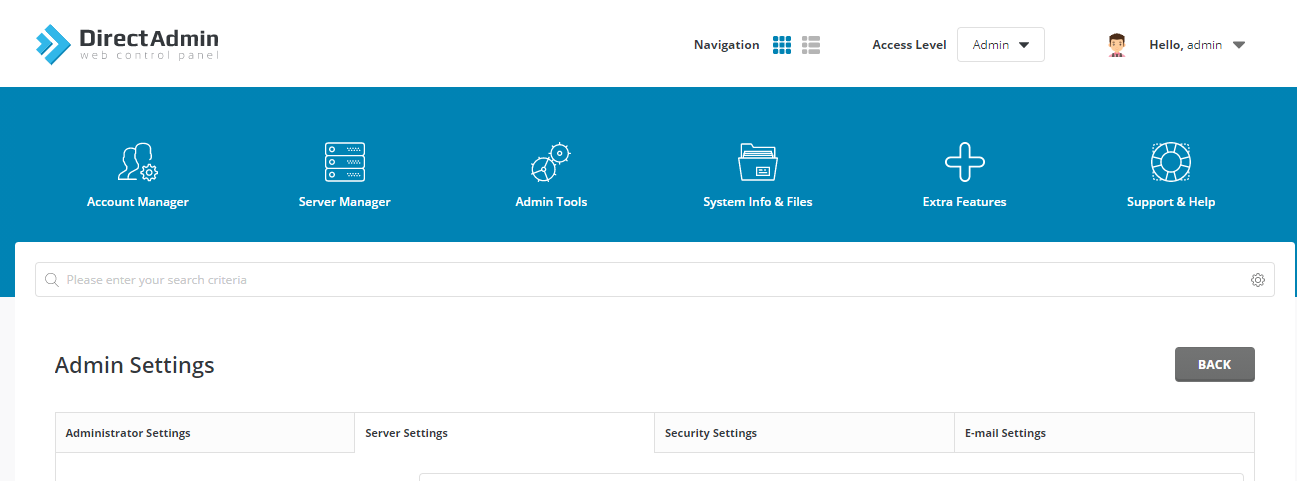
Here, verify that the NS1/NS2 fields are correct, and after you do so, click Save. Your nameservers are now set.
5. Setting the Email Address in Admin Control Panel
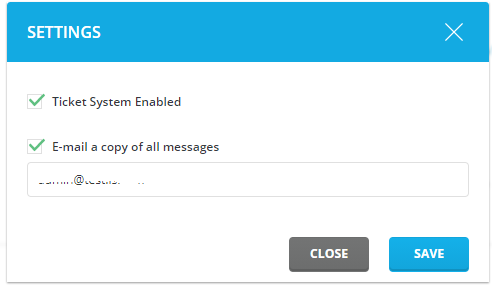
Lastly, you’ll need to set your email address in the Admin control panel. Once there, go to Support & Help and click on Manage Tickets. In this section, click on Ticket System Settings.
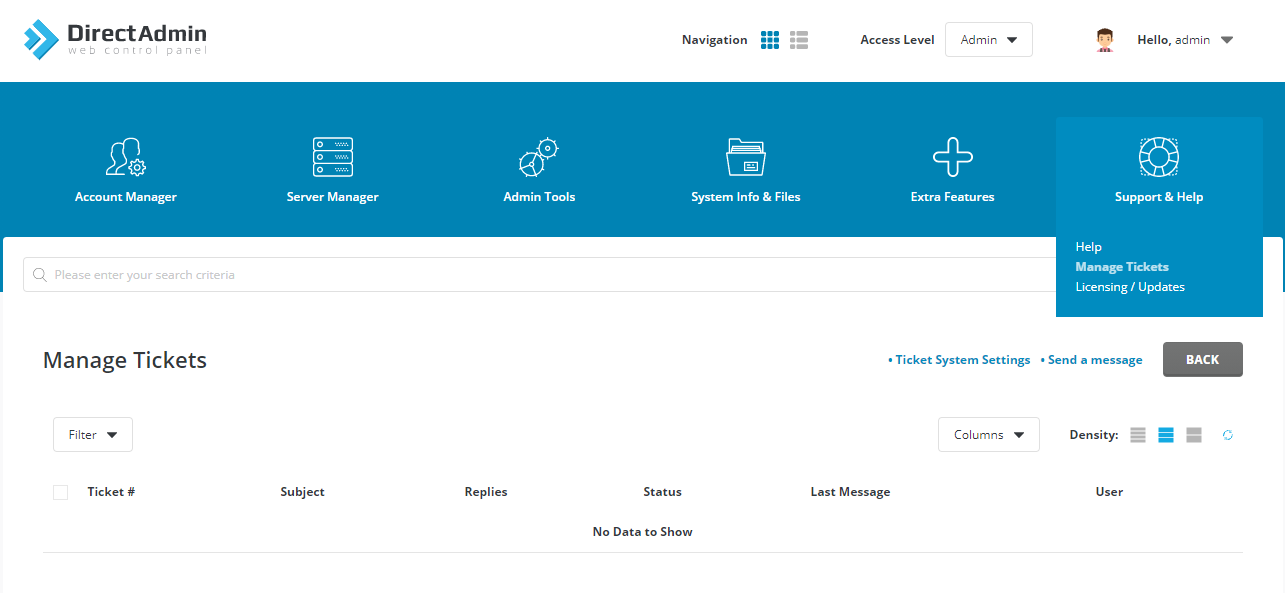
Here, you need to verify your email address is set correctly.
After that, you’ll need to go to the User Panel again, then go to the Site Summary/ Statistics/ Logs section under System Info & Files and set the address.
With that done, you’re all set! You can start using DirectAdmin on your SSD Nodes server!
Conclusion
We hope you've found this complete DirectAdmin installation tutorial helpful & are able to get everything set up on your own VPS smoothly...
If you're ever out looking for a VPS hosting provider that's both reliable & accessible, we'd love for you to check out SSD Nodes.
A note about tutorials: We encourage our users to try out tutorials, but they aren't fully supported by our team—we can't always provide support when things go wrong. Be sure to check which OS and version it was tested with before you proceed.
If you want a fully managed experience, with dedicated support for any application you might want to run, contact us for more information.