TL;DR Version
To install Nginx and Certbot on Ubuntu/Debian systems, you first need to make sure that your FQDN has an A record pointing at your server's public IP, and then simply run:
$ sudo apt install nginx;
$ sudo snap install core; sudo snap refresh core
$ sudo snap install --classic certbot
To issue a free SSL/TLS certificate from Let's Encrypt, and automatically modify Nginx to use those certificates, run the below command:
$ sudo certbot --nginx
That's it! Nginx is now serving it's default website, at /etc/nginx/sites-enabled/default as an HTTPS website.
A More Detailed Explanation
One of the most basic tasks you will perform while setting up your next website, app or API server is to ensure that the traffic is encrypted between the client and the server, and that the identity of the original server is verifiable. TLS enables us to do that.
Continuing our series on Nginx Basics, we will see how to procure a TLS (also known as SSL) certificate and make Nginx use it to encrypt and secure all web traffic.
Prerequisites
In order to follow along, you need the following:
- A very basic understanding of Nginx configuration, as discussed here.
- A very basic understanding of how TLS works
- A VPS with a public IP, running Ubuntu 20.04 LTS. If you don't already have one, head over to SSDNodes and treat yourself to some delicious compute 🙂
- A registered domain name, like www.example.com where you want to host your project.
Initial Setup
1. Setting Up DNS Record
The first thing you need to do, is to point visit the DNS management service that you are using. This could be the very place that you bought your domain name from, like Hover, Namecheap, Gandi or GoDaddy. Or it could be the third party DNS service provider like Cloudflare. At your name server control panel, create an A record for your domain pointing to the Public IP address of your VPS.
For example, if you own example.com and want to run a website called test.example.com, then create an A record for test.example.com pointing at your IP address which itself would look something like 127.74.45.11
Here, example.com is known as your Domain Name and, test.example.com is known as your Fully Qualified Domain Name or FQDN
To find your IP, simply use the command:
$ ip addr
Output:
1: lo: <LOOPBACK,UP,LOWER_UP> mtu 65536 qdisc noqueue state UNKNOWN group default qlen 1000
    link/loopback 00:00:00:00:00:00 brd 00:00:00:00:00:00
    inet 127.0.0.1/8 scope host lo
       valid_lft forever preferred_lft forever
    inet6 ::1/128 scope host
       valid_lft forever preferred_lft forever
2: enp3s0: <BROADCAST,MULTICAST,UP,LOWER_UP> mtu 1500 qdisc fq_codel state UP group default qlen 1000
    link/ether 52:54:fe:d4:a4:87 brd ff:ff:ff:ff:ff:ff
    inet 63.250.55.96/24 brd 63.250.55.255 scope global noprefixroute enp3s0
       valid_lft forever preferred_lft forever
    inet6 fe80::5054:feff:fed4:a487/64 scope link noprefixroute
       valid_lft forever preferred_lft forever
Depending on what you have installed on your VPS, Docker, LXD etc there might be quite a few network interfaces and to figure out which one is your public interface can get a bit tricky. But by default, there are only two. A loopback interface, called lo, and our public interface usually called enp3s0 or eth0 or ens3. In our case it is enp3s0 and the IP address (listed as inet) is 63.250.55.96
The IP address will be different in your case, set an A record for it, and then we can move on to step two.
2. Installing Necessary Packages
Apart from the obviously needed Nginx package we will also need Certbot to fetch TLS certificates and automatically configure Nginx for us. For Ubuntu 20.04 and Debian 10 systems you can run the following commands:
$ sudo apt install nginx -y
$ sudo systemctl start nginx
$ sudo snap install core; sudo snap refresh core
$ sudo snap install --classic certbot
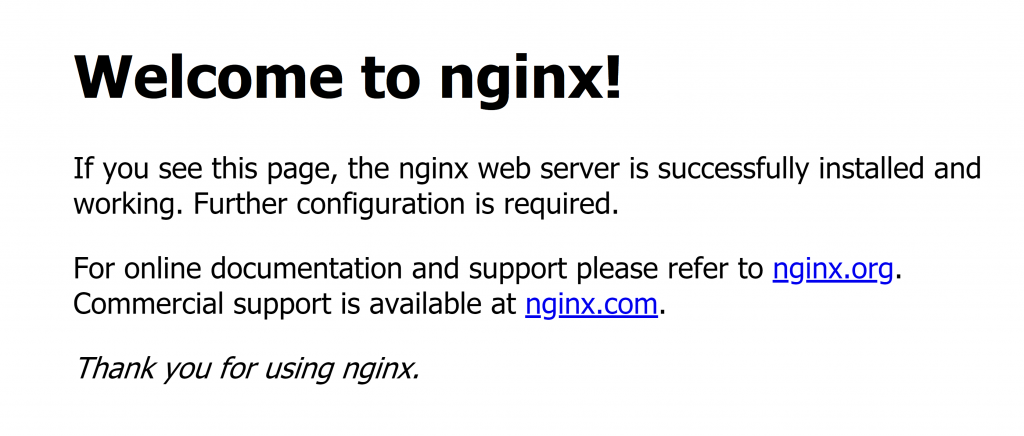
Once, Nginx is installed you will be able to see a basic HTML website if you type in your public IP address into your web browser's address bar.

3. Adding Server Name to Nginx config
In order to make things easier, for Certbot, we can modify the file /etc/nginx/sites-enabled/default and replace the following line:
server_name _;
With the proper FQDN of your server:
server_name test.example.com;
Make sure to use your own specific FQDN instead of just example.com this will be read by Certbot to automatically try and fetch certificate for it.
Fetching Let's Encrypt TLS Certificate Using Certbot
Let's Encrypt is the certificate authority that we will be using to issue a free TLS certificate for our website. Certbot is the program that will talk to Let's Encrypt and automatically fetch the certificate for us. To learn more about how TLS and Let's Encrypt works you can check out this blog post.
To fetch and install the certificates in a single command:
$ sudo certbot --nginx
It will prompt you to enter your email address, which is needed for certificate renewals and other security updates:
Saving debug log to /var/log/letsencrypt/letsencrypt.log
Plugins selected: Authenticator nginx, Installer nginx
Enter email address (used for urgent renewal and security notices)
(Enter 'c' to cancel): [email protected]
Next, you need to accept Let's Encrypt's Terms of Service:
- - - - - - - - - - - - - - - - - - - - - - - - - - - - - - - - - - - - - - - -
Please read the Terms of Service at
https://letsencrypt.org/documents/LE-SA-v1.2-November-15-2017.pdf. You must
agree in order to register with the ACME server. Do you agree?
- - - - - - - - - - - - - - - - - - - - - - - - - - - - - - - - - - - - - - - -
(Y)es/(N)o: Y
This will be followed by an option to sign up for their newsletter, which you can agree to, or deny. After this, certbot will go through all your nginx configuration files and if you have been following along so far, it will grab your FQDN automatically, like so:
Account registered.

Which names would you like to activate HTTPS for?
- - - - - - - - - - - - - - - - - - - - - - - - - - - - - - - - - - - - - - - -
1: test.iranvir.com
- - - - - - - - - - - - - - - - - - - - - - - - - - - - - - - - - - - - - - - -
Select the appropriate numbers separated by commas and/or spaces, or leave input
blank to select all options shown (Enter 'c' to cancel):
Press ENTER and Certbot will fetch the certificates and then modify your Nginx configuration to automatically use the new certifcates. Certbot will also configure Nginx to automatically redirect all the unecrypted traffic (reaching on port 80) to encrypted traffic (reaching on port 443). If you have not modified the configuration file, the process will still work but you will have to manually enter the FQDN when prompted.
Final Steps
The certificates expires after 90 days. To renew them, simply run the command:
$ certbot renew
I would recommend, adding the above command to your crontab file. This would allow your server to automatically run the command after a given time interval. For example, adding the below line to your /etc/crontab:
0 0 * * * root certbot renew
Would make sure that your VPS tries to renew the certificate everyday at midnight. And when the expiry date draws closer, it will automatically renew it as well!
Changes in the Configuration
If you are doing anything more complex than a WordPress blog, chances are you will need to know how to configure TLS/SSL certificates yourself. So let's look at the configuration file and how it has changed:
Initially, the file /etc/nginx/sites-enabled/default looked like this:
server {
    listen 80 default_server;
    listen [::]:80 default_server;

    root /var/www/html;
    index index.html index.htm index.nginx-debian.html;
    server_name test.example.com; #Custom change made by us during this tutorial

    location / {
        try_files $uri $uri/ =404;
    }
}
The same configuration, after issues the certbot --nginx command, looks like this:
server {

    root /var/www/html;
    index index.html index.htm index.nginx-debian.html;
    server_name test.example.com;

    location / {
        try_files $uri $uri/ =404;
    }

    listen [::]:443 ssl ipv6only=on; # managed by Certbot
    listen 443 ssl; # managed by Certbot
    ssl_certificate /etc/letsencrypt/live/test.example.com/fullchain.pem; # managed by Certbot
    ssl_certificate_key /etc/letsencrypt/live/test.example.com/privkey.pem; # managed by Certbot
    include /etc/letsencrypt/options-ssl-nginx.conf; # managed by Certbot
    ssl_dhparam /etc/letsencrypt/ssl-dhparams.pem; # managed by Certbot

}

server {
    if ($host = test.example.com) {
        return 301 https://$host$request_uri;
    } # managed by Certbot

    listen 80 default_server;
    listen [::]:80 default_server;

    server_name test.iranvir.com;
    return 404; # managed by Certbot

}
The comments indicate which parts of the configuration are managed by Certbot. For example, from our initial server block the line listen 80 default_server; directive got replaced by listen 443 ssl; and a few extra lines were added to indicate SSL(or TLS) specific settings, like the location of fullchain.pem and privkey.pem files which are your certificate and private key, respectively. In addition, a new server block is added that listens on port 80, and if the incoming HTTP traffic is for http://test.example.com it redirectly it all to https://test.example.com thereby ensuring that all the traffic is encrypted, without the end user of the website having to worry about it.
A note about tutorials: We encourage our users to try out tutorials, but they aren't fully supported by our team—we can't always provide support when things go wrong. Be sure to check which OS and version it was tested with before you proceed.
If you want a fully managed experience, with dedicated support for any application you might want to run, contact us for more information.

