

How to Install Let's Encrypt on Ubuntu
To install Let's Encrypt on Ubuntu with Certbot for Apache and Nginx, first, you'll update your package list. Then, install Certbot and the necessary plugins. Once Certbot is installed, you will use it to generate Let's Encrypt certificate files. Finally, you will set up the certificate in your web server's configuration files.Prerequisites for Installing Let's Encrypt on Ubuntu
- To follow this tutorial, you'll need an Ubuntu server with sudo privileges. If you haven't noticed, we offer the best priced, most reliable, and fastest Ubuntu servers in the world.
Step 1 - Install Certbot on Ubuntu 24.04
To install certbot and use it with Apache and Nginx on Ubuntu 24.04, first update your package list:sudo apt updateapt command to install certbot:
sudo apt install -y certbotNote
TCP ports 80 (HTTP) & 443 (HTTPS) must be opened on the server firewall for these instructions to work.Step 2 - Install a Let’s Encrypt Certificate Using Certbot
To create a Let’s Encrypt certificate withcertbot on Ubuntu, you’ll use the following command structure:
sudo certbot certonly --webroot --webroot-path WEB_SERVER_ROOT_PATH -m EMAIL -d DOMAIN --agree-tos -ncertonly: (certificate only) used to just obtain the certificate without installing it anywhere.--webroot: An option that is used here to keep the web server running while Certbot runs, since we’re already running a local web server, and don't want to stop it during the certificate issuance process.--webroot-pathor-w: Defines the top-level directory (“web root”) containing the files served by your webserver. Note that the web root path must be the path on which files from the domain are served. In our example, it's the web root path from which ourhttp://www.example.comURL serves files.--mailor-m: The email which will be used by the certificate authority to alert you when a domain will expire.--domainor-d: The domain name you’ll use to access the server by.--agree-tos: Confirms our agreement to the ACME server's subscriber agreement.--non-interactiveor-nis used to execute the command without ever asking for user input or prompts.
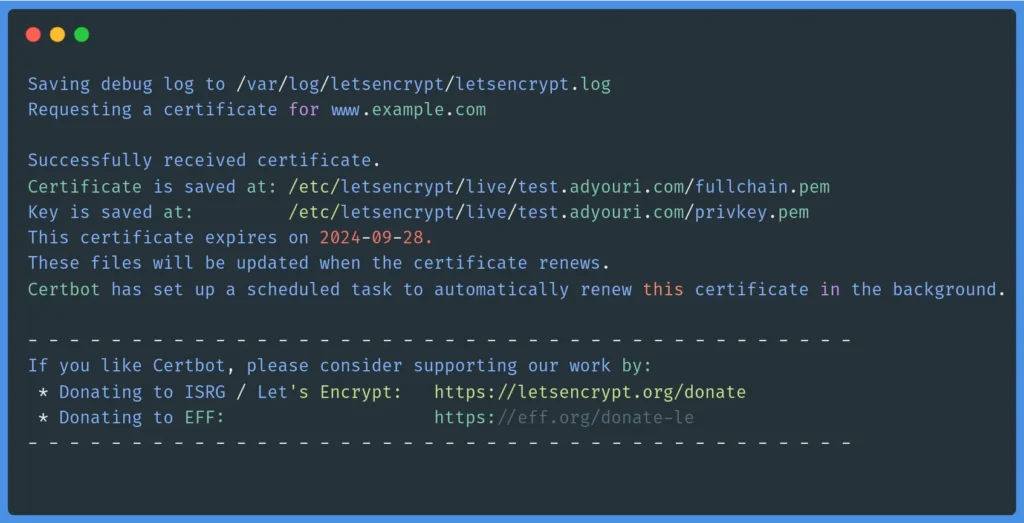 Now that you are familiar with the certbot options and actions, you can form and execute a certbot command to create a certificate. For example, you can use the following command, making sure to set the appropriate values for your case:
sudo certbot certonly --webroot --webroot-path /var/www/html/ -m [email protected] -d www.example.com --agree-tos -nContinue reading this article
by subscribing to our newsletter.
Subscribe nowby subscribing to our newsletter.
A note about tutorials: We encourage our users to try out tutorials, but they aren't fully supported by our team—we can't always provide support when things go wrong. Be sure to check which OS and version it was tested with before you proceed.
If you want a fully managed experience, with dedicated support for any application you might want to run, contact us for more information.