
 Note: Prefer Caddy over Nginx for automatic HTTPS? See our n8n + Caddy installation guide for an alternative approach.
Prerequisites
Before you begin:- Deploy an Ubuntu 24.04 server. SSD Nodes VPS plans start at $5.50/month with a lifetime price lock and 14 global data center locations.
- Create a non-root user with
sudoprivileges.
Install n8n on Ubuntu with Docker and Let's Encrypt - Quick Start
If you just want to get n8n running on Ubuntu 24.04 with Docker and Let's Encrypt, here are the essential commands:$ sudo apt install -y ca-certificates curl gnupg
# Create n8n directory and data volume
$ mkdir n8n && cd n8n
$ mkdir ./n8n_data
$ sudo chown -R 1000:1000 ./n8n_data
# Create and start the n8n container
$ nano docker-compose.yml # paste your config, then run:
$ docker compose up -d
# Install Nginx and SSL
$ sudo apt install nginx -y
$ sudo apt install certbot python3-certbot-nginx -y
$ sudo certbot --nginx -d example.com
Install n8n Depedencies
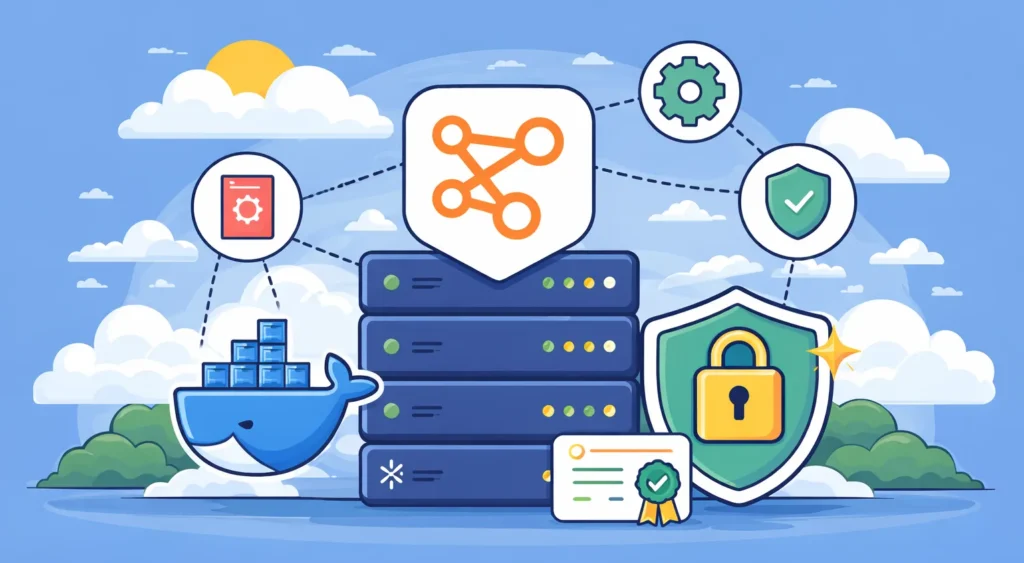
Begin by updating your system and installing Docker, a lightweight platform that runs applications in isolated, reproducible environments. Docker ensures secure, portable setups ideal for hosting services like n8n and simplifies deployment by abstracting dependencies and enabling scalable, modular infrastructure. For a full Docker primer, see Getting Started with Docker on a VPS.- SSH to your server using the non-root user, refresh your system's package information index, and ugprade the system's packages.
$ sudo apt update && sudo apt upgrade -y - Install the following dependency packages. Docker requires these packages to run.
$ sudo apt install -y ca-certificates curl gnupg- ca-certificates: Ensures your system trusts HTTPS sources by installing root certificates—critical for verifying Docker's GPG key and repository.
- curl: Fetches data from URLs using the command-line interface. You'll use
curlto download Docker's GPG key and other setup files. - gnupg: Provides encryption and signing tools, including GPG key management. Docker uses
gnupgto verify the authenticity of its packages.
- Download the Docker GPG key. The key is a cryptographic signature that verifies the authenticity and integrity of Docker's software packages.
$ curl -fsSL https://download.docker.com/linux/ubuntu/gpg | sudo gpg --dearmor -o /etc/apt/keyrings/docker.gpg - Set up your system to recognize Docker's official package repository, so you can securely install and update Docker using Ubuntu
aptcommands.$ echo "deb [arch=$(dpkg --print-architecture) signed-by=/etc/apt/keyrings/docker.gpg] https://download.docker.com/linux/ubuntu $(lsb_release -cs) stable" | sudo tee /etc/apt/sources.list.d/docker.list > /dev/null - Refresh your system's package information index to pick up the new changes.
$ sudo apt update - Install Docker and its core components.
$ sudo apt install -y docker-ce docker-ce-cli containerd.io docker-compose-plugin- docker-ce: Docker Community Edition, the core engine that runs containers.
- docker-ce-cli: Command-line interface for interacting with Docker using commands such as
docker ps. - containerd.io: Lightweight container runtime that Docker uses internally to manage container lifecycle.
- docker-compose-plugin: Plugin that adds support for Docker Compose, allowing you to define and run multi-container apps using a
docker-compose.yml
Continue reading this article
by subscribing to our newsletter.
Subscribe nowby subscribing to our newsletter.