
Installing Python on AlmaLinux 9 is a simple process. This article will guide you through the installation process, and you’ll also set up a Python virtual environment as a bonus!
Python is a versatile programming language you can use to create web applications, desktop applications, scripts, and many other types of programs. It is also a popular language for scientific computing, data analysis, artificial intelligence, and more. Basically, you can do almost anything with it.
AlmaLinux is a production-grade enterprise operating system that is binary-compatible with Red Hat Enterprise Linux. It was initially released on March 2021 by CloudLinux to provide a community-supported spiritual successor to CentOS Linux.
In this tutorial, you'll set up a programming environment for Python 3 on your AlmaLinux server.
Installing Python on AlmaLinux 9 - Prerequisites
Before you install Python on AlmaLinux, you need:
- Basic knowledge of the Linux command line.
- An AlmaLinux 9 server with a non-root user with
sudoprivileges. You can get affordable, and powerful AlmaLinux servers from our website, and you can check out our How to access your server using SSH guide to learn how to access your server and create asudouser.
Step 1 - Updating your System
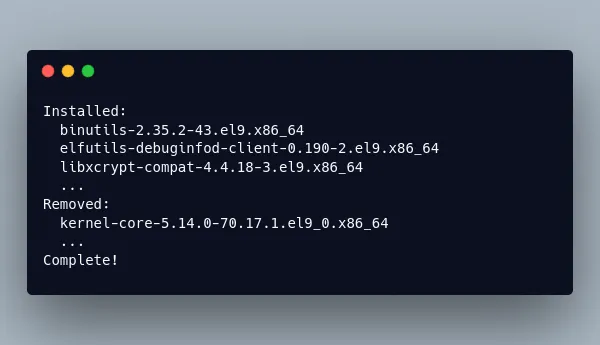
Before installing Python on Alamalinux, you first need to update the packages to the latest available versions using the following command:
sudo dnf update -yOnce the update is done, you should see the following output:
Step 2 - Installing Python on AlmaLinux 9
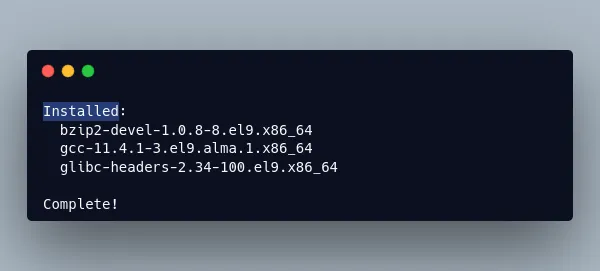
To install Python 3.12 on your AlmaLinux server, first install the packages necessary to build Python 3.12 using the following command:
sudo dnf install gcc openssl-devel bzip2-devel libffi-devel zlib-devel wget make tar -yYou should see the following output:
Next, download the Python 3.12 archive package from the official Python website with wget:
wget https://www.python.org/ftp/python/3.12.3/Python-3.12.3.tar.xzOnce the download finishes, extract the archive package using the tar command:
tar -xf Python-3.12.3.tar.xzA new Python-3.12.3 directory will appear, navigate to it using cd:
cd Python-3.12.3Run the configuration file to check that all dependencies are available on your system:
./configure --enable-optimizations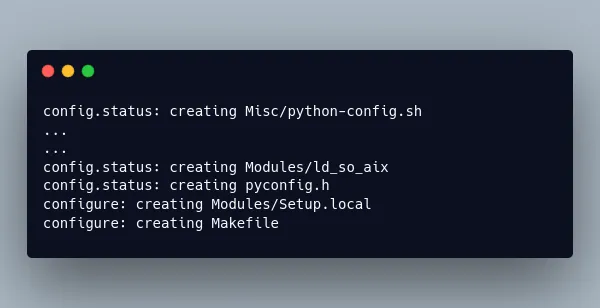
This check will take a few minutes. Once it finishes, use the make command to start building Python:
make -j 2Note: the -j flag sets the number of CPU cores the make command will use, it is recommended to use all the cores that are available in your server to speed up the build process, use the nproc command to get the number of cores you have on your server, and use that number in the command above.
Once the build process finishes, run the following command to install the Python package on your system:
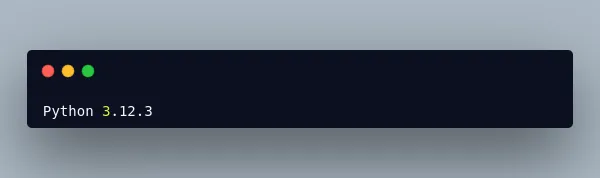
sudo make installNow that Python 3.12 is installed on your AlmaLinux server, you can check your Python version by running the following command:
python3 -VYou'll receive your Python version:
With this, you have Python installed on your AlmaLinux 9 server and you can now create a virtual environment.
Step 3 - Creating a Python Project Under a Virtual Environment
Python virtual environments allow you to have multiple isolated Python environments on one computer. This is useful for projects that require different versions of Python, or for projects that you don't want to contaminate with code from other projects. This ensures that each Python project is isolated from your other projects, so that conflict between dependencies does not occur.
To create a Python programming environment, create a project directory somewhere in your system:
mkdir myprojectNavigate to your directory:
cd myprojectThen use the python -m venv command line to create a new virtual environment inside your project folder:
python3 -m venv envThis will create a new directory called env, which contains the dependencies you install while your virtual environment is activated. Here, we call this virtual environment directory env, which is a name commonly used for Python virtual environment directories, but you can change it to another name if you wish.
Note: You can create as many virtual environments as you want, and it is highly recommended to create a virtual environment for each new Python project.
To use this new environment and isolate your code and dependencies from the main AlmaLinux system's Python installation, you need to activate it with the following command. Change env with the name of your virtual environment folder:
source env/bin/activateYour command line should now have an (env) prefix indicating that your virtual environment is activated.
To install a Python package using pip, you can use the following command:
pip install packageWith package being the name of the Python package you wish to install.
For example, to install the Django web framework, you can use the following command:
pip install djangoWith this, you now have a Python programming environment ready, and you can now manage your Python packages inside isolated virtual environments.
Step 4 - Creating a Small Python Program
With your virtual environment activated inside your project folder, you can now write Python code and install dependencies, and run them in an isolated box without interfering with the Python system installation on your AlmaLinux server.
To edit files, you will need to first install the nano editor:
sudo dnf install nano -yOnce nano is installed on your system. You can now use it to edit Python files.
Let's create a small Python program called hi.py that displays a Hello, World! text:
nano hi.pyType the following code into it:
print("Hello, World!")Save and close the file by pressing CTRL + X, then Y and ENTER.
Now, run the program using the python command:
python hi.pyYou should receive the following output:
Hello, World!Note: To deactivate your Python programming environment, use the following command:
deactivateWith this, you now have a working programming environment for your Python projects.
Congrats!
In this tutorial, you've learned how to install Python on AlmaLinux, how to create a programming environment to isolate your Python projects, and how to install Python packages in it. You can learn more about Python by going through the official Python tutorial.
A note about tutorials: We encourage our users to try out tutorials, but they aren't fully supported by our team—we can't always provide support when things go wrong. Be sure to check which OS and version it was tested with before you proceed.
If you want a fully managed experience, with dedicated support for any application you might want to run, contact us for more information.


No comments found..