Setting up your own AI assistant on a VPS might sound intimidating, but it's actually surprisingly straightforward. In about 30 minutes, you'll have a fully functional AI assistant that can chat with you on Telegram, remember conversations, run commands, and even generate voice messages.

In this guide, you'll learn how to install OpenClaw on a fresh Ubuntu VPS, connect it to Telegram, and start chatting with your personal AI assistant.
Security Note: OpenClaw has full system access on whatever machine it runs on. Always install it on an isolated VPS. Never install OpenClaw on your main computer or a server with sensitive data. Treat it like giving someone remote access to your machine and proceed with caution.
How to Install OpenClaw on a VPS - Quick Overview
Install OpenClaw on your VPS by running the official installer as a dedicated user: ≥curl -fsSL https://openclaw.bot/install.sh | bash. The installer automatically handles Node.js dependencies and launches the setup wizard where you'll configure your Anthropic API key and Telegram bot connection. The entire process takes about 30 minutes from fresh VPS to functioning AI assistant.
Read on for the complete step-by-step installation process, security configuration, and troubleshooting guidance.
Prerequisites
Before starting, you'll need:
- A fresh Ubuntu VPS (Ubuntu 22.04 or 24.04 recommended). If you need one, SSD Nodes offers an affordable Openclaw VPS hosting perfect for this.
- SSH access to your server with root or sudo privileges
- A Telegram account to create a bot and chat with OpenClaw
- An Anthropic API key from console.anthropic.com (required for the AI brain)
Step 1: Connect to Your VPS
First, SSH into your fresh VPS:
ssh root@your-server-ipYou should see a welcome message and a command prompt.
Step 2: Create a Dedicated User
Running OpenClaw as root is not recommended. Let's create a dedicated user called openclaw:
adduser openclawYou'll be prompted to set a password and fill in some optional information (you can press Enter to skip the optional fields).
Next, give this user sudo privileges:
usermod -aG sudo openclawNow switch to the new user:
su - openclawYour prompt should change to show openclaw@yourserver. From now on, we'll do everything as this user.
Step 3: Install OpenClaw
OpenClaw provides a simple one-line installer. Run it:
≥curl -fsSL https://openclaw.bot/install.sh | bashThis script automatically:
- Detects your system
- Installs Node.js if needed
- Installs OpenClaw globally
Once complete, it will go directly to the onboarding process.
If not, you can verify the installation:
openclaw --versionYou should see something like 2026.2.6-3.
Step 4: Run the Setup Wizard
OpenClaw includes an interactive setup wizard that configures everything for you. Run it:
openclaw onboardThe wizard will guide you through several steps:
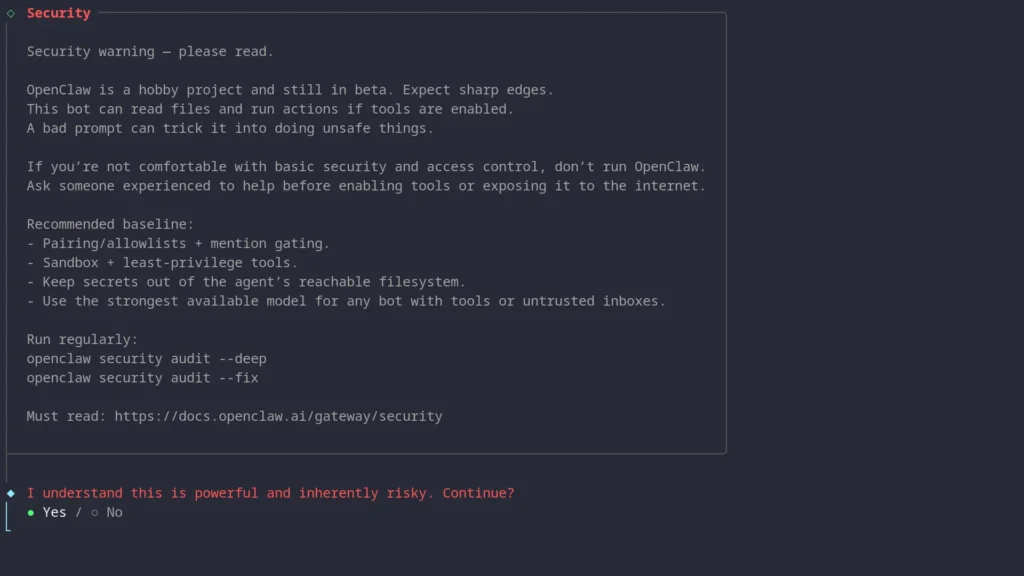
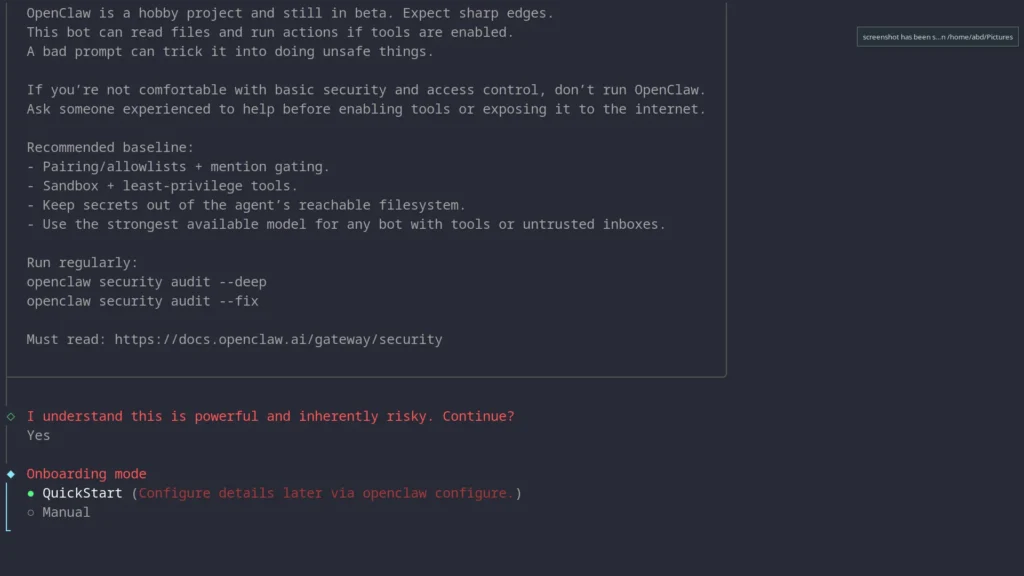
Security Warning
First, you'll see a security warning explaining that OpenClaw has full system access. Read it carefully, then select Yes to continue.
Choose Onboarding Mode
Select QuickStart (the default) for the easiest setup.
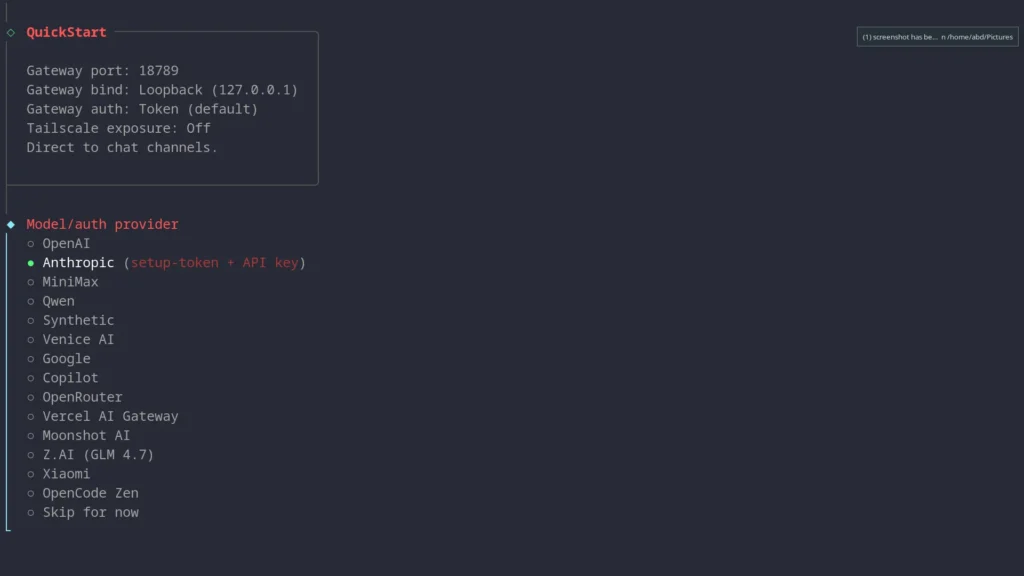
Select Model Provider
Choose Anthropic as your model provider.
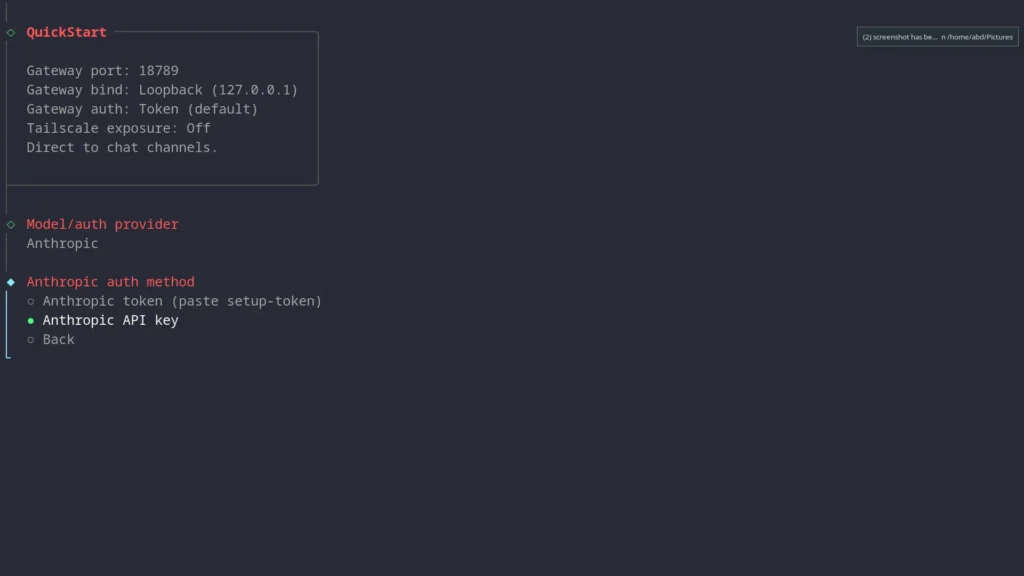
Anthropic Auth Method
Select Anthropic API key.
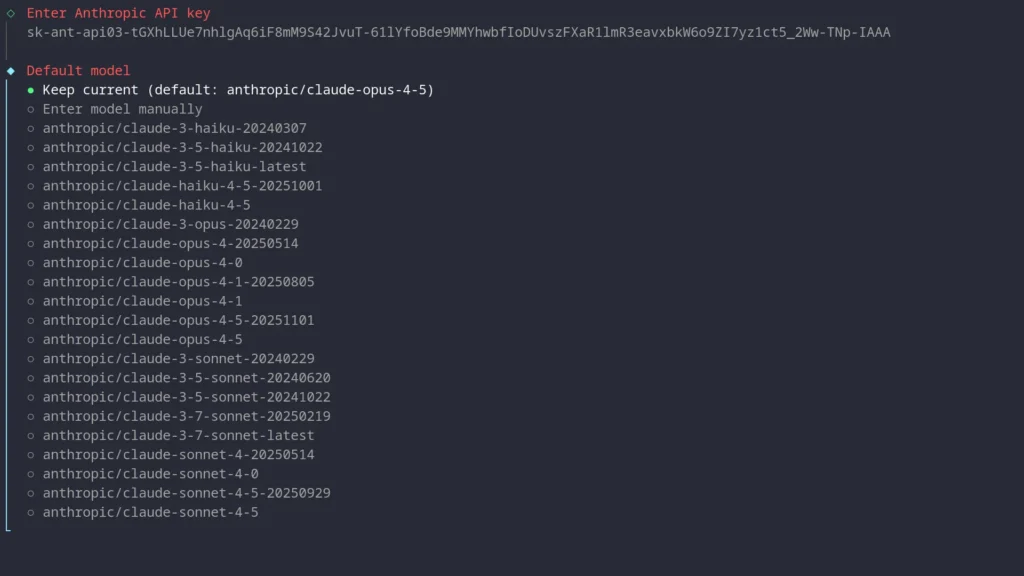
Enter Your API Key
Paste your Anthropic API key when prompted.
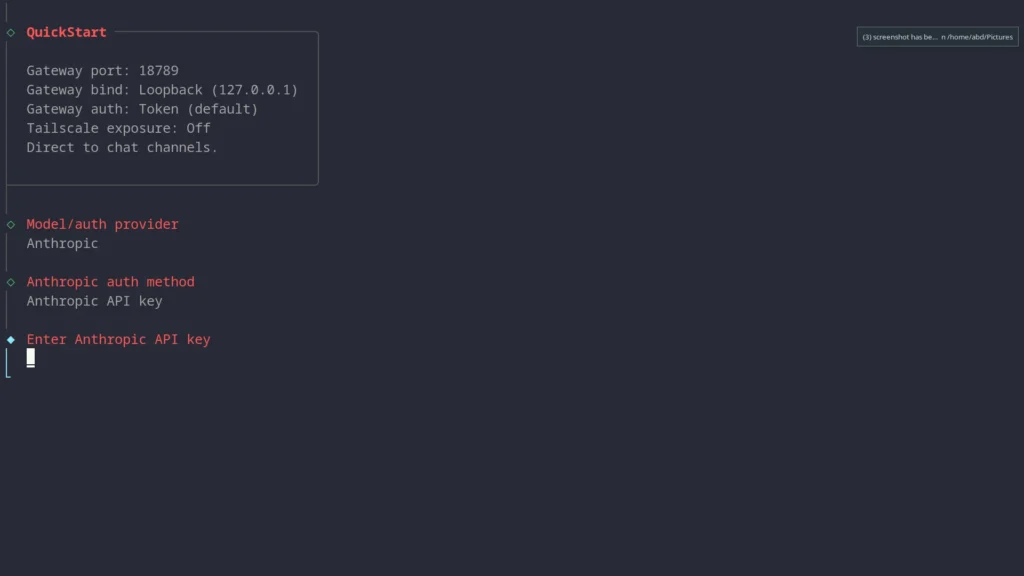
Tip: Get your API key from console.anthropic.com. You'll need to add credits to your account.
Select Default Model
Keep the default (claude-opus-4-5) or choose a different model from the list.
Choose a Channel (Telegram)
Select Telegram as your messaging channel. The wizard will show you instructions for creating a bot with BotFather.
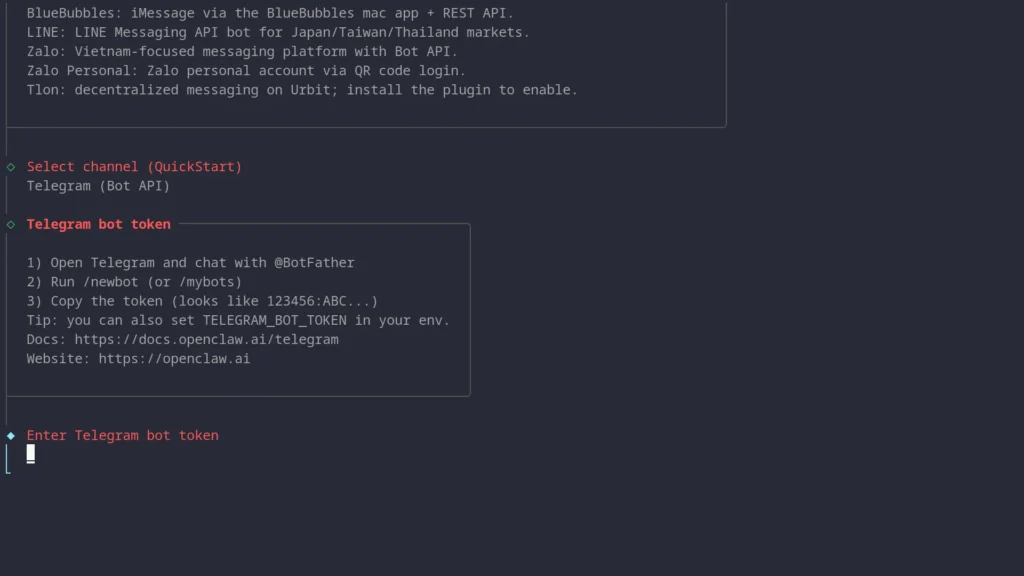
Create a Telegram Bot & Enter Token
To get a bot token:
- Open Telegram and search for @BotFather
- Send
/newbotto BotFather - Choose a display name for your bot (e.g., "My OpenClaw")
- Choose a username ending in
bot(e.g., "myopenclaw_bot") - BotFather will give you a token like
8562115417:AAFVazfBSo1234pE8n2kpN5TRlVcYWJOs64
Paste this token into the wizard.
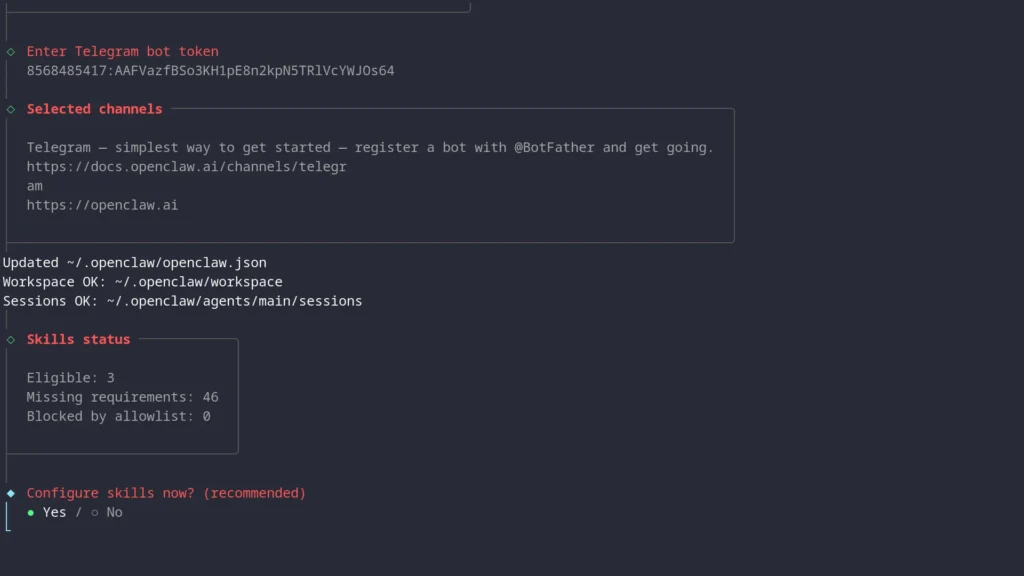
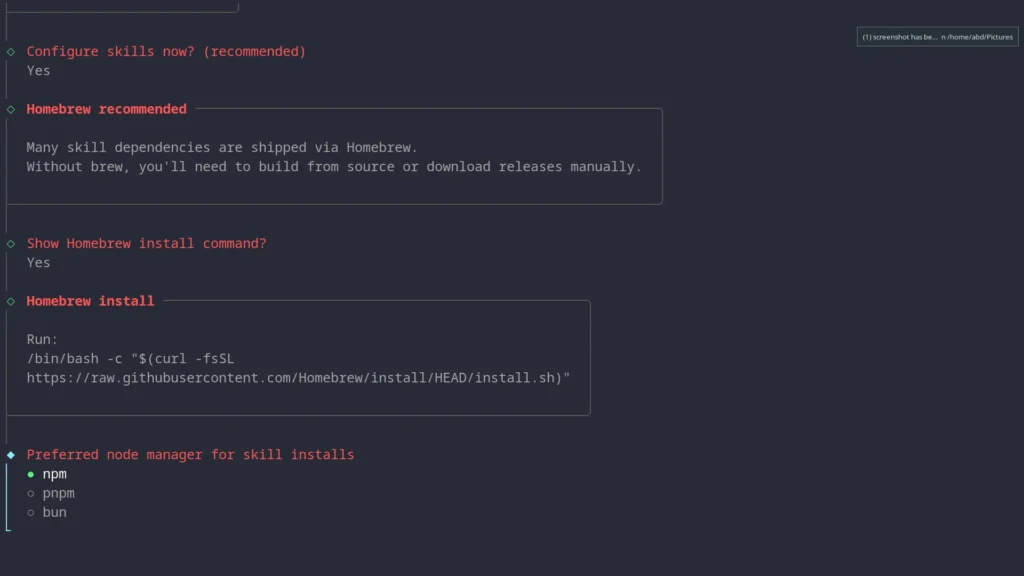
Configure Skills
You'll be asked about skills configuration. Select Yes to continue.
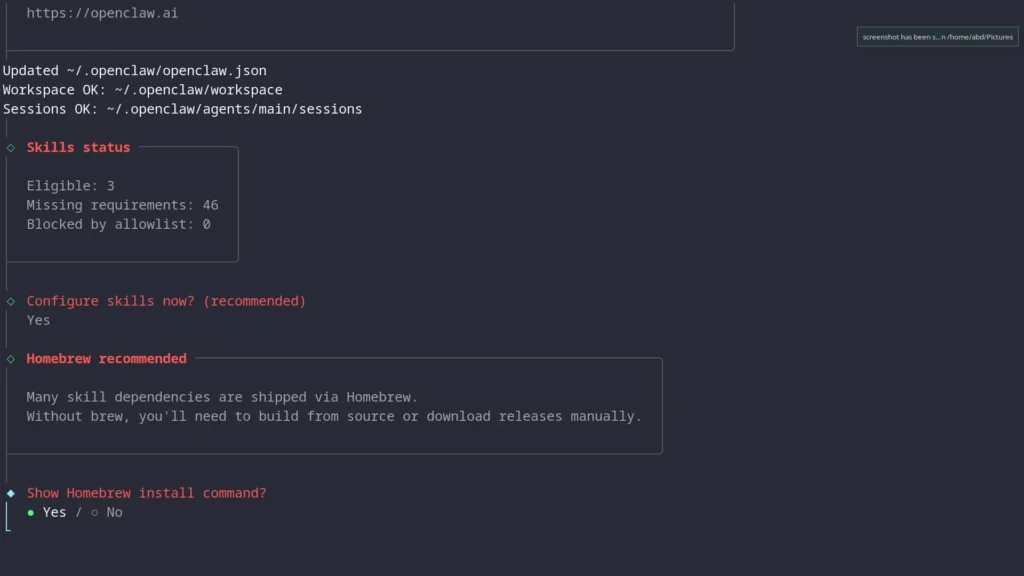
Choose npm as your preferred package manager.
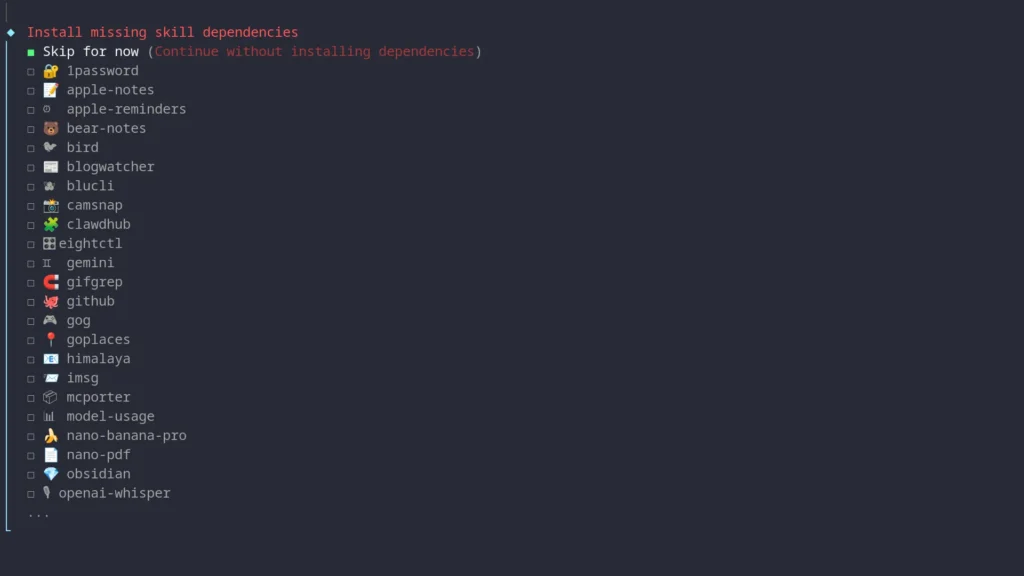
Install Skill Dependencies
You'll see a list of available skills. Select Skip for now to continue without installing optional dependencies.
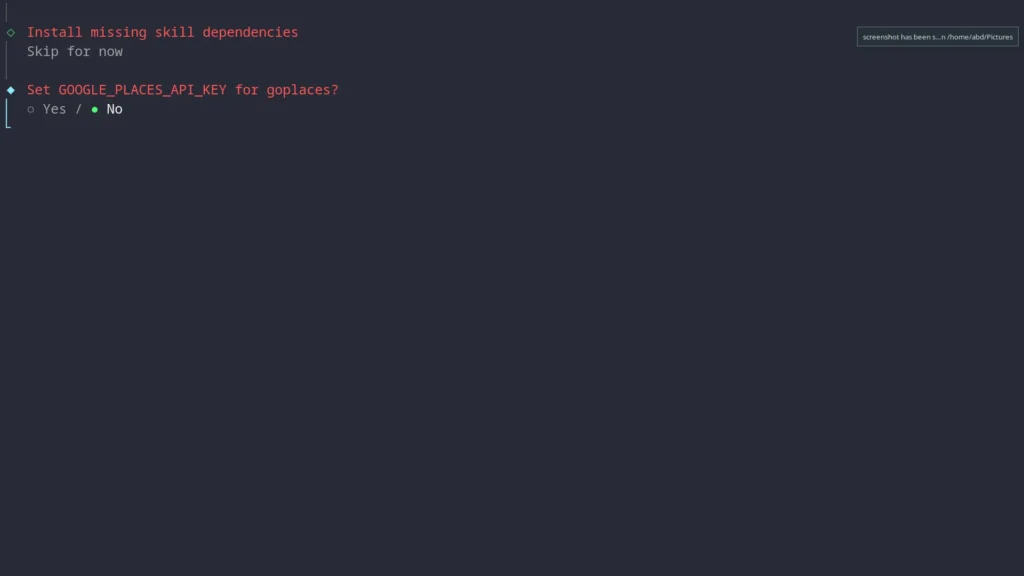
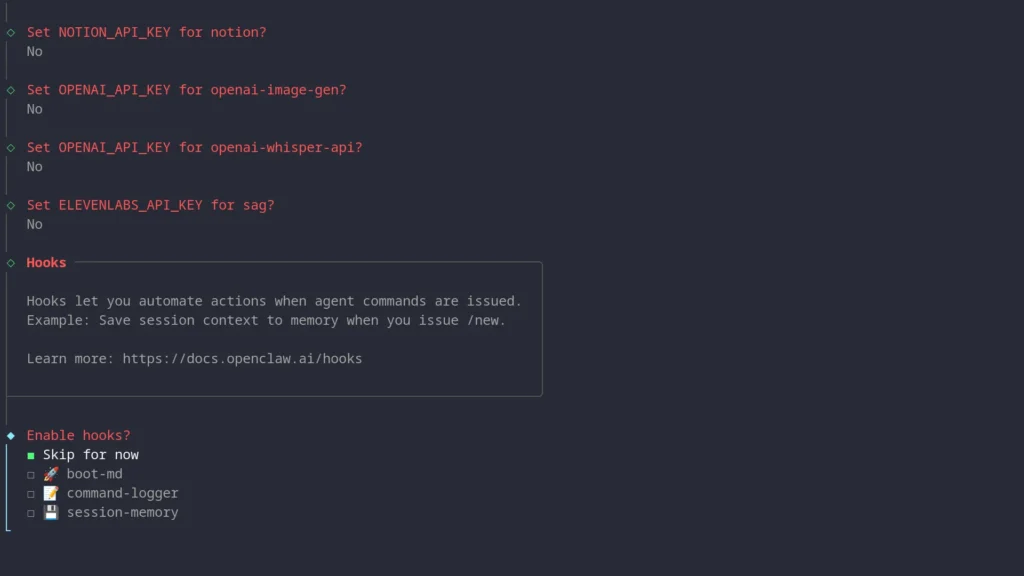
Skip Optional API Keys
The wizard will ask about various optional API keys (Google Places, Gemini, Notion, OpenAI, ElevenLabs). Select No for each one to skip them.
Enable Hooks
When asked about hooks, select Skip for now.
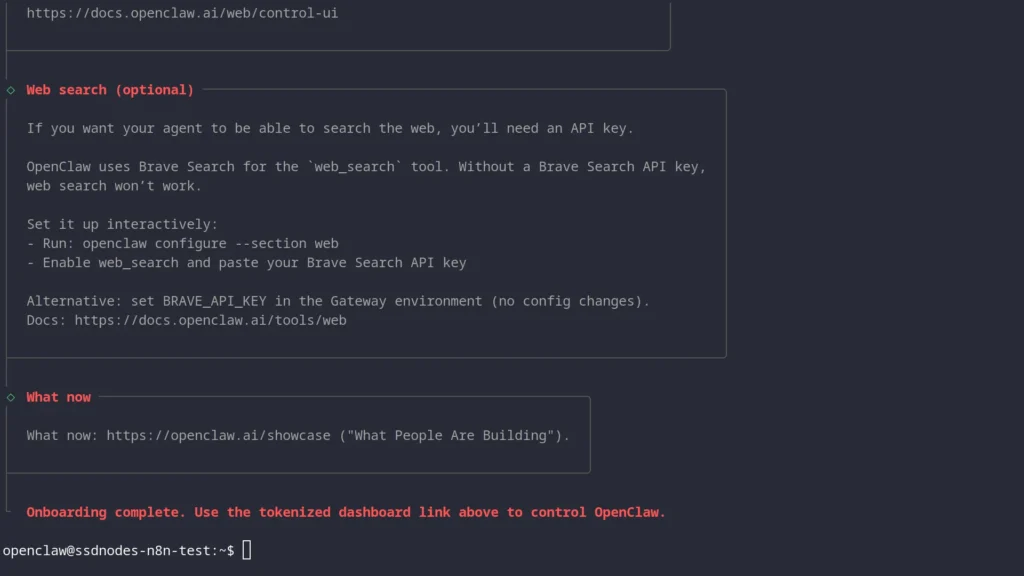
Onboarding Complete!
The wizard will show a completion message with information about web search and next steps.
Step 5: Start the Gateway
On most VPS environments, systemd user services aren't available. You'll need to run the gateway manually.
Option A: Run in foreground (for testing)
openclaw gatewayKeep this terminal open. The gateway will run until you close it.
Option B: Run in background with screen (recommended)
# Install screen
sudo apt install -y screen

# Start a screen session
screen -S openclaw

# Run the gateway
openclaw gateway

# Detach: press Ctrl+A, then D
To reattach later: screen -r openclaw
Step 6: Verify the Gateway is Running
Open a new terminal (or detach from screen with Ctrl+A, D), then check:
openclaw statusYou should see the gateway is running and Telegram is connected.
Step 7: Pair Your Telegram Account
For security, OpenClaw requires you to "pair" before it will respond to your messages. This prevents random people from chatting with your AI.
Open Telegram and send any message to your new bot (e.g., "hello").
The bot will respond with a pairing code like ABCD1234.
Now approve this pairing from your terminal:
openclaw pairing approve telegram ABCD1234Replace ABCD1234 with your actual pairing code.
Step 8: Start Chatting!
Go back to Telegram and send a message. OpenClaw should now respond!
Try asking it:
- "What can you do?"
- "What's the weather like?"
- "Tell me a joke"
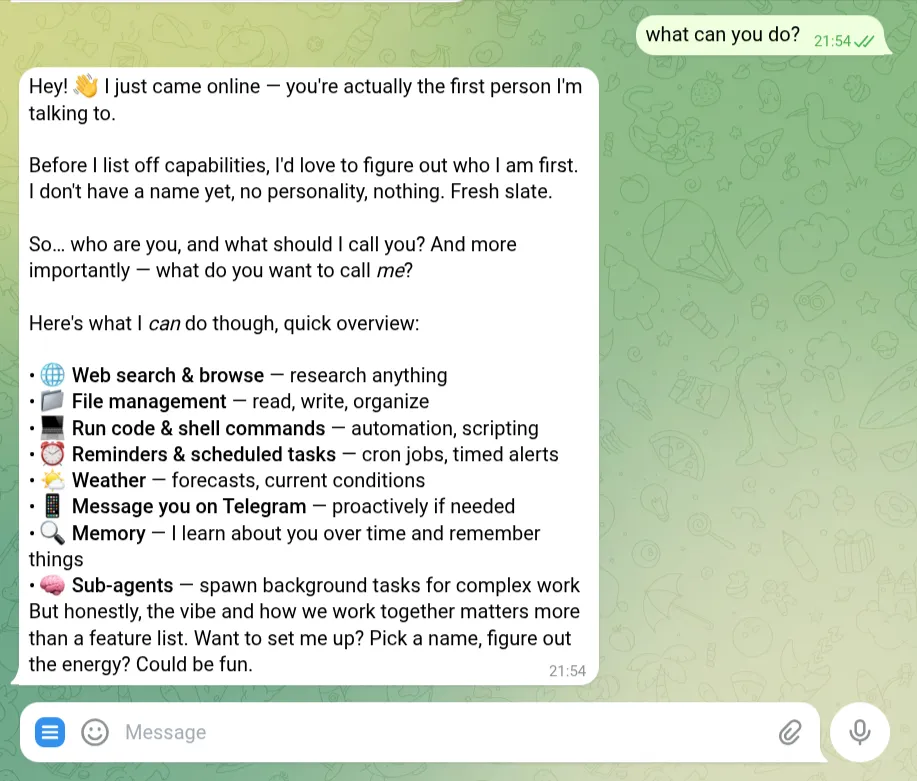
Congratulations! You now have your own personal AI assistant running on your VPS!
Managing Your OpenClaw Instance
Check Status
openclaw statusRestart the Gateway
If running in screen:
screen -r openclaw
# Press Ctrl+C to stop, then run:
openclaw gateway
View Configuration
cat ~/.openclaw/openclaw.jsonTroubleshooting
"systemctl --user unavailable" error
This is normal on VPS environments without systemd user sessions. Use screen to run the gateway in the background:
screen -S openclaw
openclaw gateway
# Ctrl+A, then D to detach
Bot not responding?
- Check the gateway is running:
openclaw status - Verify your pairing:
openclaw pairing list telegram - Make sure you approved the pairing code
"API key invalid" error?
Make sure your Anthropic API key is correct and has credits.
Need to reconfigure?
Run the wizard again:
openclaw onboardSecurity audit
Run a security check on your installation:
openclaw security audit --deepWhat You've Accomplished
By following this guide, you've successfully:
- Set up a secure, dedicated user for OpenClaw
- Installed OpenClaw on your VPS
- Created a Telegram bot and connected it to OpenClaw
- Paired your Telegram account for secure access
- Started chatting with your personal AI assistant
Your AI assistant is now live! It can chat with you, remember context across conversations, search the web, run commands on your server, and much more.
FAQ
Is OpenClaw free to use?
OpenClaw itself is free and open source. However, you'll need to pay for:
- Your VPS hosting
- Anthropic API usage (pay-per-token)
- Optional: ElevenLabs for voice features
Can I connect other messaging apps?
Yes! OpenClaw supports Discord, WhatsApp, Signal, Slack, and more. Run openclaw onboard again to add additional channels.
How do I update OpenClaw?
≥curl -fsSL https://openclaw.bot/install.sh | bashThen restart your gateway.
Where is my OpenClaw data stored?
All data is stored locally on your VPS in ~/.openclaw/ (config) and your workspace folder (memory, files). Nothing is sent to external servers except API calls to Anthropic.
Is OpenClaw secure?
OpenClaw has full access to whatever machine it runs on. That's why we strongly recommend:
- Using an isolated VPS (not your main computer)
- Not connecting sensitive accounts
- Being careful about prompt injection in group chats
- Running
openclaw security audit --deepto check your setup
A note about tutorials: We encourage our users to try out tutorials, but they aren't fully supported by our team—we can't always provide support when things go wrong. Be sure to check which OS and version it was tested with before you proceed.
If you want a fully managed experience, with dedicated support for any application you might want to run, contact us for more information.