
.gitignore and requiring approval before modifying files or running shell commands.
For teams deciding between AI coding assistants, see our comparison of Claude Code vs Cursor and our guide to installing Claude Code on Ubuntu.
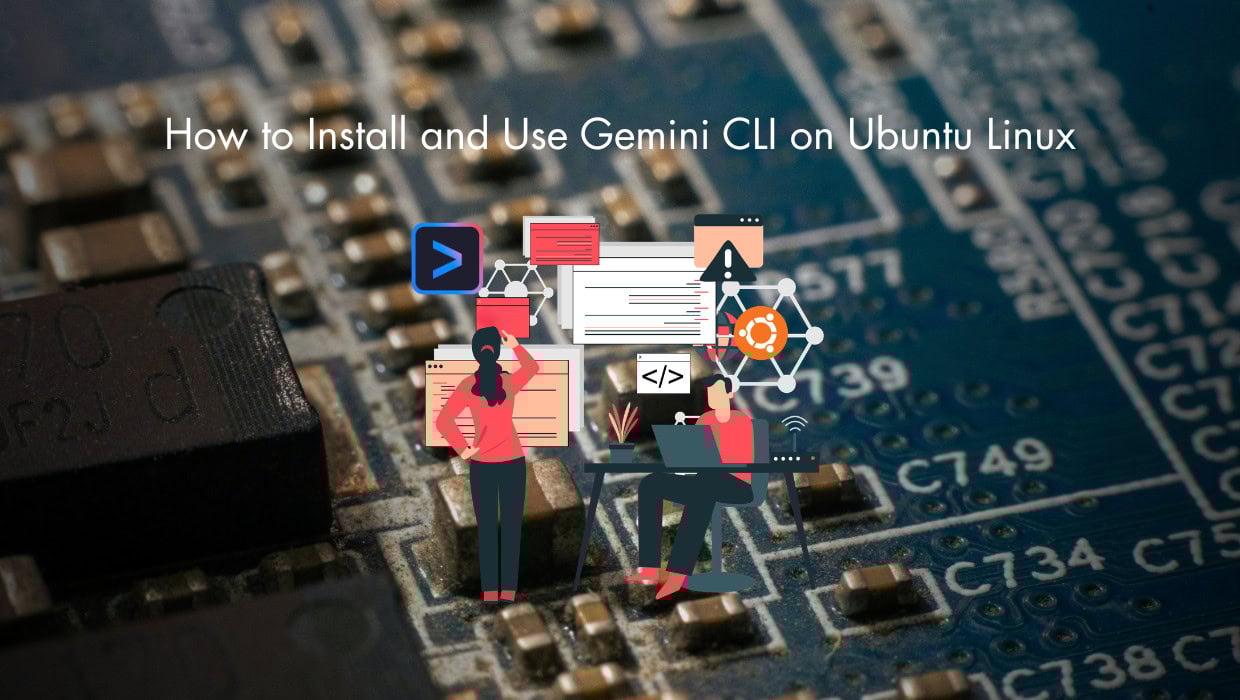
Quick Overview - Install and Use Gemini CLI on Ubuntu Linux
Gemini CLI is Google's open-source AI agent that runs in your terminal, giving you code generation, debugging, and automation directly from the command line. To get it running on Ubuntu 24.04, you'll install Node.js 20 LTS, install thegoogle/gemini-cli package globally via npm, then authenticate with your Google account through an OAuth flow. Once set up, you can use it to scaffold projects (like Python or Next.js apps), debug code, and store persistent context using a GEMINI.md file so the AI remembers your facts, rules, and personas across sessions.
 Read the rest of this guide for the full step-by-step instructions.
Prerequisites
Before you begin:- Deploy an Ubuntu 24.04 server. (see our guide on choosing the right VPS plan if you're unsure what resources you need)
- Running Gemini CLI on a VPS enables persistent, remote development with active context, memory, and authentication accessible from any device via internet. If you don't have a server yet, SSD Nodes offers the most affordable Linux VPS hosting in the market with lifetime price locks, 24/7 support, and a 14-day money-back guarantee. Plans start at $5.50/month and include 1-Click Apps for instant Ubuntu deployment. Spin one up, try it, and get a full refund if it's not the right fit.
- SSH to your Ubuntu server using PuTTY for Windows or OpenSSH for Linux and macOS.
- Create a non-root user with
sudoprivileges to run the commands in this guide. - Prepare a Google account.
Install Node.js and npm
Gemini CLI is distributed throughnpm, the Node Package Manager, and requires Node.js version 20 or higher to run. Ubuntu 24.04's default repositories contain Node.js version 18, so you need to install Node.js 20 LTS or newer from an alternative source by following the steps below.
- Update your system's package information index. For a deeper dive into apt and package management on Linux, see our package management guide.
$ sudo apt update - Install the
curlutility to download the NodeSource setup script.$ sudo apt install curl -y - Download and run the NodeSource setup script for Node.js 20 LTS.
This command adds the NodeSource repository to your system and updates the package index.$ curl -fsSL https://deb.nodesource.com/setup_20.x | sudo -E bash - - Install Node.js
20LTS and npm.$ sudo apt install nodejs -y - Verify your Node.js installation by checking the version.
Output:$ node --version
The version number must bev20.20.220.0.0or higher for Gemini CLI to function properly. - Update
npmto the latest version.$ sudo npm install -g npm@latest - Check the
npmversion.
Output:$ npm --version11.12.1
Install Gemini CLI
After installing Node.js, you can now install the Gemini CLI package globally on your system. The global installation makes thegemini command available from any directory in your terminal.
- Install the
@google/gemini-clipackage globally usingnpm.
The$ sudo npm install -g @google/gemini-cli-gflag installs the package globally, andsudoprovides the necessary permissions for system-wide installation. - Verify the installation by checking the Gemini CLI version.
Output:$ gemini --version
A version number confirms that you have successfully installed Gemini CLI .0.37.1
Authenticate Gemini CLI with Google
Before using Gemini CLI, you must authenticate with Google to access the backend API. The free tier provides 60 requests per minute and 1,000 requests per day, which Google estimates covers twice the average usage for most developers.- Launch Gemini CLI to start the authentication process.
Output:$ gemini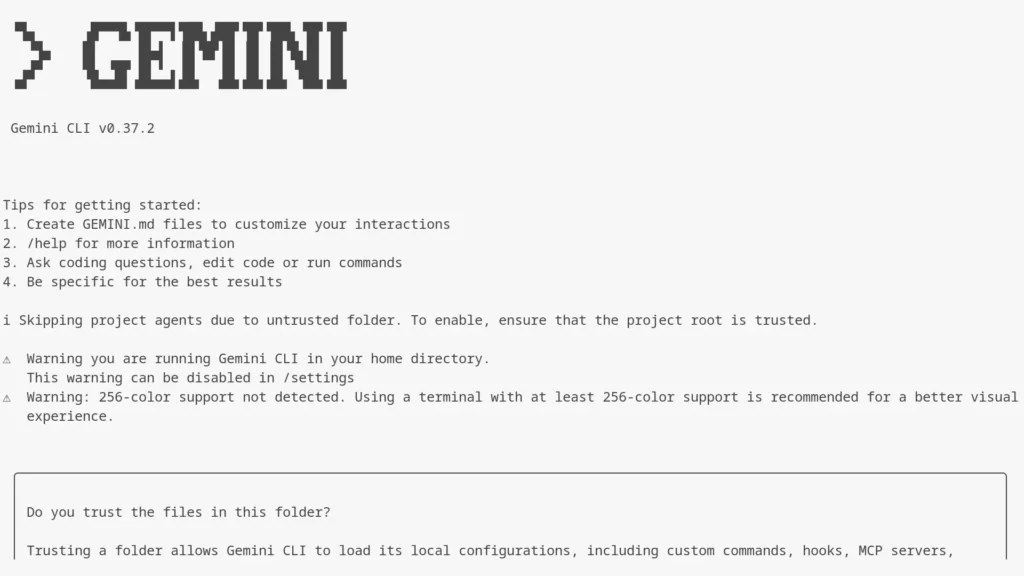
- Choose option
1when prompted about trusting files and press Enter to proceed.Do you trust the files in this folder? │ │ │ │ Trusting a folder allows Gemini CLI to load its local configurations, │ │ including custom commands, hooks, MCP servers, agent skills, and settings. │ │ These configurations could execute code on your behalf or change the │ │ behavior of the CLI. │ │ │ │ │ │ ● 1. Trust folder (your_username) │ │ 2. Trust parent folder (home) │ │ 3. Don't trust - Choose option
1as the authentication method (Sign in with Google) and press Enter.? Get started │ │ │ │ How would you like to authenticate for this project? │ │ │ │ ● 1. Sign in with Google │ │ 2. Use Gemini API Key │ │ 3. Vertex AI - Copy the displayed URL from the terminal and paste it in your browser. Then, in your browser log in with your Google account to authenticate Gemini CLI.
https://accounts.google.com/o/oauth2/v2/auth?... - Copy the authorization code from the Google website and paste it in your Ubuntu terminal window. Then, press Enter
After authorization, your Ubuntu terminal displays a confirmation message, and the Gemini CLI saves an OAuth token locally for future sessions.Enter the authorization code: 4/kAsdfs25HnwUgEmg-J7JdsTITG7XuY3UyR7OJKVX9pK9A - Type
/exitand press Enter to close the Gemini CLI session.... Shift+Tab to accept edits > /exit
Test Your Gemini CLI Installation
After authenticating Gemini CLI with your Google account, you'll run a simple prompt to ensure everything is working. This confirms that Gemini CLI communicates correctly with Google's AI service.- Start an interactive Gemini CLI session.
$ gemini - Enter a test prompt, for instance
What is the most popular linux distribution?and press Enter.
Gemini CLI processes your request and returns the following> What is the most popular linux distribution?
Continue reading this article
by subscribing to our newsletter.
Subscribe nowby subscribing to our newsletter.
A note about tutorials: We encourage our users to try out tutorials, but they aren't fully supported by our team—we can't always provide support when things go wrong. Be sure to check which OS and version it was tested with before you proceed.
If you want a fully managed experience, with dedicated support for any application you might want to run, contact us for more information.