


Installing LAMP on Ubuntu 24.04 and securing it with Let’s Encrypt is easier than ever. You can now quickly set up Apache, MariaDB, and PHP on your Linux server and start developing web applications with HTTPS thanks to Let’s Encrypt and its Certbot client in just a few commands.
In this guide, I'll walk you through a complete setup: first installing the LAMP stack components (Linux, Apache, MariaDB, and PHP), testing your configuration, and finally securing your web server with Let's Encrypt SSL certificates using Certbot.

Note
Need a quick setup? Deploy our 1-click LAMP stack by selecting LAMP from the OS menu when creating your server. For manual installation steps, continue reading below.
How to Install LAMP (MariaDB) on Ubuntu with Let's Encrypt
To Install LAMP on Ubuntu 24.04 with MariaDB and Let's Encrypt, you'll first set up MariaDB, configure the Apache server, install PHP, and verify your installation with a test page. You will then secure your installation with Let's Encrypt SSL using Certbot. This setup ensures a secure environment for hosting dynamic web applications.
Prerequisites to Installing LAMP on Ubuntu 24.04
- You'll need an Ubuntu 24.04 server with
sudoprivileges. Looking for the perfect server? Our Ubuntu VPS combines industry-leading performance with unbeatable prices, backed by enterprise-grade reliability. Take a look at our deals and prepare for your mind to be blown 🤯.
Check out our How to access your server using SSH guide to learn how to access your server and create a sudo user.
Step 1 - Update The Package Cache
Before you install LAMP on Ubuntu 24.04, start by updating the packages in the package manager cache to the latest available versions using the following command:
sudo apt update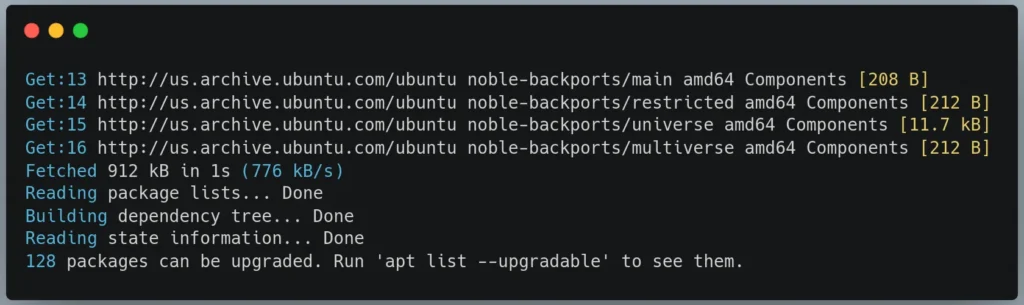
Step 2 - Install MariaDB, The Database Component of LAMP
After you update your packages, we'll install the MariaDB database server, the M in our LAMP stack. We've chosen MariaDB over MySQL for its advanced features, enhanced storage engines, and superior performance capabilities.
This modern database will serve as the foundational data store for your dynamic LAMP web applications. Once your database is set up, it’s also important to design it properly. Tools like ChartDB help you avoid common database design mistakes and organise your schema effectively.
To install MariaDB, execute the following command:
sudo apt install mariadb-server mariadb-clientHere, you install:
mariadb-server: The MariaDB database server which actually stores data.mariadb-client: The MariaDB database client which allows you to interact with and manage the database server via the command line.
Let's verify that MariaDB installed successfully on your server. Check the MariaDB version using the following command:
mariadb --versionOutput:
mariadb Ver 15.1 Distrib 10.11.8-MariaDB, for debian-linux-gnu (x86_64) using EditLine wrapperCheck the current status of MariaDB with this command to ensure your database server is up and running:
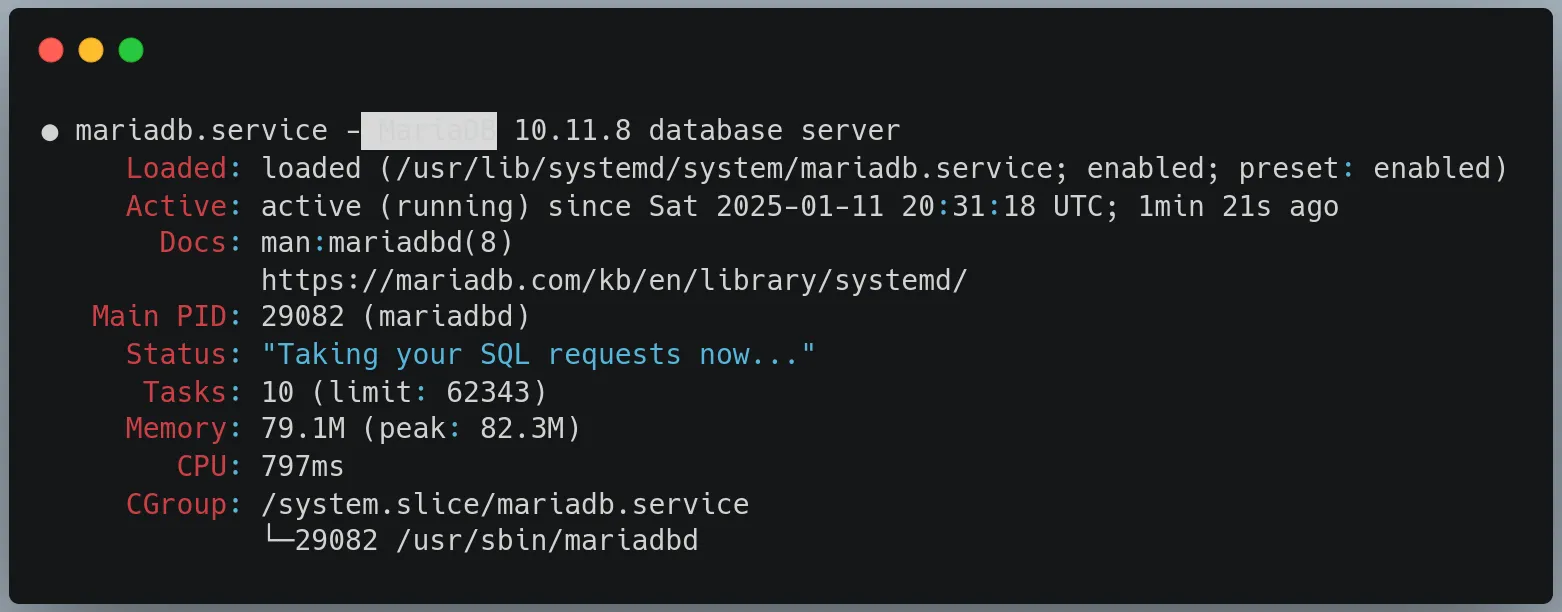
sudo service mariadb statusYou can see that the service is active and running in the line "Active: active (running) ...".
Make MariaDB Start at Boot
Enable MariaDB to automatically start whenever your system boots by running the systemctl enable command:
sudo systemctl enable mariadb.serviceOutput:

Securing The MariaDB Database Server
When you install LAMP on Ubuntu 24.04, securing MariaDB is a crucial step. By default, MariaDB's settings may leave your database vulnerable to security risks. Let's strengthen your database security by running MariaDB's built-in security script, which guides you through essential security configurations. Later, we'll also secure your web traffic with Let's Encrypt SSL certificates.
To begin the security hardening process for MariaDB, execute the mysql_secure_installation script:
sudo mysql_secure_installationYou’ll be asked for your current root password:
NOTE: RUNNING ALL PARTS OF THIS SCRIPT IS RECOMMENDED FOR ALL MariaDB
      SERVERS IN PRODUCTION USE!  PLEASE READ EACH STEP CAREFULLY!

In order to log into MariaDB to secure it, we'll need the current
password for the root user. If you've just installed MariaDB, and
haven't set the root password yet, you should just press enter here.

Enter current password for root (enter for none):
Tap Enter.
Next, you'll be asked whether you want to use the unix_socket authentication method:
OK, successfully used password, moving on...

Setting the root password or using the unix_socket ensures that nobody
can log into the MariaDB root user without the proper authorisation.

You already have your root account protected, so you can safely answer 'n'.

Switch to unix_socket authentication [Y/n]
As the message says, you already have the root account protected, so just answer with 'n'.
The reason is that you already have password authentication set up for the root account. The unix_socket authentication is an alternative method that would tie MariaDB authentication to system user accounts. Since you're already using password authentication and it's working properly, there's no need to switch to unix_socket authentication.
In the context of a standard LAMP installation with MariaDB on Ubuntu, we typically want to:
- Keep using password authentication since it's more flexible and commonly used in LAMP setups
- Maintain compatibility with web applications that expect password authentication
- Allow for remote database connections if needed (which
unix_socketmakes more complex)
So while unix_socket authentication has its merits and can be more secure in certain scenarios, for a typical LAMP stack installation, we should answer 'n' to keep using password authentication. This maintains better compatibility while still being secure when properly configured.
Next, you'll be asked to change the root password:
Enabled successfully!
Reloading privilege tables..
 ... Success!

Change the root password? [Y/n]
Tap Y to set a new password for root, and re-enter it for validation.
Next, you'll be asked to remove anonymous users:
Change the root password? [Y/n] y
New password:
Re-enter new password:
Password updated successfully!
Reloading privilege tables..
 ... Success!

By default, a MariaDB installation has an anonymous user, allowing anyone
to log into MariaDB without having to have a user account created for
them.  This is intended only for testing, and to make the installation
go a bit smoother.  You should remove them before moving into a
production environment.

Remove anonymous users? [Y/n]
Tap Y to remove the anonymous users that come with your MariaDB installation.
Next, you’ll be asked whether you want to disallow remote root logins:
Remove anonymous users? [Y/n] y
 ... Success!

Normally, root should only be allowed to connect from 'localhost'.  This
ensures that someone cannot guess at the root password from the network.

Disallow root login remotely? [Y/n]
Tap Y to disable remote root login.
Next, you’ll be asked whether you want to remove the test database that comes with your MariaDB installation:
Disallow root login remotely? [Y/n] y
 ... Success!

By default, MariaDB comes with a database named 'test' that anyone can
access.  This is also intended only for testing, and should be removed
before moving into a production environment.

Remove test database and access to it? [Y/n]
Tap Y to remove the MariaDB test database.
Now, let's apply your security changes by reloading MariaDB's privilege tables when prompted:
Remove test database and access to it? [Y/n] y
 - Dropping test database...
 ... Success!
 - Removing privileges on test database...
 ... Success!

Reloading the privilege tables will ensure that all changes made so far
will take effect immediately.

Reload privilege tables now? [Y/n]
Tap Y to reload your MariaDB privilege tables. This ensures changes take effect immediately.
Reload privilege tables now? [Y/n] y
 ... Success!

Cleaning up...

All done!  If you've completed all of the above steps, your MariaDB
installation should now be secure.

Thanks for using MariaDB!
You've now secured your MariaDB installation, which is a crucial step before implementing Let's Encrypt SSL certificates later. Following these security best practices creates a solid foundation for your database server.
Test Your MariaDB Installation
Let's verify your MariaDB installation with a simple test.
First, access your MariaDB server:
sudo mariadb -u root -pCreate a test database by typing:
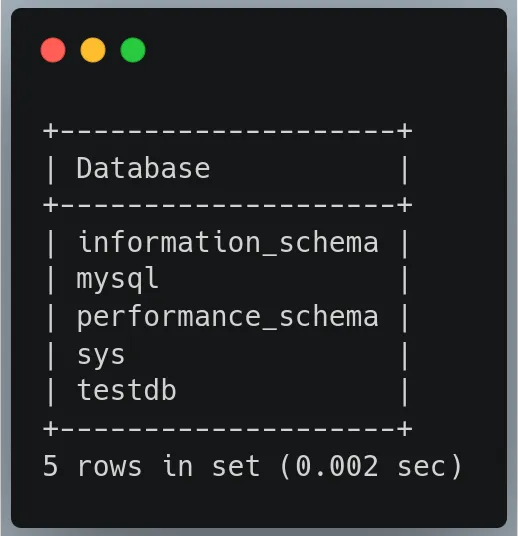
CREATE DATABASE testdb;Run this command to see your new database listed alongside the default MariaDB system databases:
SHOW DATABASES;This will show a list of databases, including the new testdb you just created, as well as system databases (e.g., information_schema, mysql).
Set up a new test user with:
CREATE USER 'testuser'@'localhost' IDENTIFIED BY 'your_password';Give your new user full access to the test database:
GRANT ALL PRIVILEGES ON testdb.* TO 'testuser'@'localhost';Apply these changes:
FLUSH PRIVILEGES;Leave the MariaDB console:
EXIT;That's it! Your MariaDB server is working properly if you've completed these steps without errors.
Next, let's move on to installing the Apache HTTP server, which we'll also secure with HTTPS using Let’s Encrypt and Certbot. This web server is the 'A' in our LAMP stack and will serve your MariaDB-powered applications to users.
Step 3 - Install the Apache HTTP Server
After installing and securing the MariaDB database server, the next step in our LAMP stack installation is installing the Apache HTTP server, which serves web content.
Use apt to install Apache using the following command:
sudo apt install apache2You’ll be asked to confirm the installation. Tap the y key then Enter to continue.
Once the installation is finished, check Apache’s version to confirm that it was properly installed using the following command:
sudo apachectl -vYou should receive an output that looks as follows:

Set Apache to start at boot:
sudo systemctl enable apache2Then check Apache’s status:
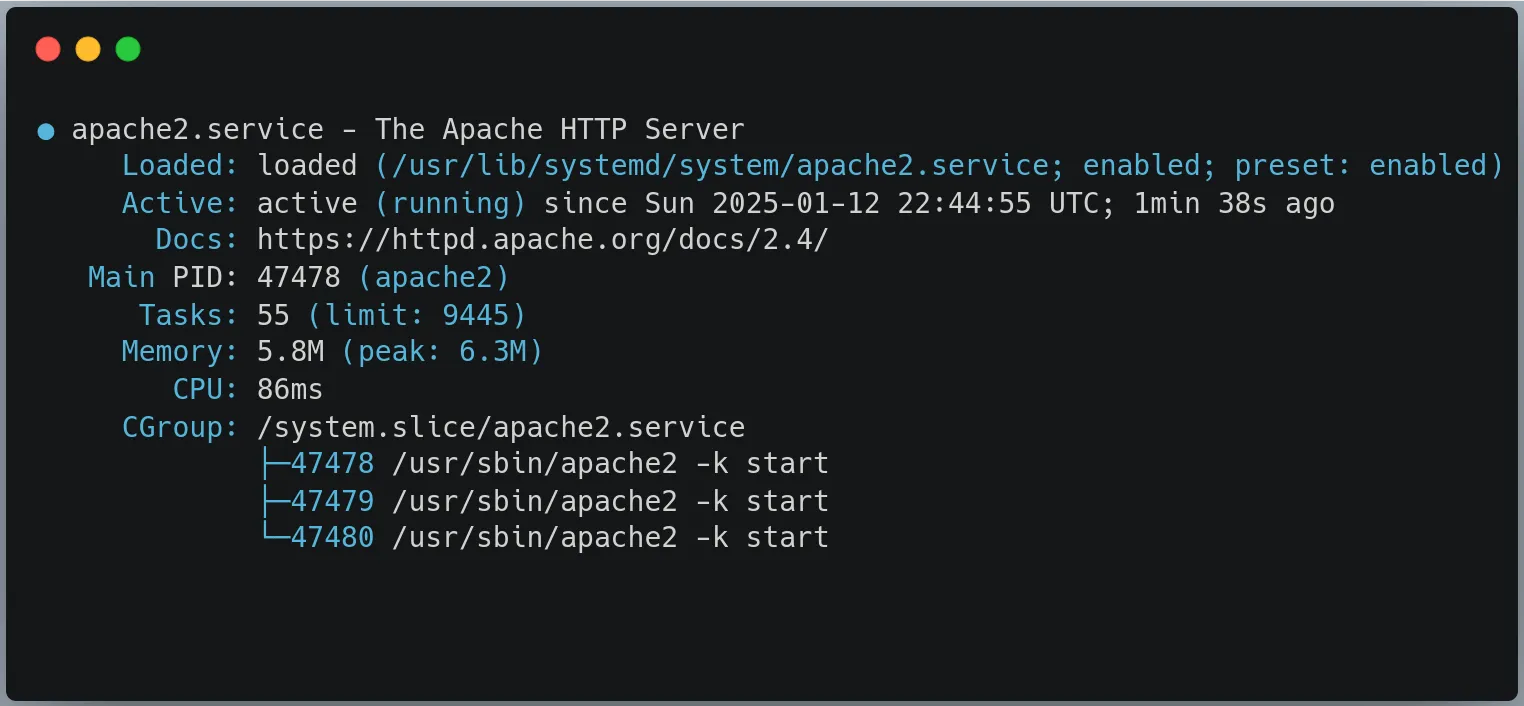
sudo systemctl status apache2The output should show that the Apache service is enabled and running:
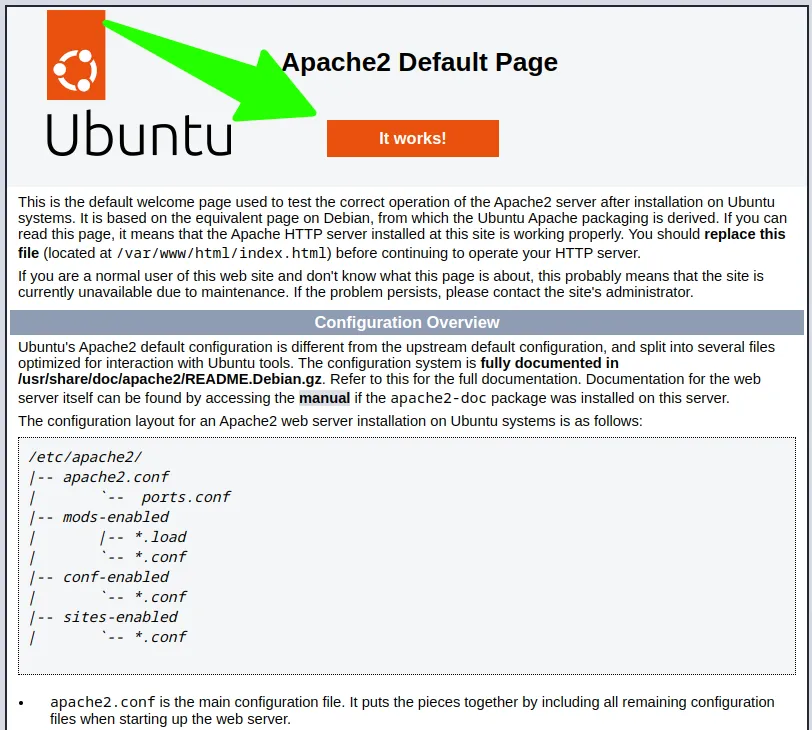
Access the default Apache web page to verify it’s working correctly:
http://your_domain_or_IPYou should see a default page informing you that the Apache server is correctly set up:
You now have Apache installed. Next, you’ll install the PHP language.
Step 4 - Install PHP
Now that you have MariaDB managing your data and Apache serving your web content (which we'll later secure with Let's Encrypt HTTPS), let's install PHP. This powerful scripting language will enable dynamic content processing, letting your users interact with your web applications through forms, API calls, and database-driven features.
Install PHP and its essential packages with this command:
sudo apt install -y php php-fpm php-mysql php-opcache php-cli php-xml php-mbstring libapache2-mod-php php-curl php-gd php-zip
When prompted, tap the y key then Enter to continue the installation.
In the preceding command, you install the following packages:
phpandphp-fpm: The core PHP packagesphp-mysql: For MySQL/MariaDB database connectivityphp-opcache: Improves PHP performance by storing precompiled script bytecodephp-cli: Command line interface for PHPphp-xmlandphp-mbstring: Essential for handling XML and multi-byte strings, required by many PHP applicationslibapache2-mod-php: Apache PHP modulephp-curl: For making HTTP requestsphp-gd: For image processingphp-zip: For handling ZIP files
To ensure PHP was successfully installed, check its version using the following command:
php -vYou should receive an output similar to the following:

This means that you've successfully installed PHP.
Now start and enable PHP-FPM. Remember to use your installed PHP version:
sudo systemctl start php8.3-fpm
sudo systemctl enable php8.3-fpm
Check the status of PHP-FPM:
sudo systemctl status php8.3-fpmIt should be active and running:
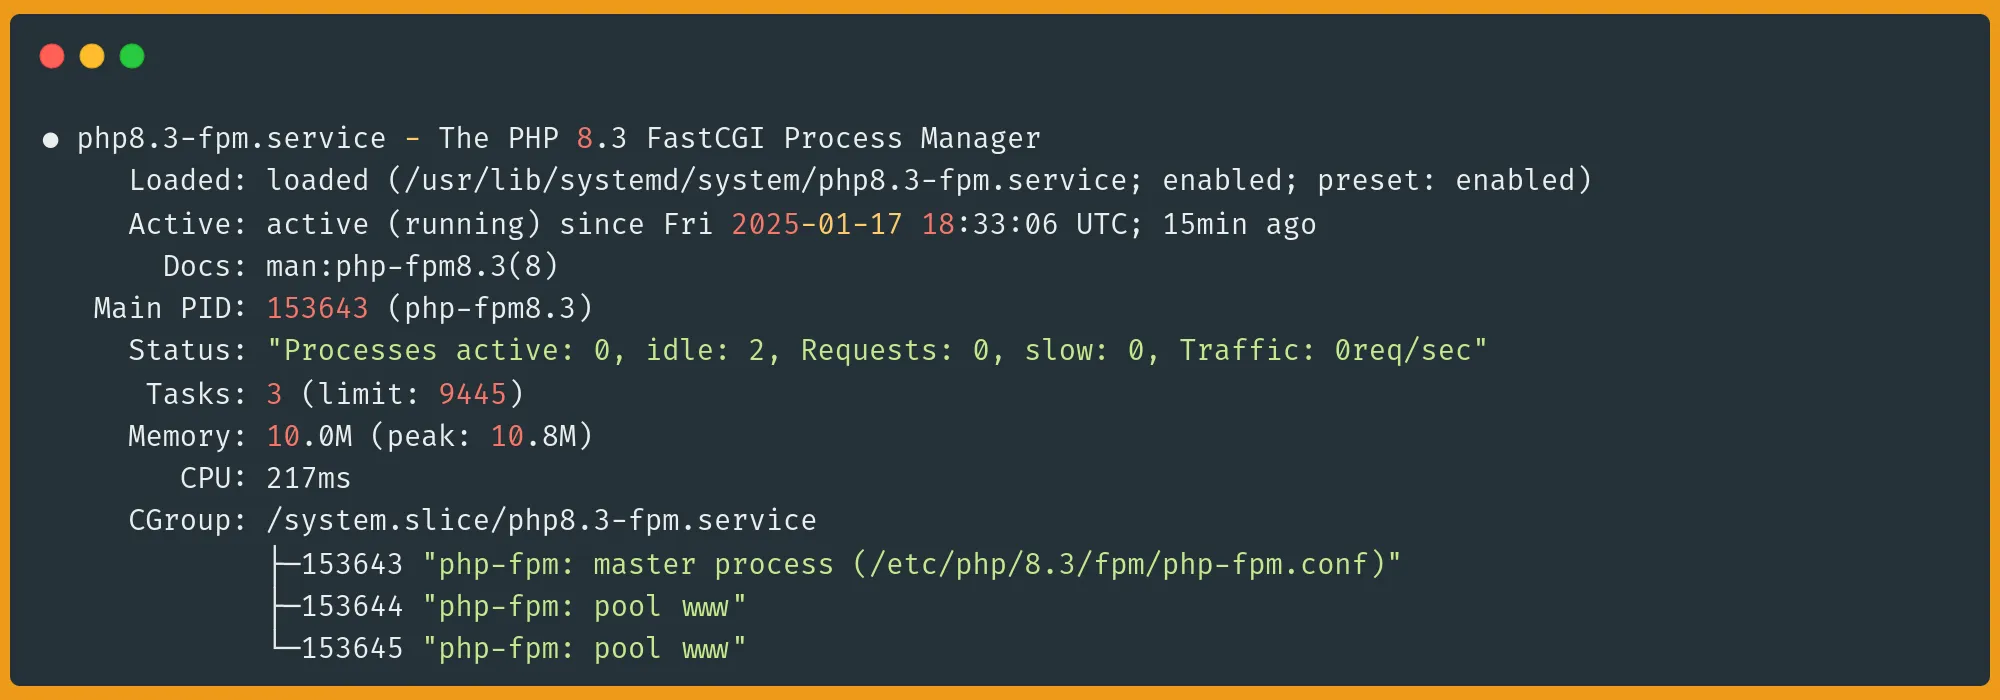
Now, for Apache to work with PHP-FPM, enable the following required modules:
sudo a2enmod proxy_fcgi setenvifThis command enables two Apache modules:
proxy_fcgi: Allows Apache to communicate with PHP-FPM, which runs PHP code.setenvif: Lets Apache set environment variables based on request conditions and enable communication between Apache and PHP-FPM.
After enabling these modules, you'll need to restart Apache:
sudo systemctl restart apache2Enable the PHP-FPM configuration in Apache. This creates a link from the available configurations to the enabled configurations. After running this, Apache will know how to handle PHP files using PHP-FPM:
sudo a2enconf php8.3-fpmTo apply changes, restart Apache:
sudo systemctl restart apache2Restart PHP-FPM:
sudo systemctl restart php8.3-fpmSetting up PHP-FPM with Apache's Default Virtual Host
This section demonstrates how to set up PHP-FPM with Apache's default virtual host configuration. In a production environment, you would typically create dedicated virtual hosts under /etc/apache2/sites-available/ with specific configurations for each domain, separate log files, and isolated web root directories for better organization and security. However, if you just need a basic PHP setup, here's how to configure it with the default Apache host:
Edit the default Apache configuration:
sudo nano /etc/apache2/sites-available/000-default.confAdd your domain name with ServerName and the FilesMatch PHP handler inside the VirtualHost block:
<VirtualHost *:80>
    **ServerName www.example.com**

    ServerAdmin webmaster@localhost
    DocumentRoot /var/www/html

    ErrorLog ${APACHE_LOG_DIR}/error.log
    CustomLog ${APACHE_LOG_DIR}/access.log combined
  **<FilesMatch \\.php$>
      SetHandler "proxy:unix:/var/run/php/php8.3-fpm.sock|fcgi://localhost/"
  </FilesMatch>**
</VirtualHost>
Test Apache configuration:
sudo apache2ctl configtestYou may see a warning with before the Syntax OK message:
AH00558: apache2: Could not reliably determine the server's fully qualified domain name
Syntax OK
This warning is informational only and won't affect Apache's operation, and you can safely proceed.
If there are actual configuration errors, Apache will provide specific error messages to help you identify and fix the problems.
After confirming the syntax is correct, restart Apache:
sudo systemctl restart apache2Create a test PHP file:
sudo nano /var/www/html/info.phpAdd PHP info code:
<?php
phpinfo();
?>
Access this newly created PHP info page on your website:
http://your_server_ip_or_domain/info.php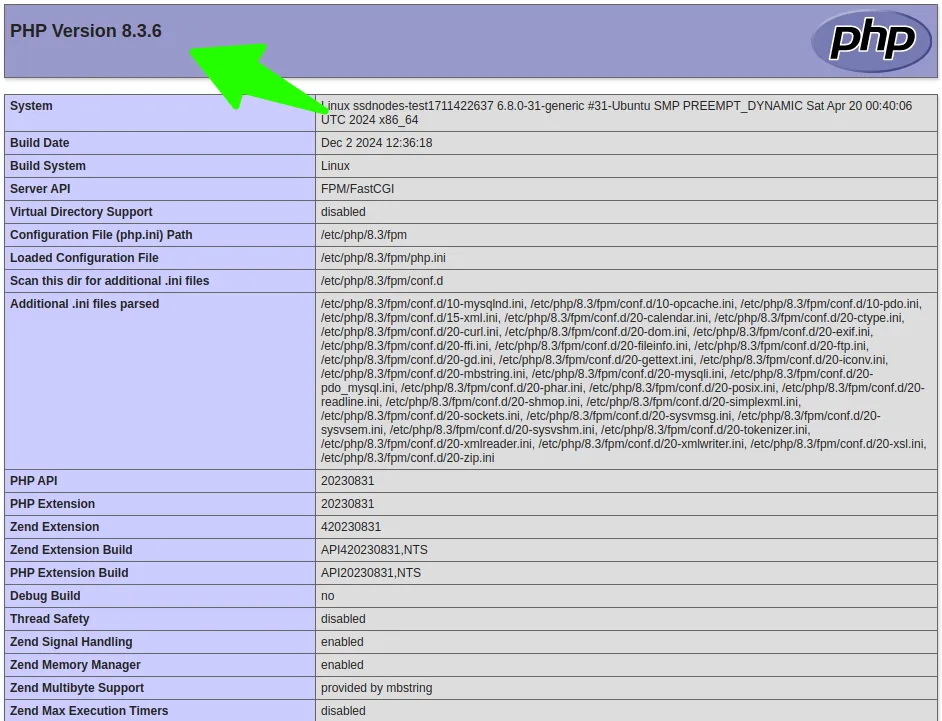
Step 5 - Testing LAMP with a Custom-Made Web Page

After we've finished installing all the components of the LAMP stack, we will now test our Apache server by creating a small HTML file.
First, create a file called example.html inside your /var/www/html directory:
sudo nano /var/www/html/example.htmlPaste the following into the file:
<!DOCTYPE html>
<html lang="en">
<head>
    <meta charset="UTF-8">
    <title>My Test Site</title>
</head>
<body>
    <h1>Hello World!</h1>
    <p>If you see this, Apache is working correctly.</p>
</body>
</html>
As you can see, this is straightforward HTML code.
Save and close the file.
Use your browser and navigate to your server’s domain name or IP address:
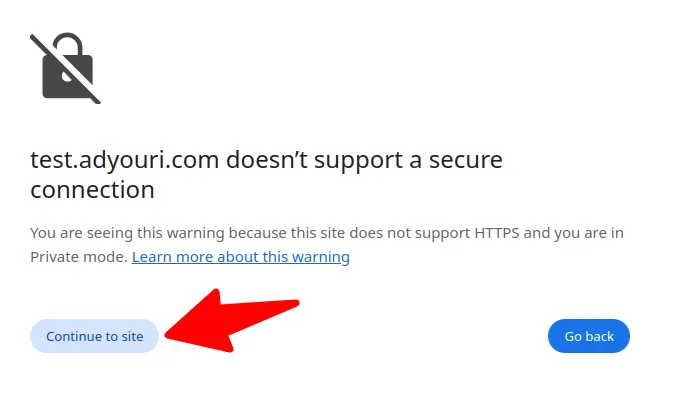
http://your_server_domain_or_IP/example.htmlYou will likely encounter a message informing you that the server doesn’t support a secure connection, this is because we are not encrypting the connection using HTTPS. We’ll fix this later and secure the site using Let’s Encrypt in the next step.
For now, just ignore the warning and proceed to the site:
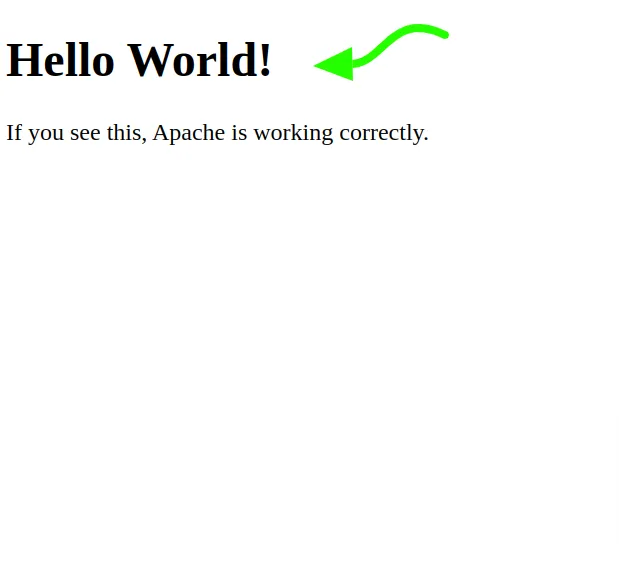
You should see that the example.html file you created earlier is correctly served.
Great! Your LAMP stack is now installed and running. The final step is setting up HTTPS with Let's Encrypt to enable secure connections to your web server.
Step 6 - Secure Apache With Let's Encrypt Through Certbot
Now that your LAMP stack is up and running, let's secure your web traffic with Let's Encrypt SSL certificates using Certbot. This final step will enable HTTPS for your web server, ensuring encrypted connections between your users and your applications.
Note: Before proceeding, make sure your firewall allows connections to port 80.
First, let's install Certbot and its Apache plugin:
sudo apt install certbot python3-certbot-apacheWith Certbot installed, you can now obtain and configure your SSL certificate. Run the following command:
sudo certbot --apacheCertbot will guide you through a simple process:
- Enter your email address for important notifications
- Accept the terms of service
- Answer with (N) if you want to decline sharing your email with the Electronic Frontier Foundation
- Select which domains you want to secure
After you generate and configure your Let’s Encrypt certificate, you’ll receive an output similar to the following:
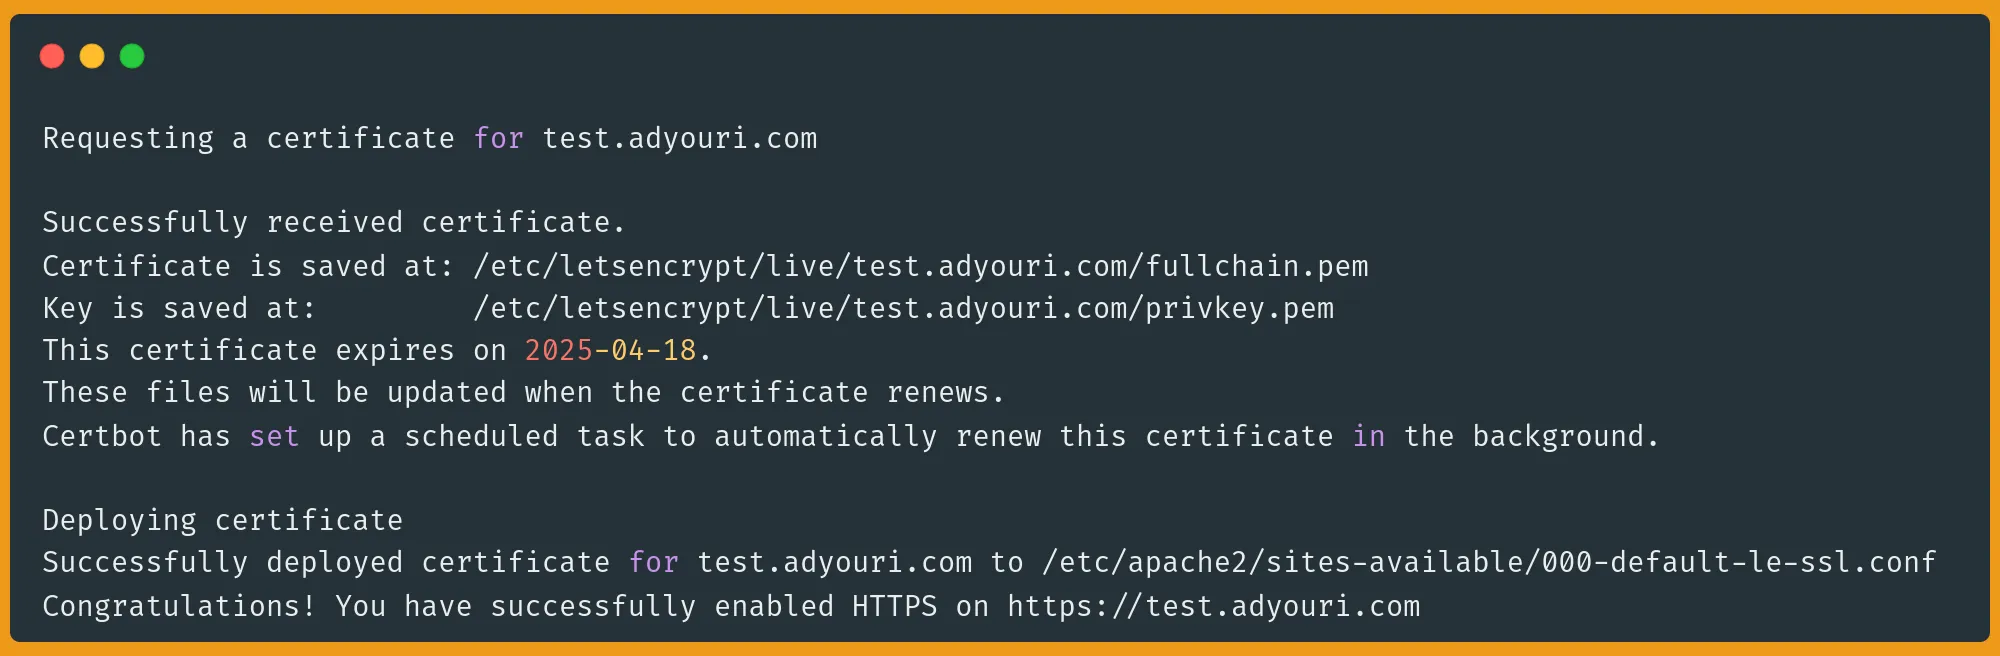
Once Certbot completes its configuration, visit your website using HTTPS:
https://your_domainYou should see that the HTTPS connection is now working correctly.
Certbot automatically sets up certificate renewal. To verify this, run:
sudo systemctl status certbot.timerYou can also test the renewal process, without making actual changes, using the --dry-run option:
sudo certbot renew --dry-runYour’ll see a simulation of the exact steps Certbot takes to renew your Let’s Encrypt certificate:
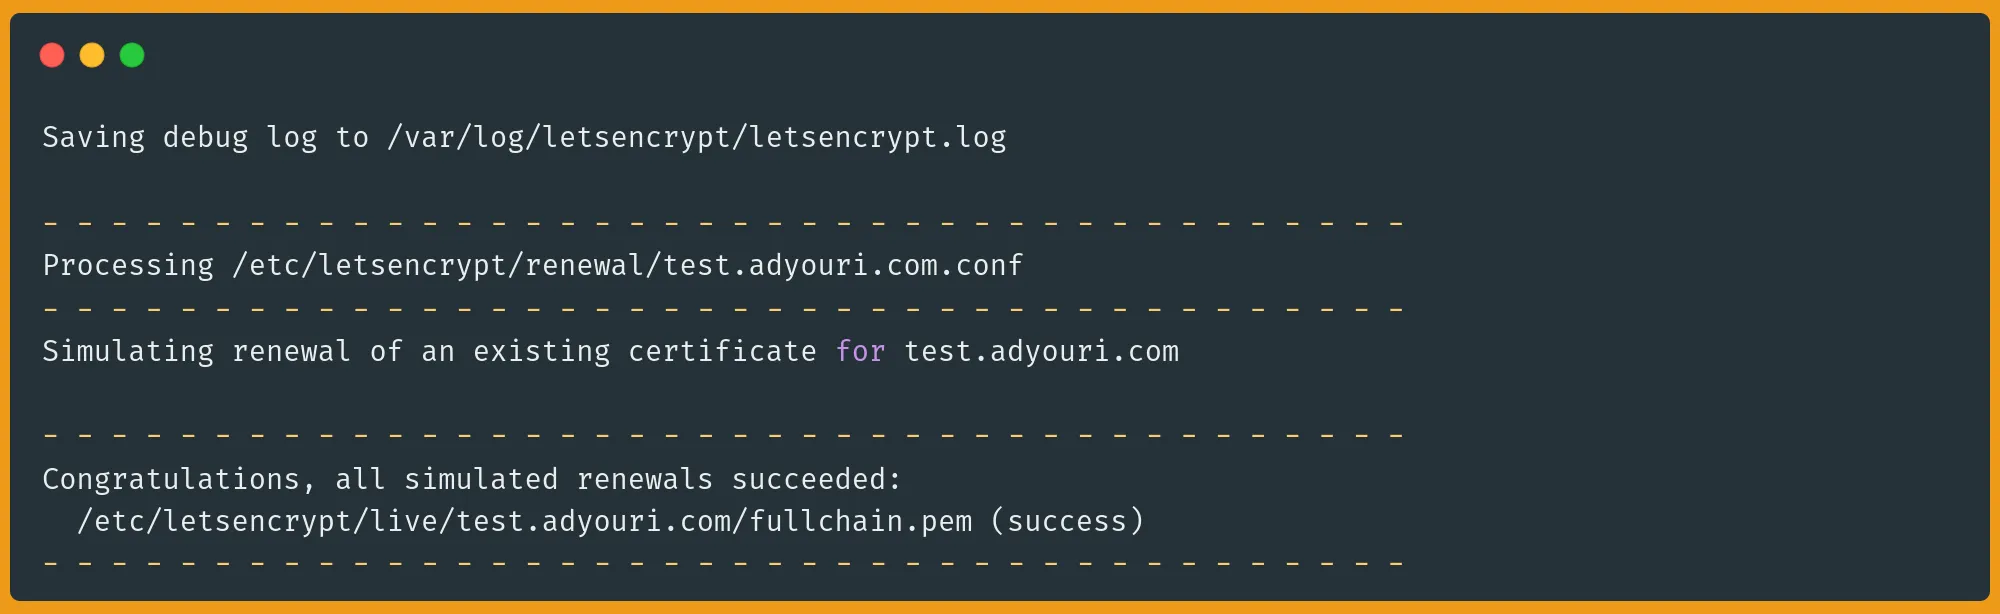
That's it! Your LAMP stack is now fully installed and secured with SSL/TLS encryption. Your web applications will benefit from both the security of Let's Encrypt certificates and the robust performance of the LAMP stack.
Reader Alert!
Need a simpler solution? We've got you covered! Our 1-Click LAMP installation does all the heavy lifting for you. Just select LAMP when choosing your server, and we'll handle the technical setup automatically. Head over to our website, pick your server specs, and you'll be up and running in minutes.
Much easier, right? 😊
FAQ
How do I check if MariaDB is running and configured correctly for LAMP?
Use sudo systemctl status mariadb to check if the service is running. To verify the configuration, try logging in with mysql -u root -p and run SHOW DATABASES;. If both work, your basic setup is correct. Check error logs at /var/log/mysql/error.log if you encounter issues.
What if the Let's Encrypt certificate doesn't auto-renew?
First, check if the Certbot timer is active with sudo systemctl status certbot.timer. If the timer is running but renewal fails, ensure ports 80 and 443 are open and your domain still points to your server. You can also manually test renewal with sudo certbot renew --dry-run.
Can I use a single Let's Encrypt certificate for multiple domains?
Yes! When running Certbot, you can secure multiple domains with a single certificate using sudo certbot --apache -d domain1.com -d domain2.com. This works for both subdomains and completely different domain names pointing to your server.
If MariaDB installation seems successful but I can't connect, what's wrong?
First, verify MariaDB is running with sudo systemctl status mariadb. If it's running but you can't connect, you might need to run sudo mysql_secure_installation again or check if your user has the correct database privileges using GRANT commands.
A note about tutorials: We encourage our users to try out tutorials, but they aren't fully supported by our team—we can't always provide support when things go wrong. Be sure to check which OS and version it was tested with before you proceed.
If you want a fully managed experience, with dedicated support for any application you might want to run, contact us for more information.