
Ever stared at the terminal, wondering if your next command will install a cool software package on your system, or break it completely?
Linux package managers like APT and DNF might seem daunting, but they're actually very easy to master once you understand how they work. The core concepts of package management are surprisingly simple, and they are guaranteed to make you 10X better at working with Linux.
In this guide, I'll share the basics that helped me go from randomly copying commands from Stack Overflow to confidently managing any Linux system. I'll show you exactly how to master APT and DNF, the two most important package managers. No fluff, no theory overload, just practical easy-to-understand knowledge that will save you hours of debugging and prevent those dreaded system failures.
Let's make package management click for you.
Prerequisites for APT and DNF Package Managers
To make the most out of this Linux package management guide, you’ll need a VPS:
- To learn how to use the APT package manager, you’ll need a VPS running Ubuntu or Debian.
- To learn how to use the DNF package manager, you’ll need a VPS running Rocky Linux, Fedora, CentOS Stream, or AlmaLinux.
- A non-root user with
sudoprivileges. Check out our How to access your server using SSH guide to learn how to access your server and create asudouser. - Basic Linux command line knowledge.
If you haven't noticed, we offer the best priced, most reliable Linux VPS servers. Take a look at our deals and prepare for your mind to be blown 🤯.
What is a Package Manager in Linux?
Package managers are used to distribute Linux software in pre-compiled bundles called packages. Think of them as app stores for your Linux system. They handle all the heavy lifting, downloading, installing, updating, and removing software.
To manage packages, most Linux distributions make use of either APT (Advanced Package Tool) or DNF (Dandified YUM). These tools make sure you get the right versions of software and keep your system running smoothly.
What Two Linux Distributions Utilize the Debian Package Manager by Default?
Ubuntu and Debian are the two most popular distributions that use APT. Ubuntu is perfect for beginners and powers millions of servers worldwide, while Debian is known for its rock-solid stability. Both share the same powerful package management system that makes software installation a breeze.
Linux Distributions That Utilize the DNF Package Manager by Default
Fedora, Rocky Linux, and AlmaLinux are the main distributions that use DNF. Fedora leads the pack with cutting-edge features, while Rocky Linux and AlmaLinux are built for enterprise stability. These distributions switched from YUM to DNF for better performance and dependency handling.
APT vs DNF: What Is the Best Linux Package Manager?
Both APT and DNF are excellent at their jobs. There's no clear winner! APT has been around longer and has a larger package repository, while DNF offers more modern features like better dependency resolution and faster performance. Your choice really depends on which Linux distribution you're using.
Now that you understand the basics of package managers, let's dive into the practical commands that will make you a Linux pro. I'll show you exactly how to find and install any software you need with our Linux Package Manager Cheat Sheet below!
Linux Package Manager Cheat Sheet
Here's your quick reference guide for both APT and DNF commands. I've paired them side by side so you can easily spot the similarities:
| Action | APT Command | DNF Command |
|---|---|---|
| Update package list | apt update |
dnf check-update |
| Upgrade all packages | apt upgrade |
dnf upgrade |
| Install a package | apt install package |
dnf install package |
| Remove a package | apt remove package |
dnf remove package |
| Search for a package | apt search keyword |
dnf search keyword |
| Show package info | apt show package |
dnf info package |
| Clean package cache | apt clean |
dnf clean all |
| List installed packages | apt list --installed |
dnf list installed |
Pro Tip: Add -y to any install or remove command to skip the confirmation prompt. For example, to install Nginx: apt install -y nginx or dnf install -y nginx.
Now that you've got this handy cheat sheet, let's dive deeper into APT commands. I'll show you some cool tricks that aren't obvious from the basic syntax, like installing specific versions and managing dependencies. These will save you hours of troubleshooting down the road.
How to Use APT Commands in Linux
APT (Advanced Package Tool) is Linux's package management system. Here are the essential APT commands in Linux:
- Update package list:
apt update - Install software:
apt install package - Upgrade installed packages:
apt upgrade - Remove software:
apt remove package - Find packages:
apt search keyword
Always run apt update before installing or upgrading packages to ensure you get the latest versions.
Let's dive deeper in the next section and start with the most important task: installing packages...
Note: Do You Want to Practice These Commands Risk-Free?
Want to master APT without worrying about breaking your system? The best way to do that is to get a fresh Ubuntu or Debian VPS where you can experiment freely. Try commands, test configurations, and if something breaks, just reset and start fresh in seconds.
Get started with a VPS for just $11/month. With instant setup, and 14-day money-back guarantee. Launch your sandbox →
How to Install a Linux Package Using APT
Installing packages with APT is super straightforward. First, refresh your package list:
sudo apt update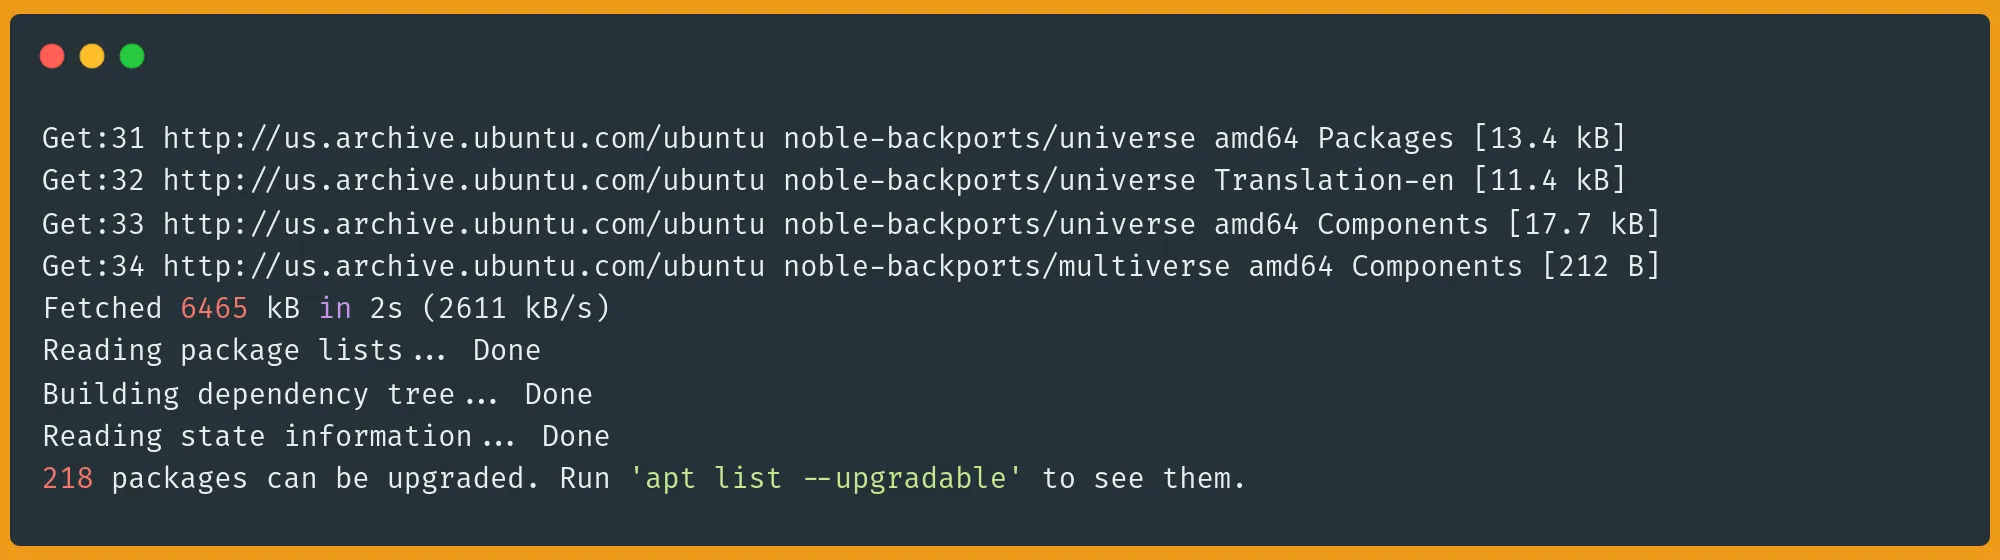
Then install your software with a simple command:
sudo apt install package-name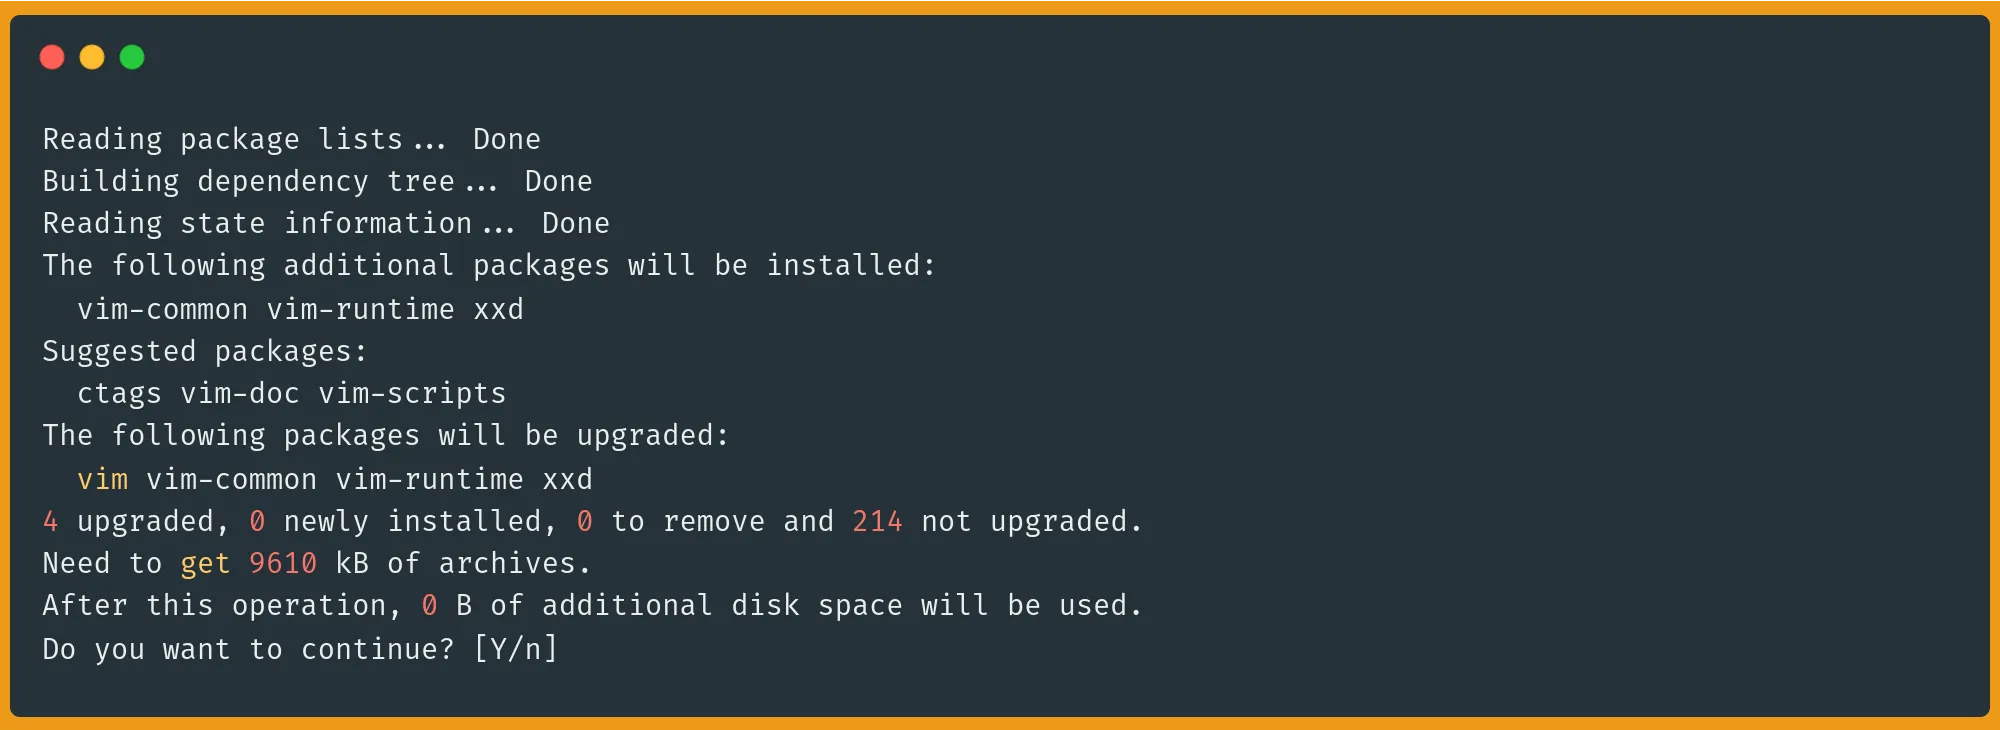
Want to install multiple packages? Just list them with spaces:
sudo apt install nginx php mysql-serverNow you have your packages installed. Great! But wait, what if your app needs a specific version to work properly? Let me show you a neat trick in the next section...
How to Install a Specific Version for a Package Using APT
Sometimes you need an exact version, maybe for compatibility or stability reasons. First, check available versions:
sudo apt list -a package-nameFor example:
sudo apt list -a nginx
Then install the version you want:
sudo apt install package-name=1.18.0-0ubuntu1To prevent automatic updates, 'pin' your version:
sudo apt-mark hold package-nameThe above command pins the package at its current version, and prevents apt upgrade or apt dist-upgrade from updating it.
Now that you've got your perfect version installed, let's talk security. Keeping your packages updated is crucial to protect against vulnerabilities. I'll show you exactly how to do that next.
How to Upgrade a Linux Package Using APT
Stay secure by keeping packages up-to-date! First, refresh your package list:
sudo apt updateSee what needs upgrading:
sudo apt list --upgradable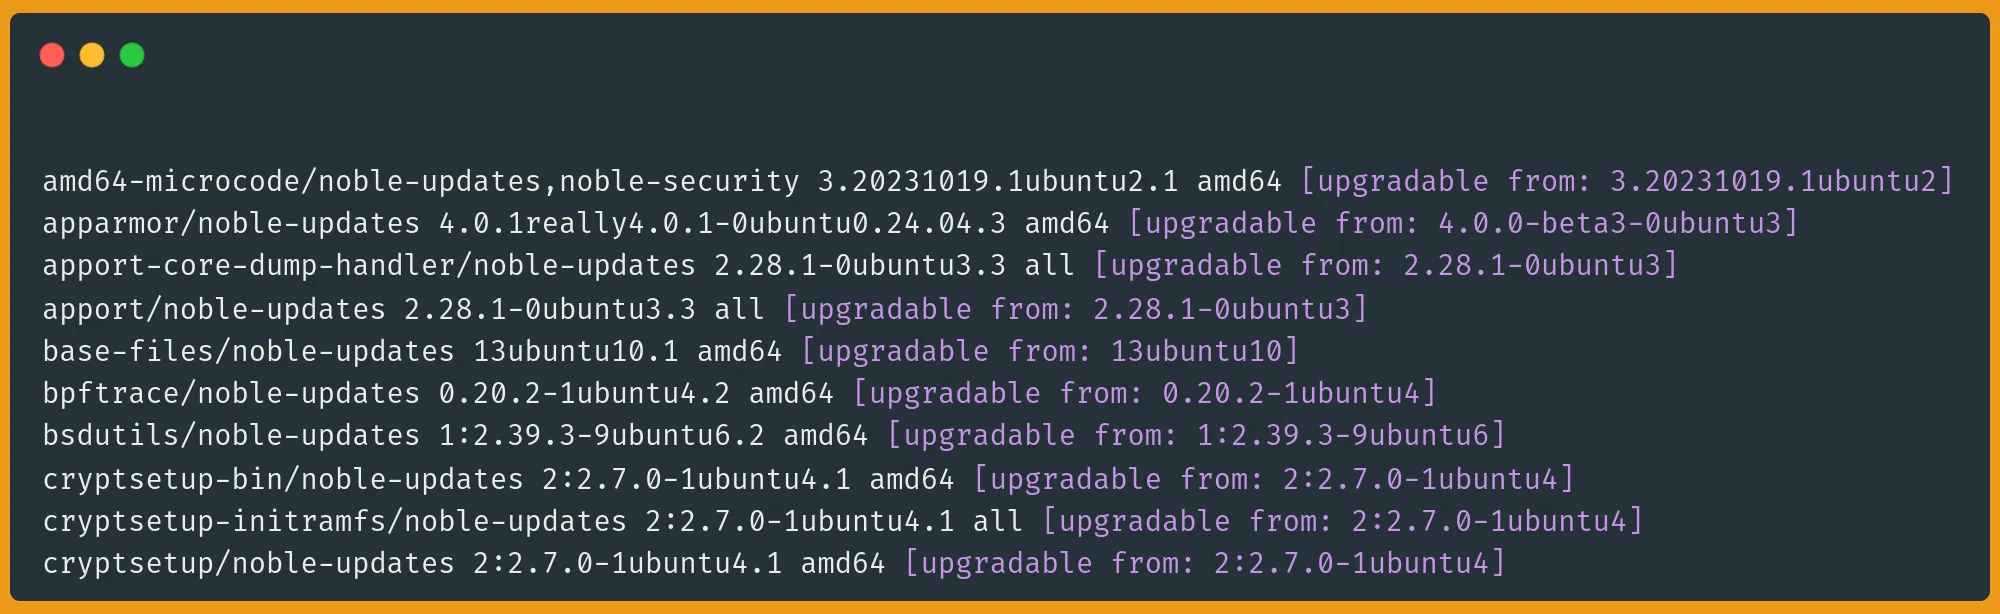
Upgrade a specific package:
sudo apt install --only-upgrade package-name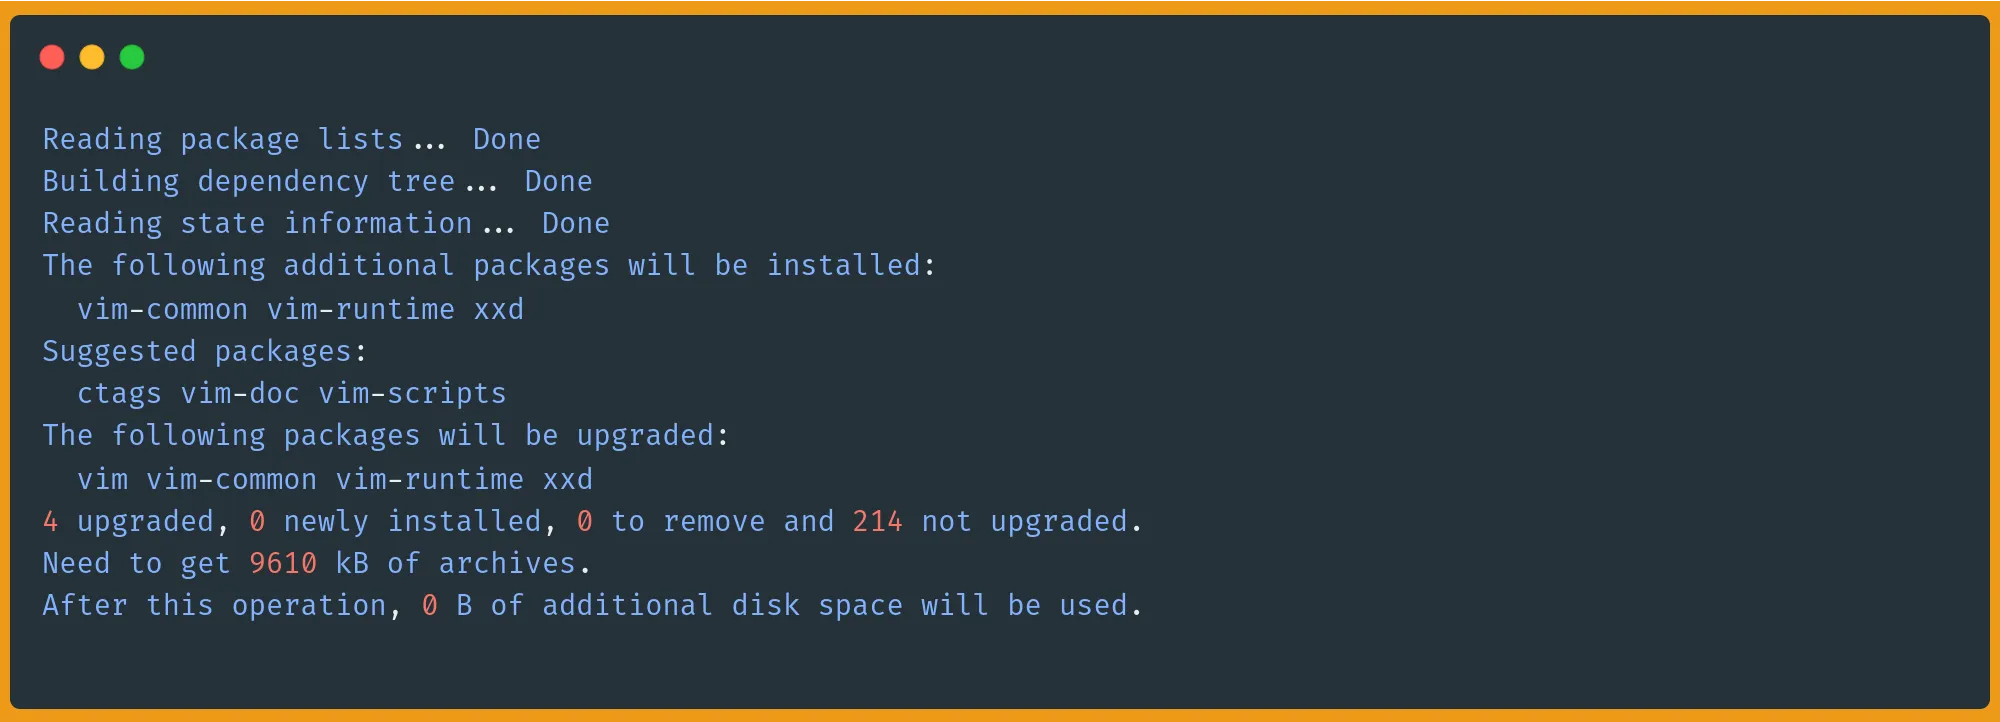
Or upgrade everything at once:
sudo apt upgrade
With the upgrades out of the way, sometimes things don't work out and you end up needing to remove packages. Removing them the wrong way can leave your system cluttered. In the next section, I’ll show you how to properly remove packages.
How to Remove a Package with APT in Linux
We all have packages we don't need. Here's how to clean them up properly.
This removes the package while preserving configuration files in case you want to reinstall the package later and keep your settings:
sudo apt remove package-name
You can use purge to perform a complete removal of the package, including all configuration files, giving you a clean slate as if the package was never installed:
sudo apt purge package-nameYou can also clean up leftover dependencies using autoremove:
sudo apt autoremoveSometimes you may find yourself needing to remove packages and all their dependencies in one go. There's actually a special command for that, which I’ll discuss in the next section.
How to Remove a Package and All Dependencies with APT
To completely remove a package and everything it brought with it, use the following command:
sudo apt remove --auto-remove package-nameThis command is generally safe to use, but you should be aware of what it does:
apt remove- Removes the specified package-auto-remove- Also removes any dependencies that were automatically installed with the package and are no longer needed by other packages- Keeps configuration files in place
The key safety considerations are:
- Before running it, you should check what will be removed by first running:
apt list --auto-removable - Make sure the package you're removing isn't critical for your system
- Check the list of dependencies that will be removed to ensure nothing important will be affected
How to Remove a Package and Config Files Using APT in Linux
Configuration files can stick around even after removing a package. Here's how to get rid of everything:
sudo apt purge package-nameOr for a total cleanup:
sudo apt purge --auto-remove package-nameThe apt purge command requires careful consideration, as it removes the package AND all its configuration files from your system. The main differences from apt remove are as follows:
apt remove- Only removes the package binariesapt purge- Removes both the package binaries AND configuration files
This command is safe to use IF:
- You're certain you want to completely remove all traces of the package
- You won't need the configuration files later
- The package isn't a critical system component
To be extra careful, you can first check what will be removed:
sudo apt show package-name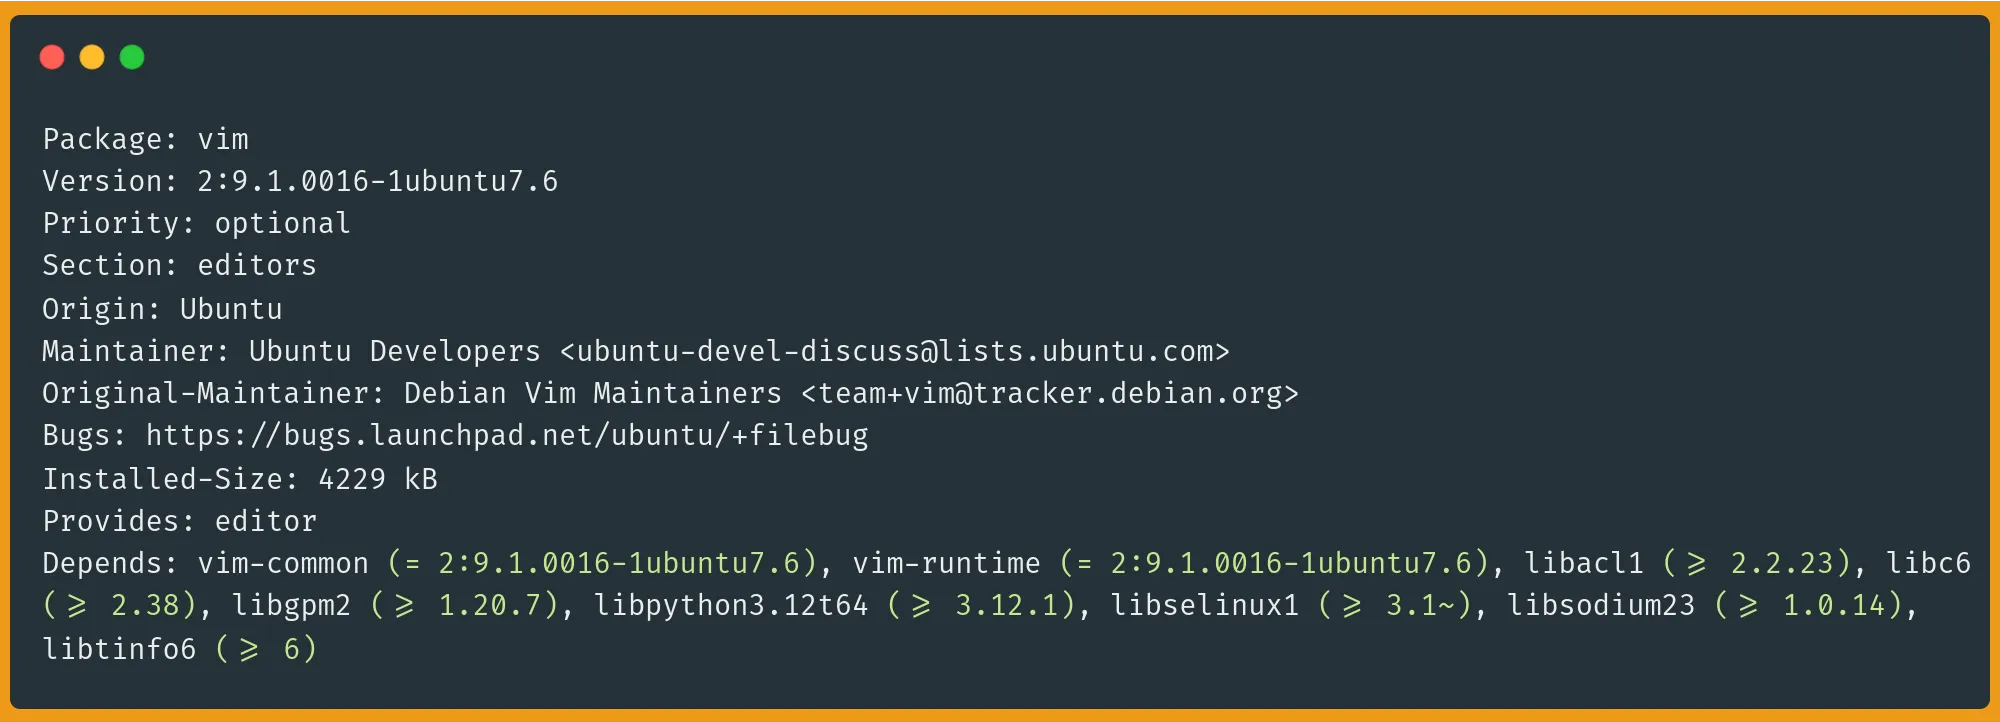
Then see what depends on this package:
sudo apt-cache rdepends package-nameFor example:
sudo apt-cache rdepends nginx-common
Now that we've covered cleanup, you might be wondering about that autoremove command we've mentioned.
Understanding the apt autoremove command
The apt autoremove command is your system's janitor specialist. Here's how it works: when you install a package (let's say Firefox), Ubuntu also installs dependencies (like specific libraries) that Firefox needs. Later, if you remove Firefox, these dependencies stick around because they might be needed by other packages. apt autoremove essentially finds and deletes these leftover dependencies.
Speaking of finding and removing packages, you'll often need to search for specific software before installing it. That happens to be the next section’s topic.
How to Search for a Package Using APT in Linux
To search for a package using APT, you can use a keyword to search for packages by name and description:
sudo apt search keywordSearch only package names (useful for more specific results):
sudo apt list | grep keywordFor example:
sudo apt list | grep nodejs
Get detailed information about a specific package:
sudo apt show package-nameWhat's the Difference Between APT and dpkg?
Think of dpkg as the worker and APT as the manager. While APT handles everything automatically, dpkg does the actual installation work. APT figures out dependencies, downloads packages, and then tells dpkg what to do.
dpkg will install a local .deb file directly, but won't resolve or install any dependencies:
sudo dpkg -i package.debAPT will install a local .deb file and automatically handle all required dependencies:
sudo apt install ./package.debNow that you've mastered APT, let's explore its twin brother from another mother. The DNF package manager.
How to Use DNF Commands
DNF (Dandified YUM) is the package manager for RPM-based Linux distributions like Fedora and Rocky Linux. Here are the essential DNF commands:
- Update package list:
dnf check-update - Install software:
dnf install package - Upgrade installed packages:
dnf upgrade - Remove software:
dnf remove package - Find packages:
dnf search keyword
Always run dnf check-update before installing or upgrading packages to ensure you get the latest versions.
Let's dive deeper in the next few sections and explore DNF's powerful features for managing your Linux packages.
Note: Practice These Commands on a Live VPS
Want to practice without fear of breaking your system? Spin up a fresh VPS running Rocky Linux, Fedora, CentOS Stream, or AlmaLinux. You can experiment, break things, and reset with zero risk.
Ready to dive in? Our Linux VPS servers start at just $11/month, with instant setup and a 14-day money-back guarantee. Check out our deals →
The Difference Between YUM and DNF
DNF is basically YUM's cooler, faster cousin. While YUM (Yellowdog Updater Modified) did the job, it had some issues with memory usage and slow dependency resolution. DNF fixed these problems and added some neat features like parallel downloads and better conflict handling.
Here is a quick comparison:
# Old YUM command
yum check-update

# New DNF command - faster and more efficient
dnf check-update
Speaking of improvements, let me show you how easy it is to install packages with DNF.
How to Install a Package with Linux DNF
Installing packages with DNF is straightforward. First, update your package list:
sudo dnf check-update
Then install your package:
sudo dnf install package-name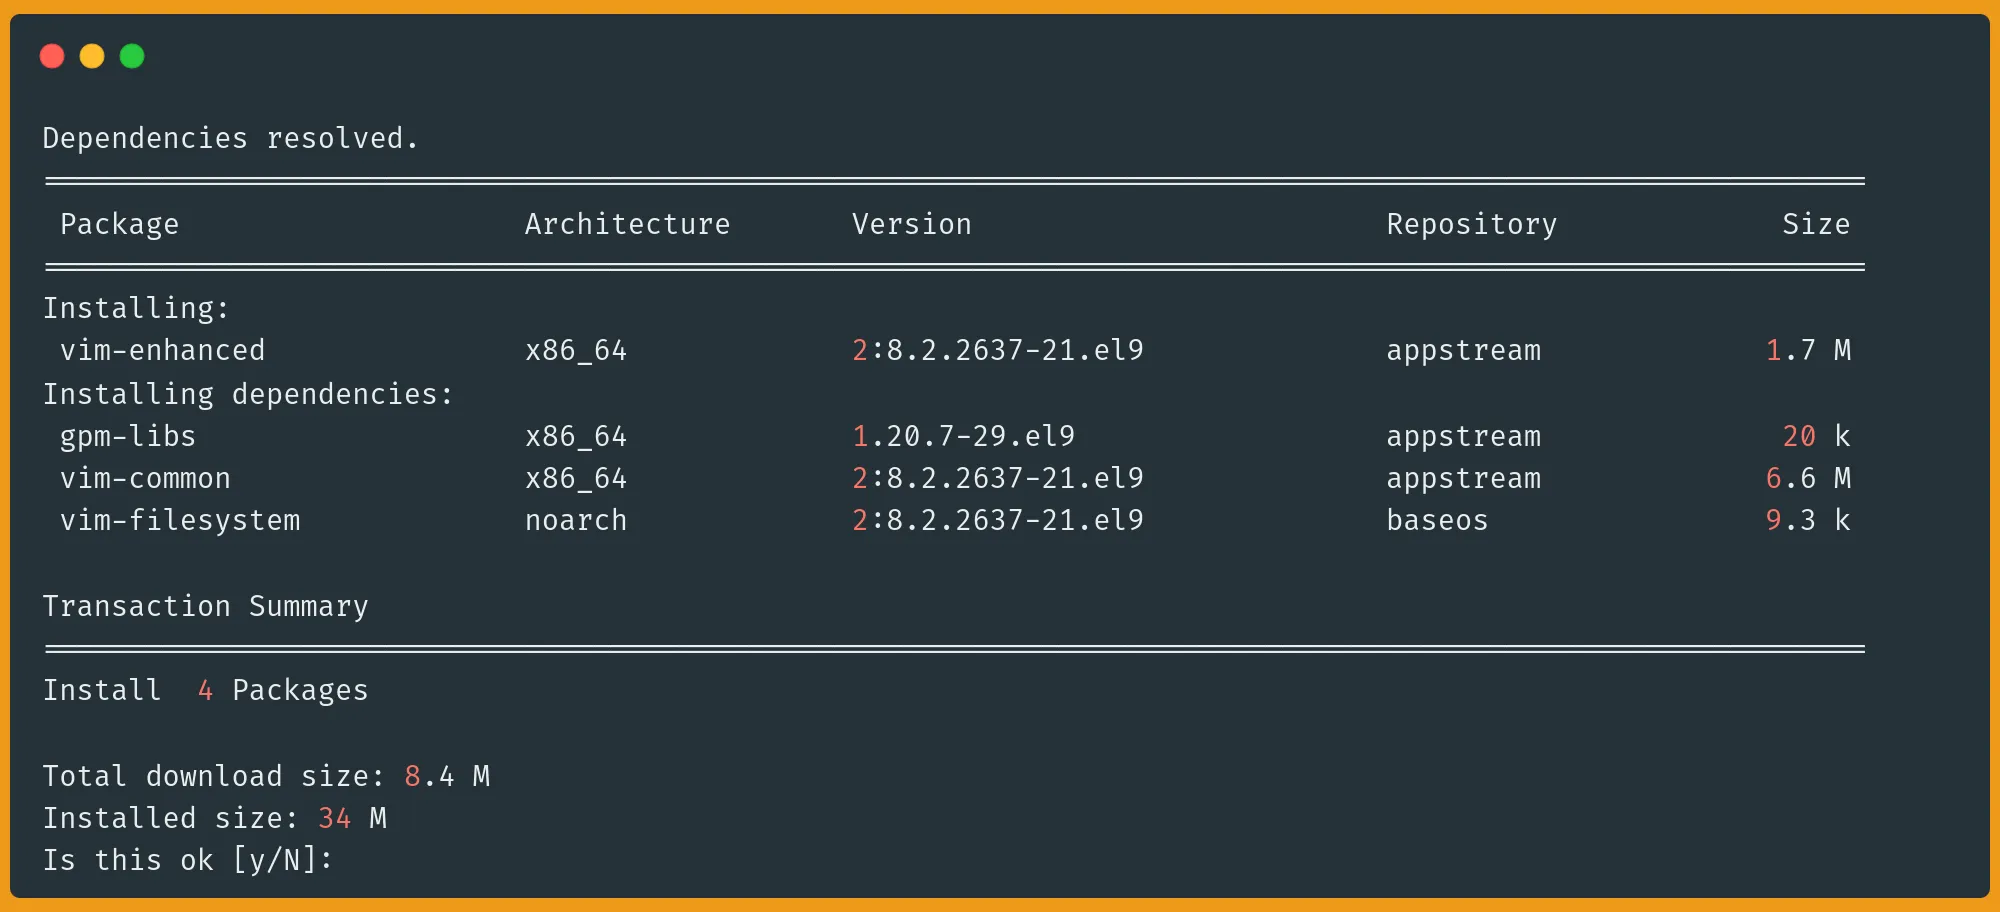
If you want to install multiple packages:
sudo dnf install package1 package2 package3DNF offers a great feature that allows you to see what's going to happen before you commit:
sudo dnf install --assumeno package-name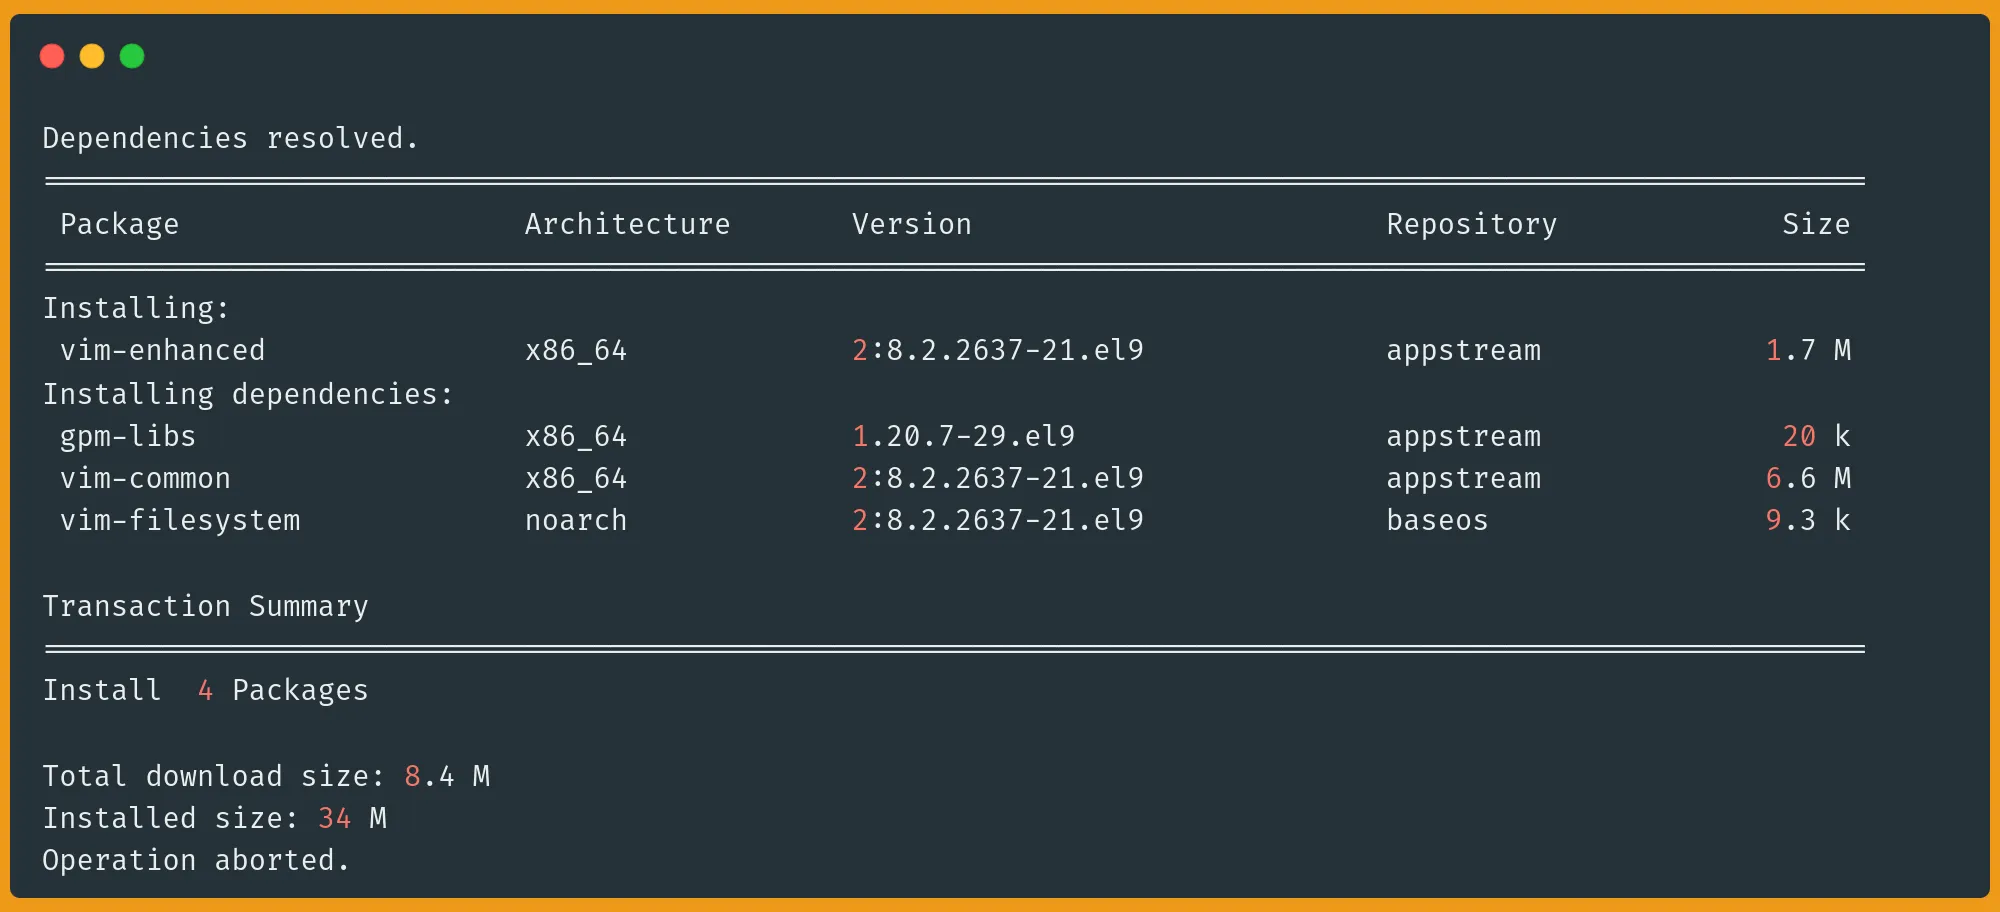
The command above shows you what would happen without actually installing the package.
But what if you need a specific version of a package? Maybe for compatibility reasons or to avoid bugs introduced in a specific newer version? The next section explains how to do this in detail.
How to Install a Specific Version for a Package Using DNF
To find and install a specific version, first, see what versions are available:
sudo dnf list --showduplicates package-name
Then install the version you want:
sudo dnf install package-name-2.4.1Now that you've got your packages installed, you'll want to know how to keep them updated to stay secure. Let me show you the right way to handle updates in the next section.
How to Upgrade a Linux Package with DNF
Keeping your packages updated is crucial for security and performance. Here's how to do it with DNF:
First, check what updates are available:
sudo dnf check-updateUpdate a specific package:
sudo dnf upgrade package-name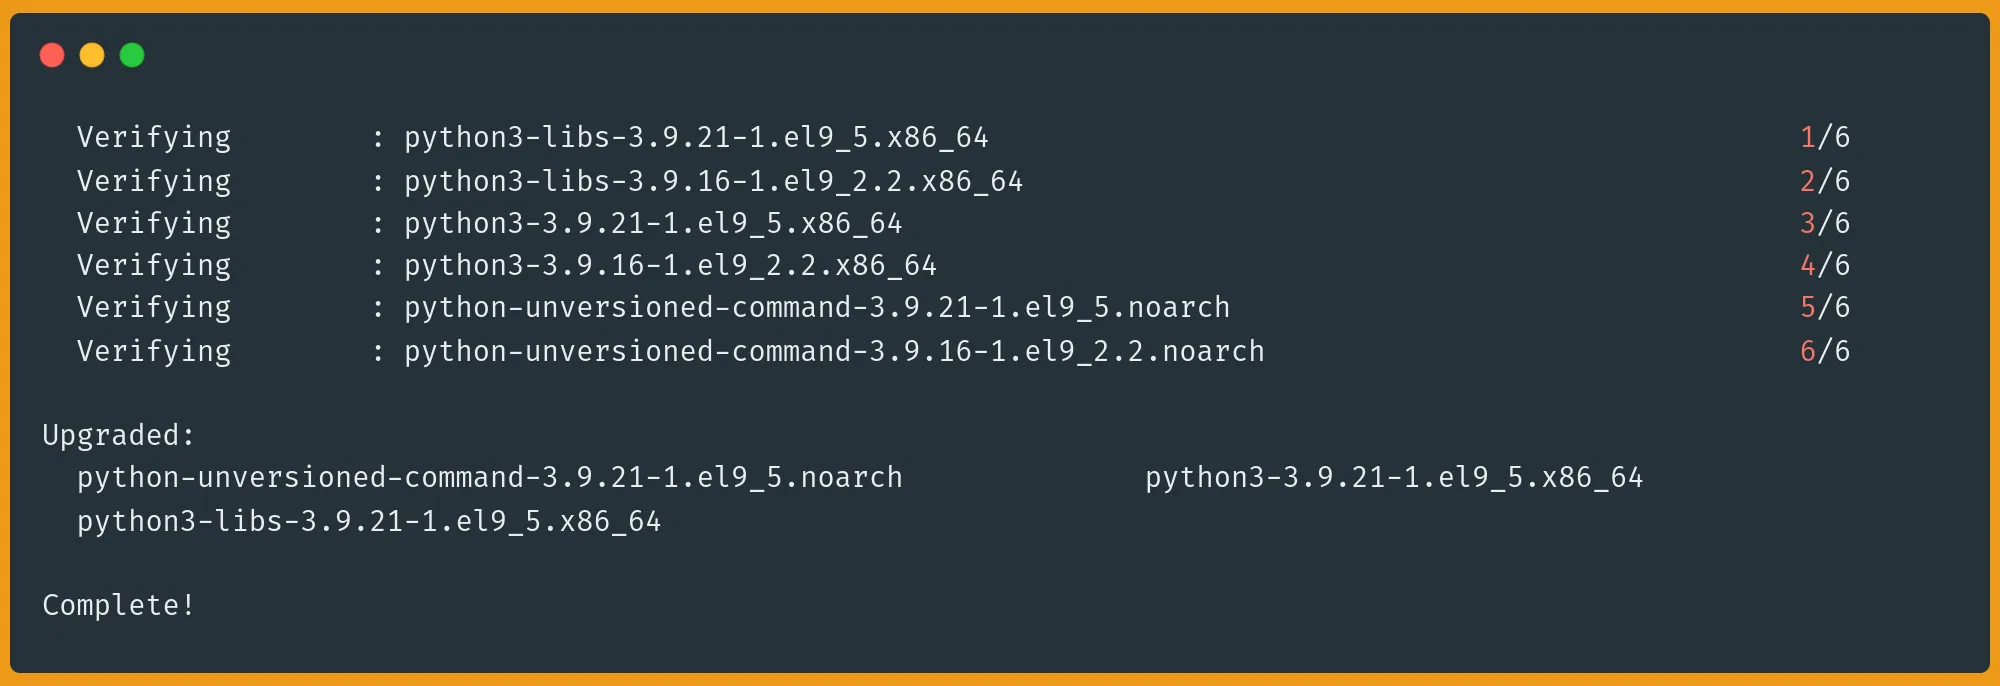
Or update everything at once:
sudo dnf upgradePro tip: Use dnf upgrade --refresh to force a metadata update before upgrading.
How to Remove a Package Linux DNF
If you got packages taking up space, and wanted to remove some unnecessary packages, here's how to clean them out:
sudo dnf remove package-nameIt is best practice to run the following command before you remove anything to see what would be removed and what processes will run:
sudo dnf remove --assumeno package-name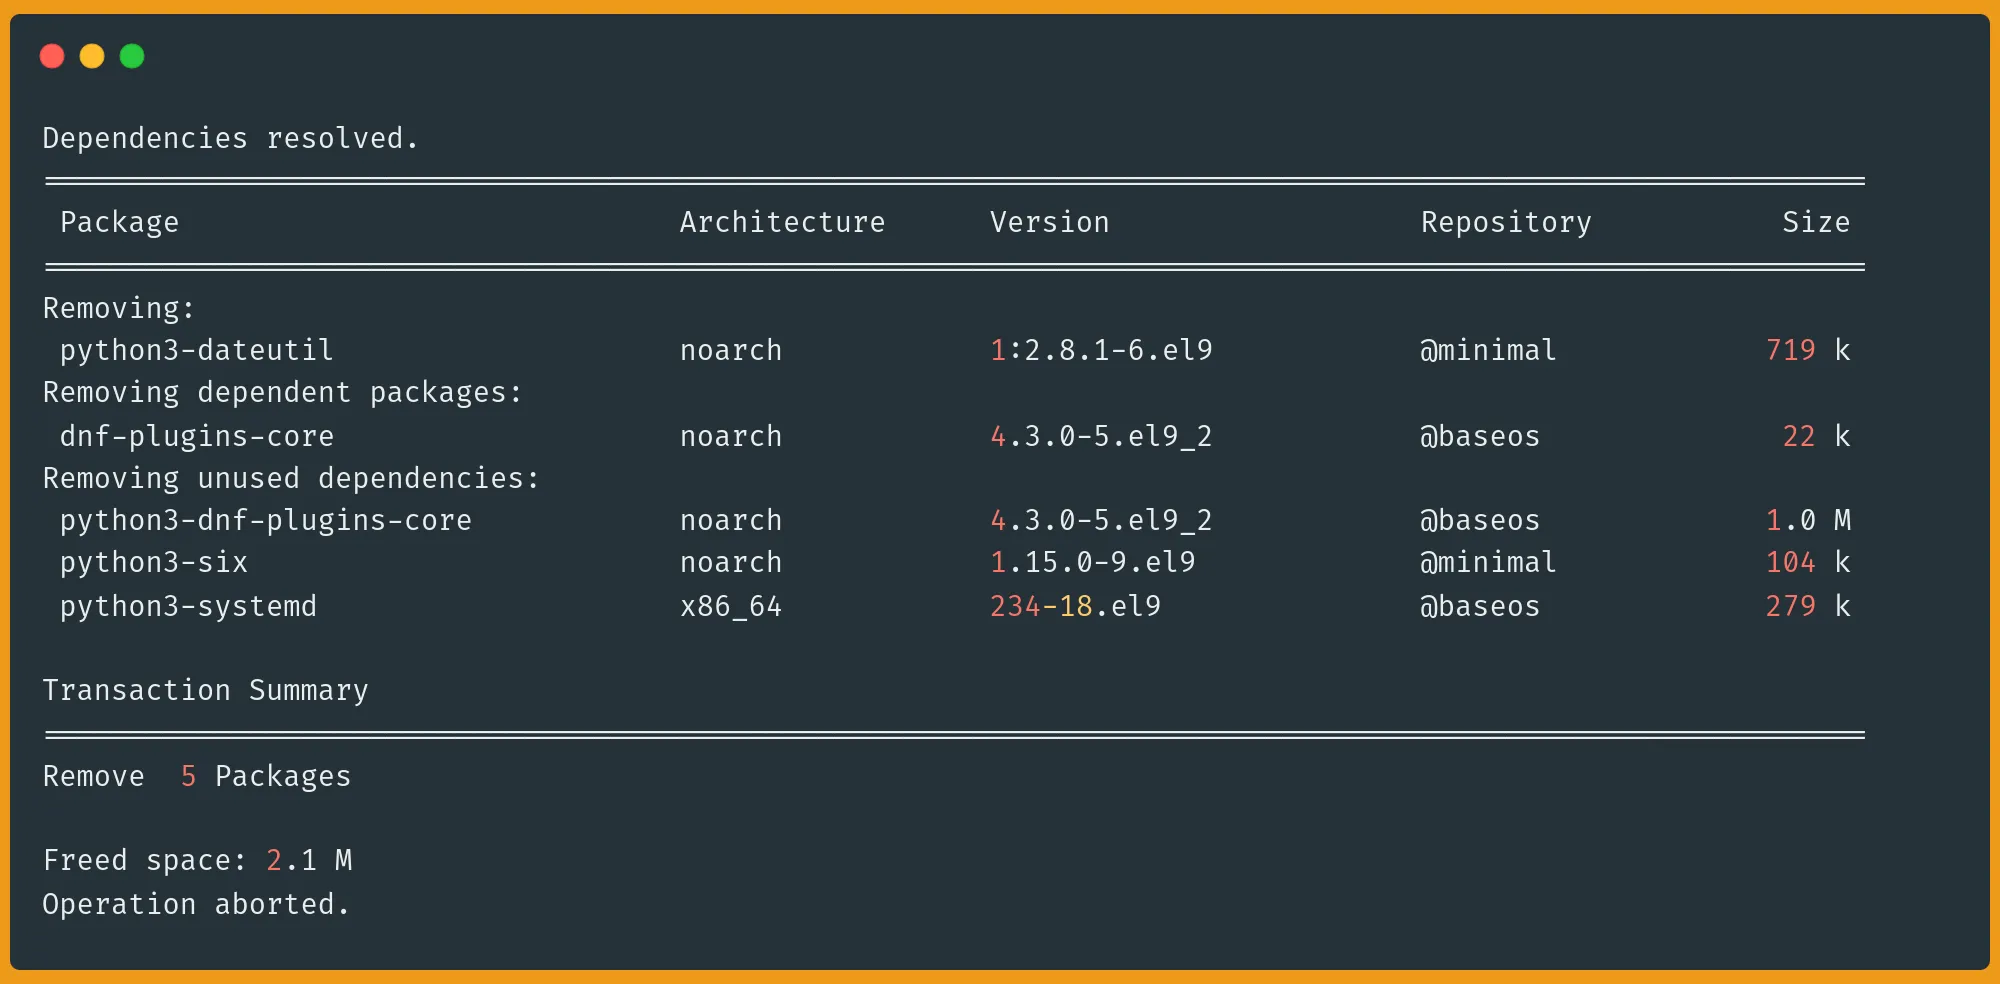
This dnf remove command uninstalls a packages but keeps its configuration and dependencies. Sometimes, you do need to do a deeper clean and remove all related dependencies.
How to Remove a Package and Dependencies using DNF
For a thorough cleanup, use the autoremove and clean all commands:
sudo dnf autoremove package-name    # Removes package and unused dependencies
sudo dnf clean all    # Cleans all cached files
If you want to remove all orphaned dependencies:
sudo dnf autoremoveUninstalling packages is now done. But, one of the hardest problems in Linux is to find the right package to install. That's where DNF's search features come in handy.
How to Search for a Package in Linux DNF
DNF offers several powerful search methods. Each command serves a specific purpose and helps you find exactly what you need.
For a broad search across all package information:
sudo dnf search keyword # Searches package names and descriptionsExample:
sudo dnf search nginx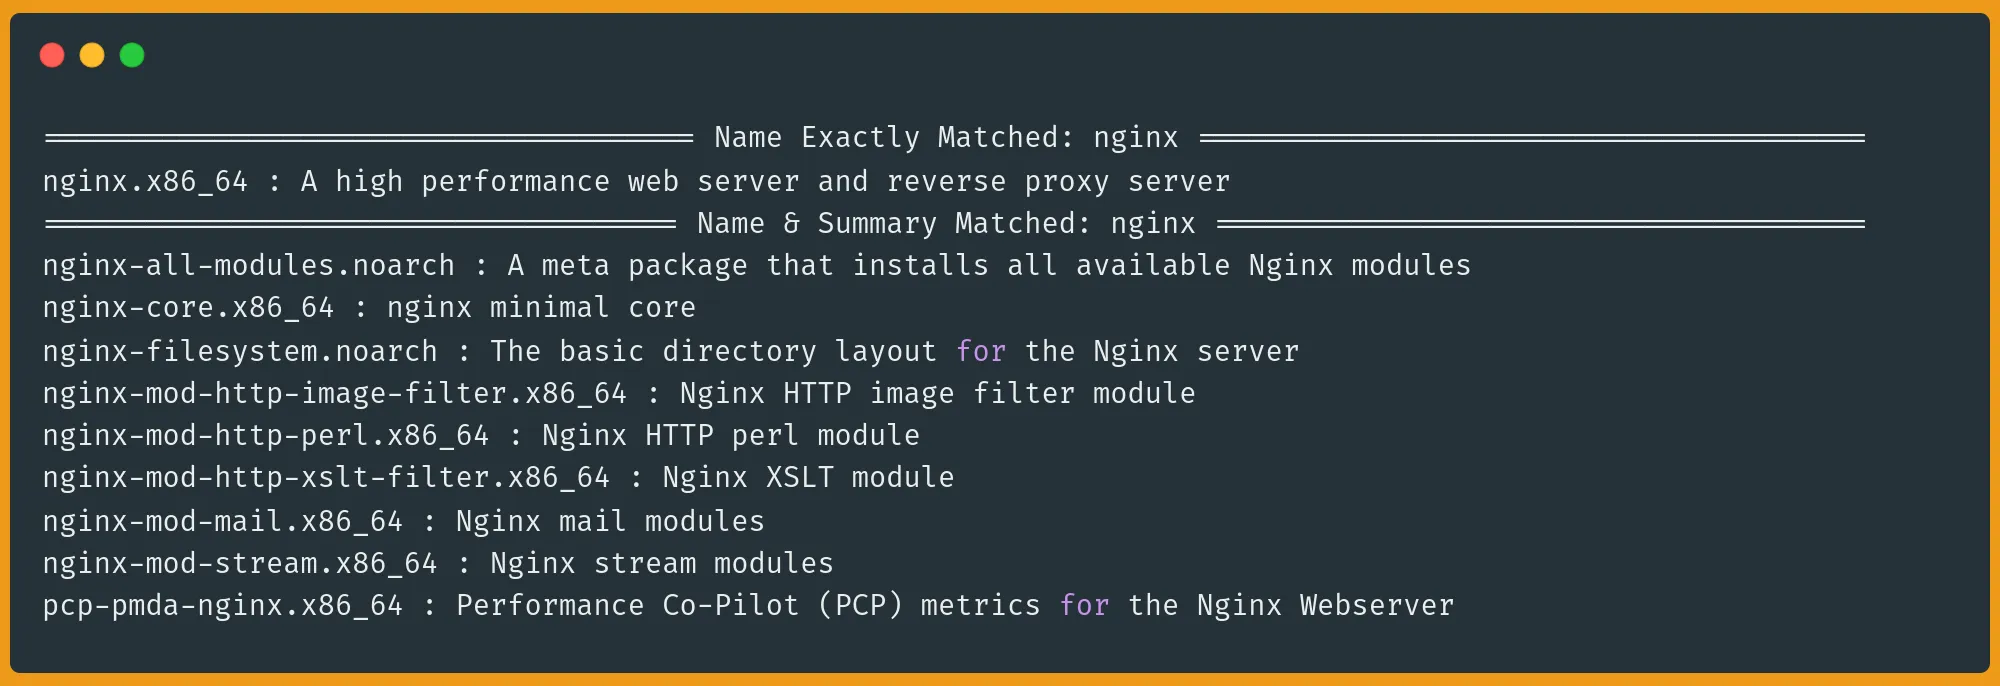
To search only through package names for more precise results:
sudo dnf list | grep keyword # only package names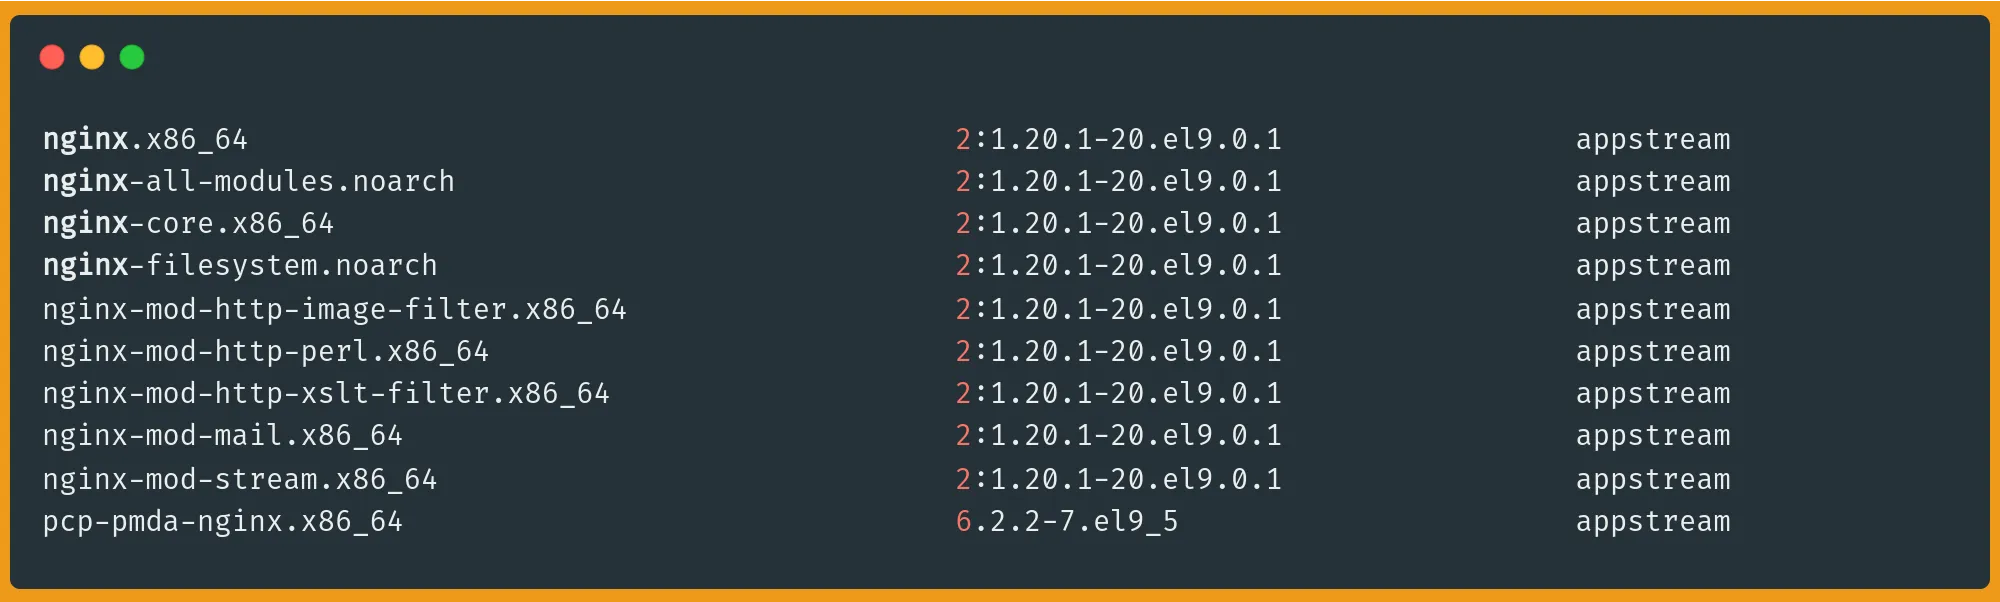
To get detailed information about a specific package:
sudo dnf info package-name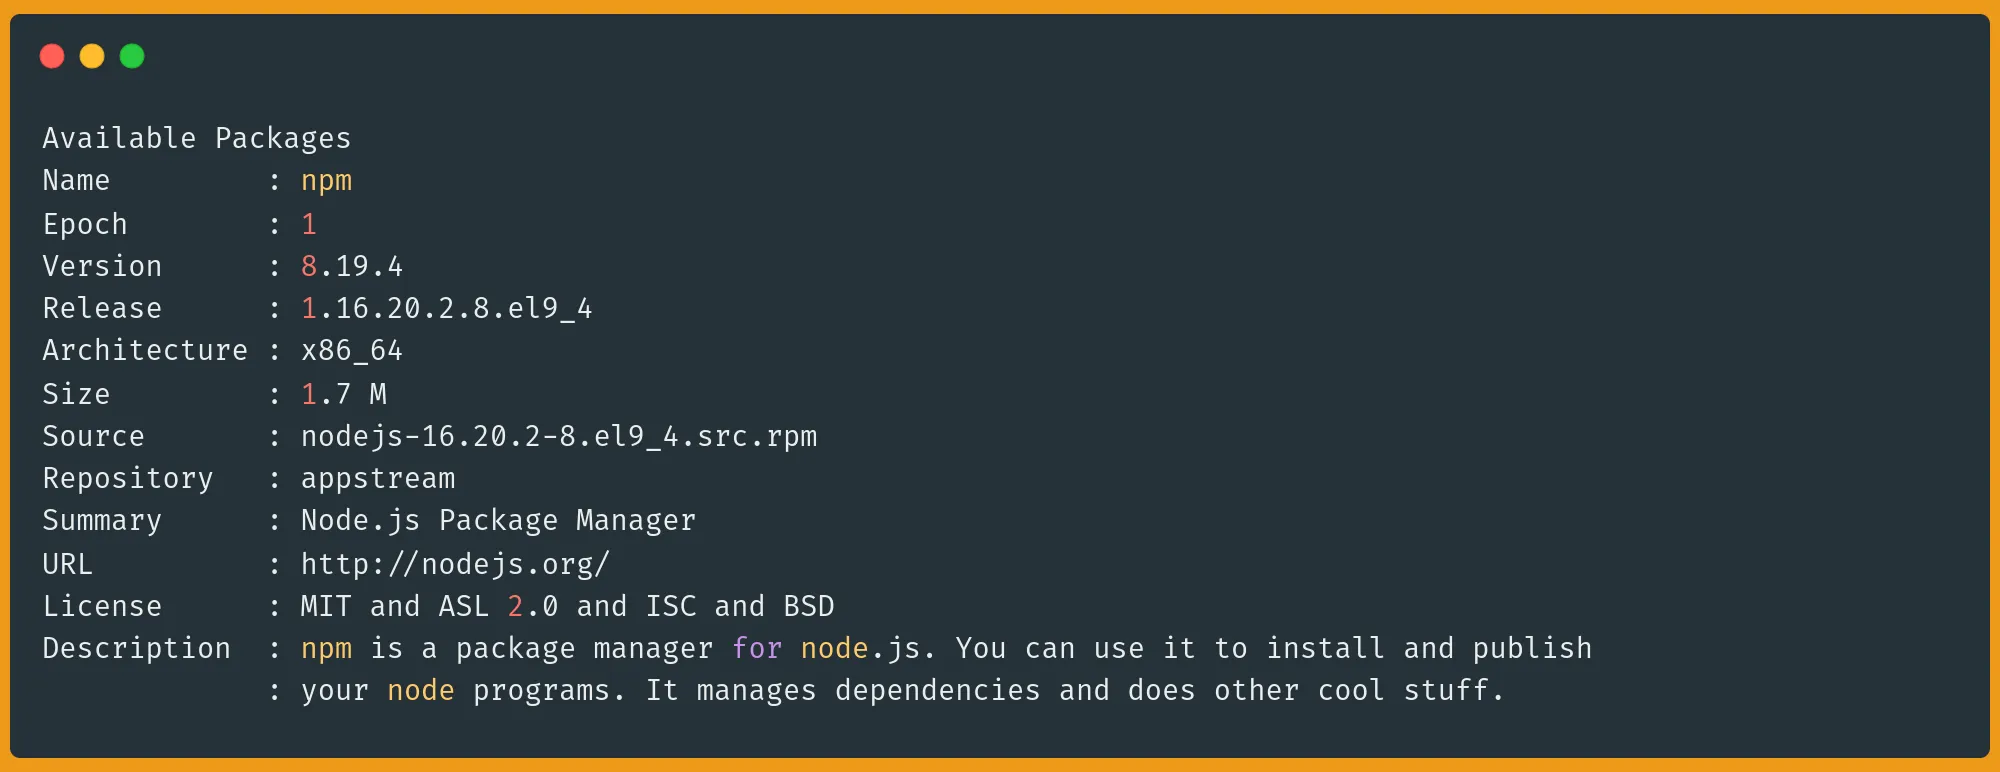
One of DNF's most powerful features is the ability to find packages by the commands they provide:
sudo dnf provides */command # Finds which package provides a specific commandFor instance:
sudo dnf provides */ifconfigOutput:
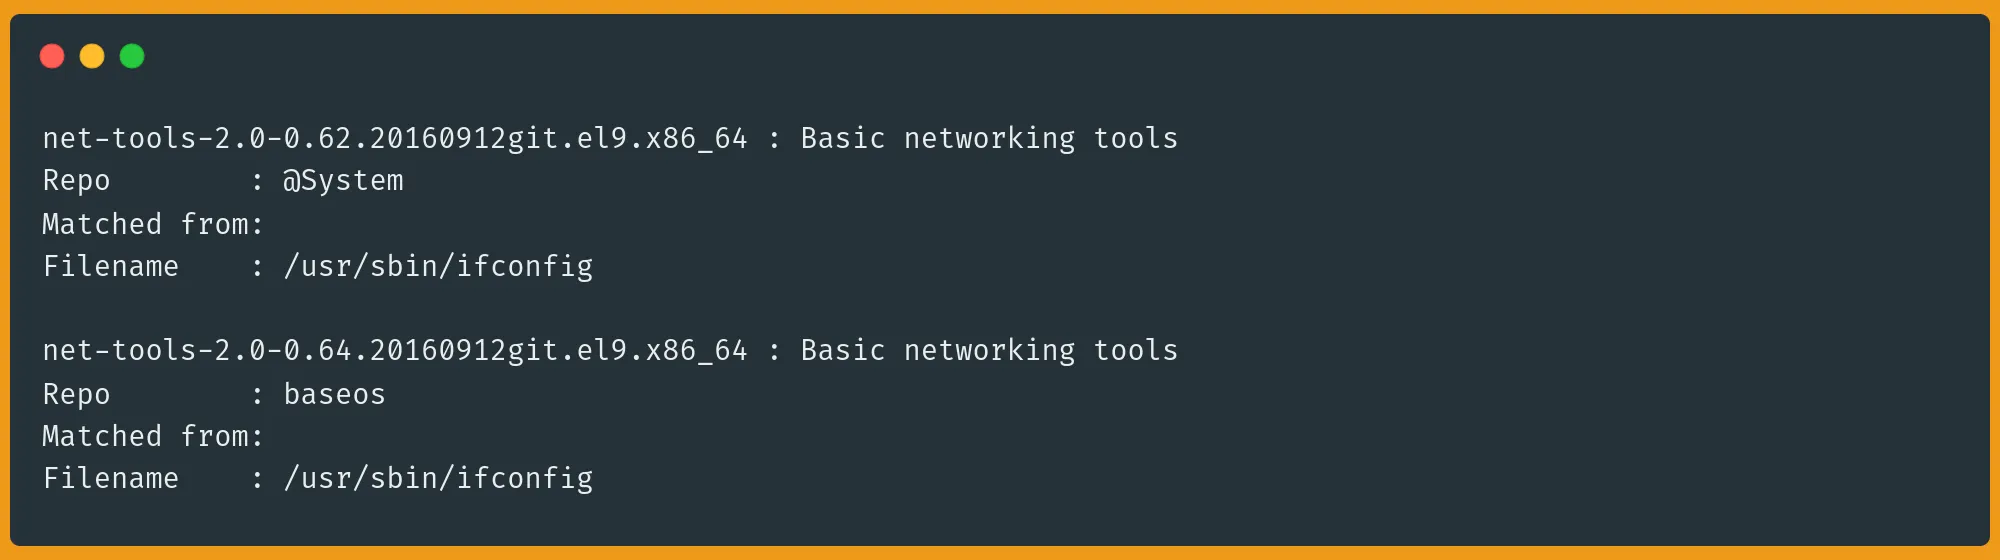
This tells us that the ifconfig command is provided by the net-tools package.
What's the Difference Between DNF and RPM?
RPM and DNF work at different levels of your system. RPM (Red Hat Package Manager) is the basic package handler; it knows how to install and remove packages, but that's about it. DNF is the smart layer on top that handles all the complex tasks.
Think of it like this: RPM is like manually installing an app on your phone, while DNF is like using the app store that handles everything for you.
The basic RPM commands are simple but risky:
sudo rpm -i package.rpm
sudo rpm -e package-name
The -i flag tells RPM to install a package, while -e removes it. But these commands can fail if dependencies are missing or break other packages that depend on the software you're removing.
DNF makes the same operations safe and automatic:
sudo dnf install package-name
sudo dnf remove package-name
When you use DNF to install or remove packages, it checks all dependencies, installs what's needed, and makes sure removal won't break your system.
This is why I always recommend using DNF instead of RPM directly. It's safer and prevents those dreaded dependency nightmares that can break your system.
Conclusion
Congratulations! You've learned the essential skills for managing packages on Linux systems. You now know how to install, update, remove, and search for packages using both APT and DNF. More importantly, you understand how these package managers work under the hood and how to avoid common pitfalls that can break your system.
Remember the key points:
- Always update your package list before installing new software
- Use version-specific installations when compatibility matters
- Clean up unused packages and dependencies regularly
- Let the package manager (APT/DNF) handle dependencies instead of using low-level tools (dpkg/rpm)
Whether you're working with Ubuntu, Debian, Fedora, or Rocky Linux, you now have the knowledge to maintain your system like a pro. No more copying and pasting commands without understanding them!
Want to take your Linux skills to the next level? Check out our guides on system security, Linux server management, securing your applications with Let’s Encrypt and self-hosted apps. With our blog, your journey to Linux mastery has just began.
FAQ: Package Management in Linux
What package manager does Rocky Linux use?
Rocky Linux uses DNF (Dandified YUM) as its package manager, inheriting this from its RHEL heritage. DNF replaced YUM as the default package manager, offering improved dependency resolution, better performance, and more modern features. Rocky Linux users can manage their software using DNF commands, and it's fully compatible with RPM packages.
What is the best Linux package manager?
There isn't a single "best" package manager as each serves different needs. APT excels in Debian-based systems with extensive repository support, while DNF offers superior dependency resolution and module management in RHEL-based systems. The best choice depends on your distribution, needs, and familiarity with the system.
What package manager does Ubuntu use?
Ubuntu uses APT (Advanced Package Tool) as its primary package manager, with DPKG working underneath. APT provides high-level package management, handling dependencies and repositories, while DPKG manages the low-level package operations.
Which command-line command is used for package management in Debian distributions including Ubuntu?
The apt command is the modern command-line tool for package management in Debian-based distributions. While older commands like apt-get and apt-cache still work, apt provides a more user-friendly interface combining the most commonly used features of both tools with improved output formatting and progress displays.
A note about tutorials: We encourage our users to try out tutorials, but they aren't fully supported by our team—we can't always provide support when things go wrong. Be sure to check which OS and version it was tested with before you proceed.
If you want a fully managed experience, with dedicated support for any application you might want to run, contact us for more information.